REVIEW · MOSHI
Kilimanjaro Trek 7 Days – Machame Route
Book on Viator →Operated by Kilitwende Adventures · Bookable on Viator
Rainforest starts this trek, then it climbs fast. I like how the Machame route earns its reputation for scenery, and I also like that this plan gives you a realistic 7-day rhythm for acclimatization. The trek’s nickname, the Whiskey route, fits the vibe: more adventure and tougher terrain than easier routes.
Two things I really appreciate are the all-in logistics and the human support. You get a hotel night before and after, gate transfers, tents and sleeping mats, three meals a day on the climb, and even a portable flush toilet setup. A big plus is that the team includes an oxygen tank for emergencies, plus you’re traveling with experienced guides, cooks, and porters.
One thing to consider before you commit: the trek doesn’t include your personal sleeping bag or hiking boots, so you’ll need to budget for key gear or arrange rentals ahead of time.
In This Review
- Key things I’d watch before you go
- Why Machame is called the Whiskey route
- Moshi to Machame Gate: Day 1 in the rain forest
- Shira Plateau transition: Day 2 through heather to Shira Cave Camp
- Lava Tower and Senecio Forest: Day 3 to Barranco Camp
- The Great Barranco Wall: Day 4 to Karanga Valley
- Barafu and the southern circuit views: Day 5 to prepare for summit
- Midnight summit push: Day 6 from Barafu to Uhuru Peak
- Descent and summit certificates: Day 7 to Mweka Gate and back to Moshi
- Price and value: what $2,890 covers on this Machame trek
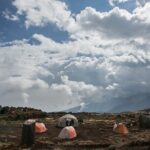
- Comfort on the mountain: tents, toilets, and what camp life really means
- Your crew matters: Kilitwende Adventures and the support style
- Acclimatization reality check on Machame
- Who should choose the 7-day Machame route
- Should you book the 7-Day Kilimanjaro Machame Route with Kilitwende Adventures?
- FAQ
- What is the duration and start time for the Machame route trek?
- What does the price ($2,890 per person) include?
- Is pickup from Moshi included?
- Do I need to bring a sleeping bag and hiking boots?
- Do they provide emergency oxygen and mountain toilets?
- Is this tour private?
- Can I cancel and get a full refund?
Key things I’d watch before you go
- Machame’s scenery changes every day: rainforest, heather moorland, alpine desert, then the cold arctic zone near Uhuru Peak.
- A full summit plan in a 7-day itinerary: you’re building time at altitude to improve acclimatization odds.
- Comfort basics are handled: tents, sleeping mattress (foam, 1.5 inches thick), and a mess setup keep camp life manageable.
- Emergency support is included: an oxygen tank is carried for contingencies.
- Bathroom is addressed: a portable flush toilet with a toilet tent is part of the package.
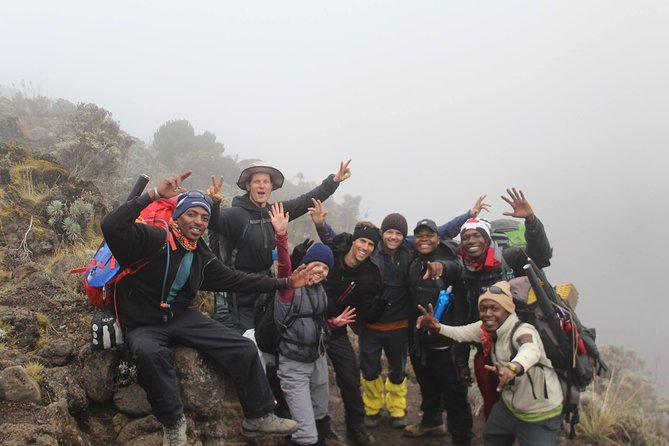
- Strong team signals from past trekkers: feedback repeatedly highlights care, organization, and support from the Kilitwende Adventures crew, with guide names like Jerry, Joseph, Sadhi, John, Nate, Robert, and Bobby appearing in reviews.
Why Machame is called the Whiskey route
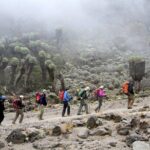
Machame is one of Kilimanjaro’s most popular routes for a good reason: the scenery keeps moving. You start deep in the rain forest, then climb through heather and moorlands, then into stark alpine desert, and finally into the frigid zone where the air feels thin and sharp. That constant change is why people who want more “mountain” and less “easy stroll” gravitate here.
The nickname Whiskey route is tied to the route’s popularity and reputation for being a serious adventure compared to smoother alternatives. In plain terms: the trail profile tends to feel tougher and more varied day to day, and you spend more time earning your views.
I also like that Machame’s design supports a better climbing cadence. This 7-day version includes multiple altitude shifts and recovery time in camp, which matters because Kilimanjaro isn’t about speed—it’s about getting your body ready for the thin-air push.
You can also read our reviews of more tours and experiences in Moshi.
Moshi to Machame Gate: Day 1 in the rain forest
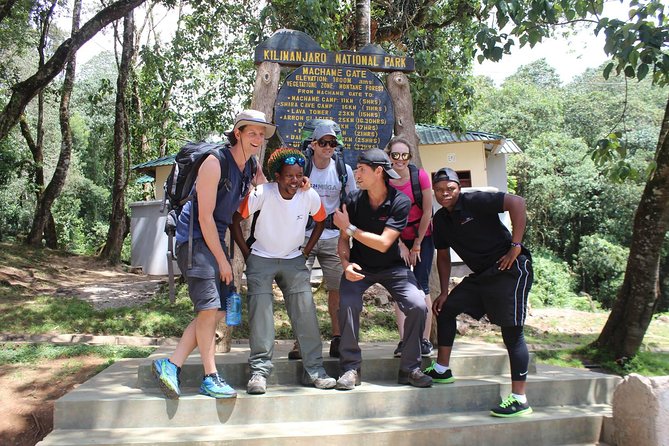
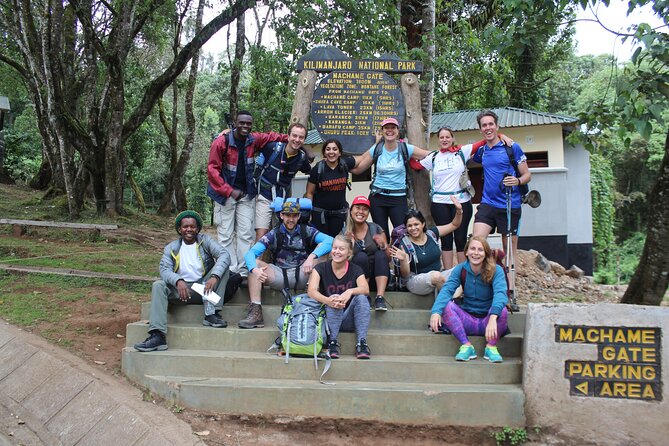
Day 1 starts with a drive from Moshi to Kilimanjaro National Park and Machame Gate, about an hour away. After registration, you walk into dense rain forest and begin climbing a winding trail up a ridge until you reach Machame Camp at 2,833m (9,350ft).
This is a great first day for two reasons. First, the environment does the work for you—you’re not staring at a barren trail. Second, it sets your expectations: you’ll be hiking uphill for hours, but the forest keeps the pace feel steadier.
What to watch: rain forest means humidity and slippery footing. Your day can feel longer than the numbers if you don’t hike with good technique (shorter steps, steady breathing, and consistent foot placement).
Shira Plateau transition: Day 2 through heather to Shira Cave Camp
On Day 2, you move from the glades of the rain forest into a higher, drier world—heath habitat. The trail climbs up toward a steep, rocky ridge, then opens out onto the Shira Plateau. Here you pass through heather and open moorlands, and you’ll cross a large river gorge before reaching Shira Cave Camp.
This day is about your first big “ecosystem moment.” In a short span, you see the mountain go from lush green to open moor and exposed rock. That’s part of why Machame feels cinematic: it doesn’t just get higher, it changes its whole personality.
Potential drawback: the open sections can feel exposed to wind and cold, even before you’re “high-high.” Layering matters from the start so you’re not cooking on the uphill and freezing on the breaks.
Lava Tower and Senecio Forest: Day 3 to Barranco Camp
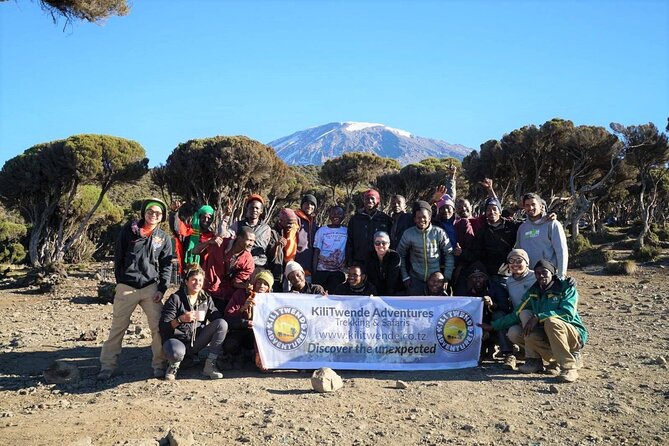
Day 3 is one of the more memorable days on this route. You start by heading east up a ridge, then southeast toward the Lava Tower—a volcanic rock formation about 300 feet tall. After lunch, you descend to Barranco Camp at 3,953m (13,044ft) through the Senecio Forest.
The key detail here is that the day includes time higher up around Lava Tower (listed at 4,603m / 15,190ft). Even though you end at Barranco Camp (a lower altitude than Lava Tower), that higher exposure can be beneficial for acclimatization. It’s a smart way to introduce altitude stress without turning the day into a full “summit-style” suffer session.
What to watch: your legs will feel it. Even if the descent is “just going down,” you’re still moving for several hours on uneven ground. Trekking poles help a lot on rocky sections and during the Senecio descent.
The Great Barranco Wall: Day 4 to Karanga Valley
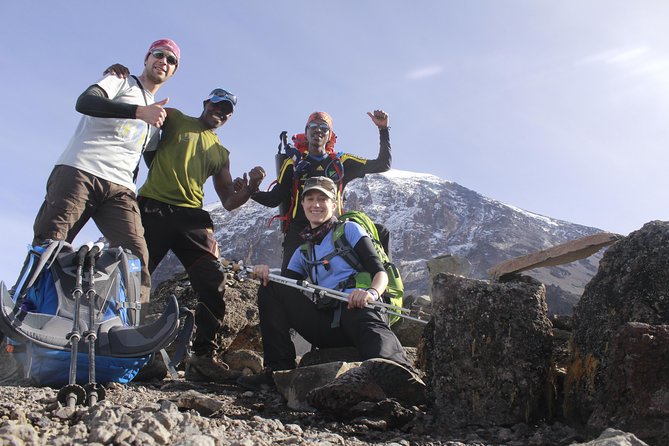
On Day 4, you descend into the base of the Great Barranco Wall and then climb a steep but non-technical section up a cliff-like wall, nearly 900 feet of gain. From the top, the trail crosses hills and valleys, then you descend sharply into Karanga Valley. This is where you reach the last water point, then climb again to Karanga Camp for lunch. You’ll also do a shorter acclimatization walk later in the afternoon.
This day is one of the defining “Machame” tests. It’s not a technical climb, but it’s steep enough to get your breathing working. The payoff is that Barranco region terrain tends to offer serious views and a sense of progression—you can feel you’re getting closer to the summit zone.
Practical consideration: this is a day where pacing is everything. Go too fast up the wall and you’ll pay later. I’d focus on controlled steps, not time goals.
Barafu and the southern circuit views: Day 5 to prepare for summit
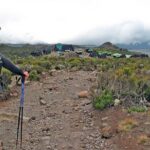
Day 5 begins at Karanga Camp and climbs toward Barafu Hut. The route passes a junction that connects with the Mweka Trail and then rises through a rocky section. Reaching Barafu is a major milestone: you’ve effectively completed the southern circuit.
From there, you rest at Barafu, have an early dinner, and prepare for the summit push. When the weather is clear, you can see two peaks—Mawenzi and Kibo—from this area. That means even before sunrise drama, you’re already getting a preview of what you’re chasing.
One thing I like about the way this day is structured is the mental shift. You’re not just hiking—you’re transitioning into summit mode. If you tend to panic when plans change, this day’s routine helps you get your head together (and your crew helps with that pacing and prep).
Midnight summit push: Day 6 from Barafu to Uhuru Peak
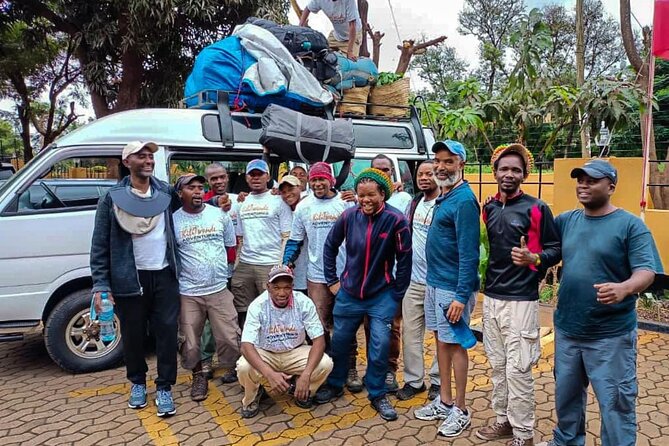
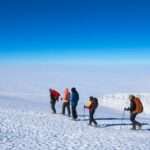
Day 6 is the big one. You start in the midnight hours for the summit attempt. The trek is described as mentally and physically challenging, mostly because you’re hiking in wind and cold at very high altitude.
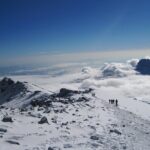
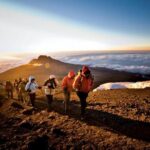
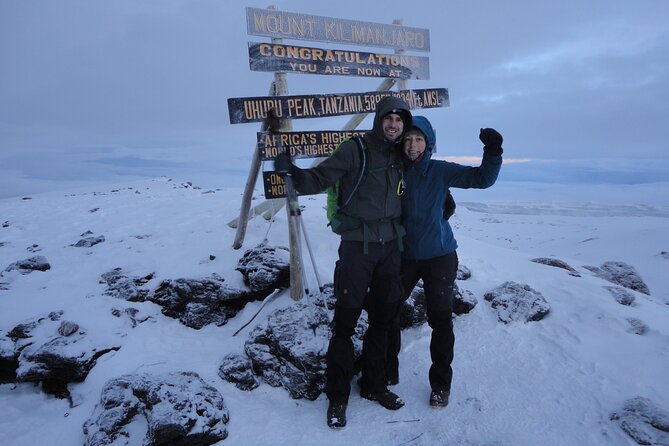
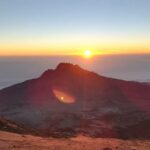
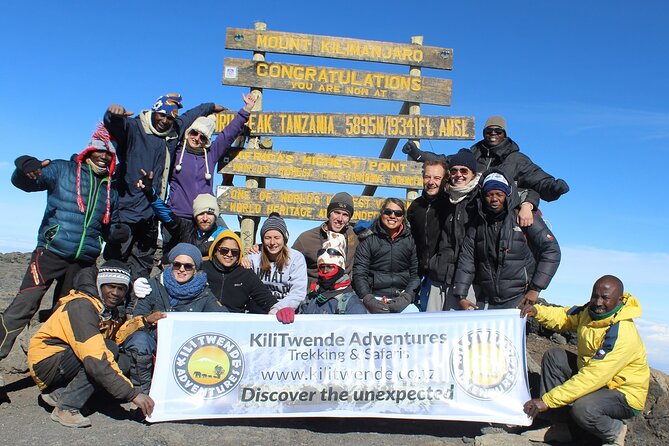
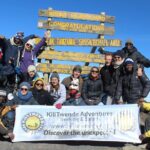
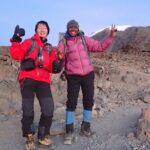
You ascend in darkness for several hours with short breaks, then reach Stella Point at sunrise (listed at 18,900 ft). After that, you continue to Uhuru Peak at 5,895m (19,341ft), the highest point on Kilimanjaro.
You spend a short time on the summit for photos, then start the descent back to the Barafu area (the itinerary notes a continuation toward the next camp, with the main descent portion included as part of this day’s plan).
What to watch: this is where “moderate fitness” stops being enough and turns into “prepared patience.” You won’t feel like yourself out there. The win is moving consistently, not quickly. Bring your best cold-weather strategy—warm layers you can manage while climbing, and gear that works when it’s windy.
Descent and summit certificates: Day 7 to Mweka Gate and back to Moshi
Day 7 is shorter and more grounded. After breakfast, you continue the descent to Mweka Gate, then sign out with the national park authority. You collect summit certificates, then a vehicle transfers you back to your hotel in Moshi.
This last day matters more than most people think. It’s not just “done.” It’s also where you transition from mountaintime to regular life, which is part of why crews push you to keep your paperwork and logistics simple and on schedule.
You’ll likely feel a mix of relief and fatigue. Plan an easy recovery day after you return—your body will appreciate it.
Price and value: what $2,890 covers on this Machame trek
At $2,890 per person, you’re paying for a lot of the costs that typically become annoying once you’re already in Tanzania. Here’s what’s explicitly included:
- Park entry fees, camping fees, forest fees, and rescue fees (with 18% VAT on tour fees and services)
- Crew compensation: fair wages for guides, cooks, and porters approved by park/association standards
- Camping setup: sleeping tent, dining tent, sleeping mattress (foam 1.5 inches thick), table and chairs
- A professional team: experienced mountain guides, cooks, and porters
- Hotel accommodation for 1 night before and 1 night after (bed and breakfast)
- Transfers: to/from the mountain gates, plus round-trip airport transfers (JRO)
- Camp systems: portable flush toilet (with a toilet tent) and mess tent setup
- Safety item: an oxygen tank in case of emergency
- Food: three meals a day during the climb, plus breakfast/lunch/dinner counts listed in the package
When you add it up, the price feels less like “just a hiking ticket” and more like “a supported expedition.” That’s the real value on Kilimanjaro: removing friction from permits, logistics, food, camp structure, and safety basics.
The one exception you should plan for is personal gear. The package doesn’t include your sleeping bag or hiking boots, and those are common add-ons.
Comfort on the mountain: tents, toilets, and what camp life really means
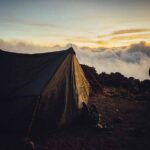
Camp on Machame is practical, not luxurious, but it’s handled. You’ll have tents for sleeping, a dining tent, and the mess setup with table and chairs. That matters on summit days when you’re tired and want things to be predictable.
I also like that there’s a portable flush toilet with a toilet tent. It’s the kind of detail that doesn’t sound exciting until you’re actually tired and dealing with mountain conditions. It makes camp nights more tolerable.
Food is also included as three meals per day during the climb. That helps you avoid the common problem on long treks: spending energy figuring out what you’ll eat instead of saving energy for climbing.
Your crew matters: Kilitwende Adventures and the support style
This is a private tour, so it’s only your group. That tends to reduce awkward group pacing and makes it easier to manage your own rhythm and needs.
The feedback tied to Kilitwende Adventures emphasizes care, organization, and team support. Names that show up include Jerry, Joseph, and Sadhi (in the context of climbing with the team), plus Nate, John, and Robert/Bobby in other Kilimanjaro experiences. Even when the exact route differs, the consistent theme is that the company works hard on planning and execution, and adjusts for real people—not robots.
In your own experience, look for how the guides handle pace and altitude. On Kilimanjaro, that’s often more important than the brand of tent or the route nickname.
Acclimatization reality check on Machame
Machame’s itinerary is built to keep moving while also giving you altitude breaks. You climb to higher points (like near Lava Tower), then you end the day lower (Barranco). Later, you do steep work (Great Barranco Wall) but still have camp time and a short acclimatization walk in the afternoon at Karanga Camp.
That rhythm is valuable because Kilimanjaro is not a straight-line climb. Your body adjusts in waves—sometimes quickly, sometimes not. The plan’s pattern helps you avoid the “too fast, too soon” trap.
If you’re the type who always wants to beat the clock, this trek will teach you humility. The mountain rewards consistent effort, not ego speed.
Who should choose the 7-day Machame route
Choose this trek if you want more variety and a more demanding path than gentler options. Machame suits adventure-minded hikers who like big changes in scenery and don’t mind steep days.
You should also be comfortable with cold and wind near the summit attempt. The itinerary is very clear that Day 6 involves midnight ascent and harsh conditions.
It’s also a good fit if you appreciate structured support: transfers, meals, camp gear, toilets, and an oxygen tank for emergency situations are all part of the package.
Should you book the 7-Day Kilimanjaro Machame Route with Kilitwende Adventures?
Book it if you want the Machame experience with strong built-in support. The route’s day-to-day scenery changes, and the plan’s 7-day structure is designed around acclimatization instead of rushing to a finish line. For many people, the biggest win is that you’re not managing the complicated parts yourself—food, camp setup, permits, and key safety basics are included.
Hold off (or plan extra gear carefully) if you aren’t ready for summit-night cold and wind, or if you don’t want to handle personal gear like a sleeping bag and hiking boots. Also, if you’re unsure about your physical readiness, aim to build your endurance first—this route expects steady hiking over multiple days.
If you’re willing to train a bit and accept that Kilimanjaro is a steady grind, this Machame trek looks like a smart, well-supported choice.
FAQ
What is the duration and start time for the Machame route trek?
The trek runs for about 7 days, and the meeting/start time is 8:30 am.
What does the price ($2,890 per person) include?
It includes park entry fees and camping/forest/rescue fees (with VAT on tour fees and services), meals three times a day during the climb, camping setup (tents and sleeping mattress), professional guides/cooks/porters, portable flush toilets, an oxygen tank for emergencies, hotel accommodation (1 night before and 1 night after), and transfers to and from the mountain gates plus round-trip airport transfers (JRO).
Is pickup from Moshi included?
Pickup is offered, and the itinerary includes driving from Moshi to the Machame gate after breakfast on the first day.
Do I need to bring a sleeping bag and hiking boots?
Yes. Personal gear and equipment are not included, and the package lists a sleeping bag and hiking boots as add-ons with prices.
Do they provide emergency oxygen and mountain toilets?
Yes. The trek includes an oxygen tank in case of emergency, and it also includes a portable flush toilet with a toilet tent.
Is this tour private?
Yes. It’s a private tour/activity, and only your group participates.
Can I cancel and get a full refund?
Yes. You can cancel up to 24 hours in advance for a full refund, based on the experience’s local time.