REVIEW · MOSHI
8 Day Mount Kilimanjaro Trekking Lemosho Route
Book on Viator →Operated by Afrishare Trekking and Safaris · Bookable on Viator
One route that respects altitude. The 8-day Lemosho trek takes you up the quieter side of Kilimanjaro via the Shira Plateau, with extra time to adjust to altitude and fewer crowds on the way. I also like that the first day can be guarded by an armed ranger, because the forest around Lemosho Glades is home to big wildlife like buffalo and elephants.
What I love most is how the itinerary builds you toward the summit without rushing (those added nights matter), and that early summit push is timed for the classic sunrise view from Stella Point and Uhuru Peak. The main drawback to plan around is that this is not a cheap, all-in package for everything: the trek price covers many costs, but you’ll still handle your own trekking gear and your hotel stay before and after the climb.
In This Review
- Quick hits on the 8-Day Lemosho Trek
- Why Lemosho is a smart bet for altitude
- Day 1: Moshi to Lemosho Glades and Mti Mkubwa campsite
- Day 2: Shira Ridge ascent and Shira 1 on the Plateau
- Day 3: Shira 2 camp and a real acclimatization window
- Day 4: Lava Tower area via Shark’s Tooth down to Barranco
- Day 5: Barranco Wall to Karanga Valley and up to 4050m
- Day 6: Barafu Camp for summit night preparation
- Day 7: Midnight summit bid—Stella Point, crater rim, and Uhuru Peak
- Day 8: Mweka descent, muddy footing, and back to Moshi
- Price and value: what $2,250 covers (and what you must plan for)
- What to expect on the ground: weather, altitude, and pacing
- Wildlife, rangers, and that forest-to-plateau feeling
- Service style and your crew’s attitude
- Should you book the 8-Day Lemosho Route?
- FAQ
- How long is the 8-Day Mount Kilimanjaro Lemosho trek?
- Where does the trek start and end?
- What’s included in the price?
- What’s not included?
- Is there a vegetarian meal option?
- Does the trek run in all weather conditions?
- What is the cancellation policy?
Quick hits on the 8-Day Lemosho Trek
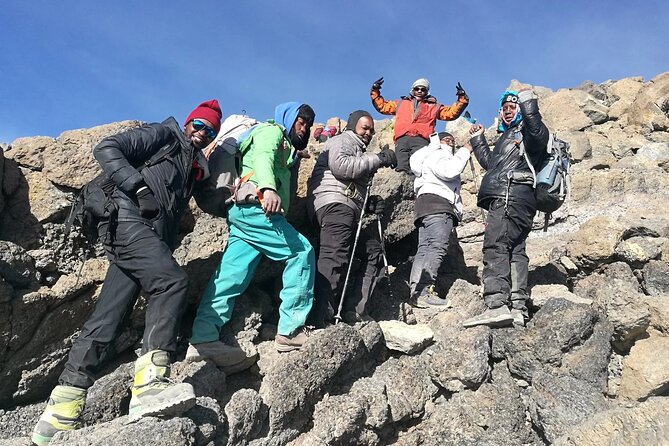
- Less-used Lemosho approach: a calmer way up to the Shira Plateau and better acclimatization rhythm
- Wildlife-aware first day: possible armed ranger escort near Lemosho Glades
- Acclimatization built into the route: Shira Plateau days and the Barranco-to-Karanga step-up
- Big sights without skipping rest: Lava Tower area and the crater rim approach
- Summit logistics are defined: midnight–2 am start, Stella Point stop, then Uhuru Peak
- Meals and fees included: breakfast, lunch, dinner during the trek plus admission/tickets
Why Lemosho is a smart bet for altitude
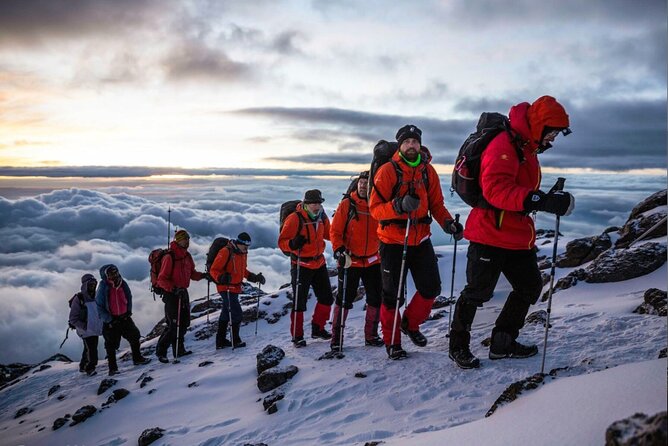
Altitude is the whole game on Kilimanjaro. The Lemosho route is often praised because it gives your body more time to settle in before you go high and stay high. You don’t just “climb and hope.” You climb, you sleep, and you adjust.
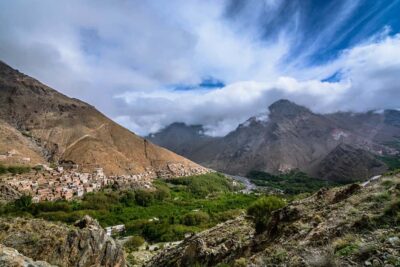
On this trek, the profile is designed around acclimatization: you start in montane forest around 1830m/6000ft, then work your way up through moorland and plateau zones. The route also includes a built-in acclimatization day on the Shira Plateau, plus an important profile shift around Barranco. In plain terms: you get more chances to recover while still gradually gaining altitude.
Also, you’re coming from Moshi (which is the common base for Kilimanjaro). That matters because it keeps your logistics simpler: you’re not dealing with a complex multi-day travel shuffle before you even start hiking.
You can also read our reviews of more tours and experiences in Moshi.
Day 1: Moshi to Lemosho Glades and Mti Mkubwa campsite
Day 1 starts with breakfast and a drive from Moshi to the Lemosho Park Gate, then a 4WD forest track to the Lemosho Glades. From there, you hike along forest trails to Mti Mkubwa (big tree) campsite.
This is a gentle ramp-up day: about 6km/4mi and around 2–5 hours of walking, with camp elevation rising from 1830m/6000ft to 2650m/8700ft. Habitat is montane forest, which means you’ll likely feel cooler, wetter, and more shaded than the exposed plateau zones later on.
Why it’s valuable: Day 1 is where you set your pace and learn how your body handles the altitude without going full effort. It’s also where the wildlife factor shows up. The route is one of the few where groups may be accompanied on the first day by an armed ranger in the forest areas around Lemosho Glades, where animals like buffalo and elephants exist.
Practical tip: treat Day 1 as “warm-up hiking,” not “training day.” You want your breathing steady, not aggressive.
Day 2: Shira Ridge ascent and Shira 1 on the Plateau
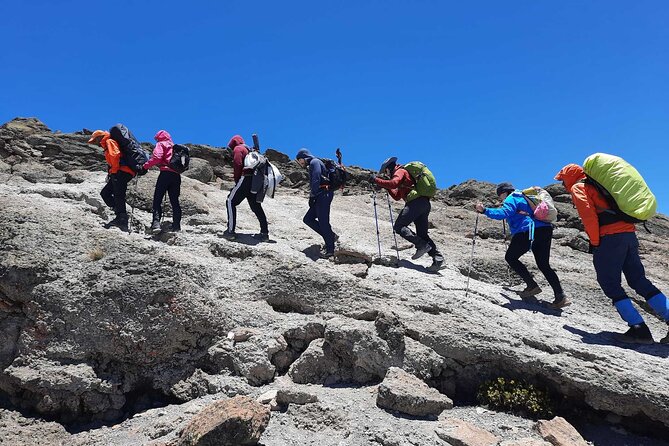
After breakfast, the trail steepens and enters giant heather moorland. You cross several streams, then move over Shira Ridge and gently descend into Shira 1 camp.
This day is longer in distance (about 8km/5mi) and usually takes about 4–5 hours. Elevations climb from roughly 2650m/8700ft up to around 3500m/11,500ft by the time you reach Shira 1 camp on the Shira Plateau, where meals are breakfast, lunch, and dinner.
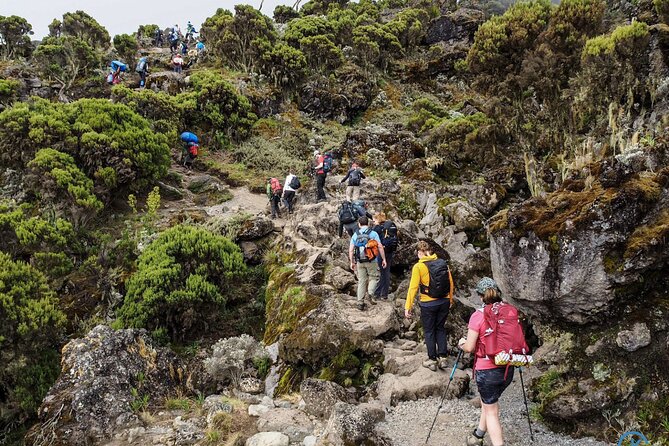
This is where the scenery changes fast—from forest comfort to wide open moorland. The air can feel thinner and colder, and you’ll likely notice that wind and weather matter more once you’re on the plateau.
Why it’s valuable: even though you descend a bit toward camp, you’re still gaining a lot of altitude over the day. This is the start of your “plateau phase,” and it helps set up the acclimatization rhythm for the next days.
Day 3: Shira 2 camp and a real acclimatization window
Day 3 is your plateau “pause and adapt” day. You hike gently across the plateau to Shira 2 camp, which sits around 3850m/12,600ft. Distance is again about 8km/5mi with roughly 4–5 hours of walking time.
Habitat is moorland meadows by a stream. You’ll have breakfast, lunch, and dinner. The trek design gives you a choice of hikes on the Plateau, and that’s important: your guide can steer you toward short, smart altitude gains so you can acclimatize without exhausting yourself.
Why it’s valuable: altitude acclimatization is not just about reaching a high elevation once. It’s about repeating exposure while keeping your stress level reasonable. A day like this gives you a chance to adjust before the harder, rockier days ahead.
Practical tip: if you feel strong, it’s tempting to push. This is the day to resist that urge. Being careful here can pay off later.
Day 4: Lava Tower area via Shark’s Tooth down to Barranco
From Shira Plateau, you continue east up a ridge. You pass a junction toward Kibo, then your direction shifts southeast toward Lava Tower, also called Shark’s Tooth (about 4650m/15,250ft). Shortly after, there’s a second junction toward the Arrow Glacier. Then you continue down to Barranco Camp.
This is one of your most scenic “route-defining” days. Elevation drops down to about 4000m/13,000ft at camp, but you still climb through serious high points during the day. Distance is about 8km/5mi, with 5–6 hours of walking. Habitat is listed as semi-desert.
Why it’s valuable: even though you end around the same elevation you started the day, the day is physiologically heavy. You practice handling higher altitude, then you descend to rest. That pattern is a key acclimatization tool.
Practical tip: “down” doesn’t mean “easy.” Descents can stress your knees and burn your calves if you don’t keep steps short and controlled.
Day 5: Barranco Wall to Karanga Valley and up to 4050m
You leave Barranco and head for the Karanga Valley. The big feature here is a steep ridge called the Barranco Wall, then moving toward the junction that connects with the Mweka Trail.
Day 5 is shorter in distance at about 5km/3mi, but the climb time is 3–5 hours. Elevation rises from about 4000m/13,000ft to around 4050m/13,250ft at camp (habitat: alpine desert).
Why it’s valuable: this is the step that turns the “acclimatization hike” phase into “push toward summit” mode. The South Circuit view angles tend to show up from this side of the route, and the day’s effort helps you prepare for the steep, final camp-to-summit pattern.
Practical tip: alpine desert terrain can be dusty and exposed. Hydration and sunscreen matter more than you think.
Day 6: Barafu Camp for summit night preparation
On Day 6, you continue up to Barafu Camp. At this point, you’ve completed the South Circuit. You reach Barafu at about 4700m/15,350ft. The hike is short—about 4km/2mi—with 3–4 hours of climbing time.
This day is about rest and setup. You camp at very high elevation, enjoy dinner, and prepare mentally and physically for the next day’s summit push.
Why it’s valuable: Barafu is your launchpad. Sleeping well, eating the right foods, and keeping a steady rhythm before midnight can make a real difference when you start climbing on almost no sleep.
Practical tip: pack warm layers you can reach without unpacking everything. It gets cold fast at these altitudes.
Day 7: Midnight summit bid—Stella Point, crater rim, and Uhuru Peak
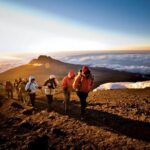
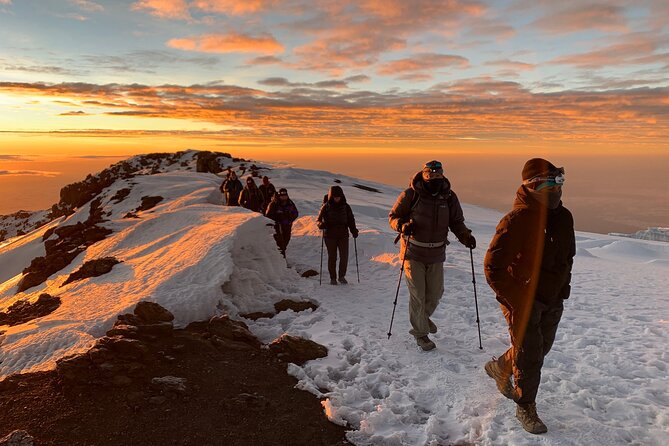
This is the big day. Very early, between midnight and 2 am, you hike toward the summit between the Rebmann and Ratzel glaciers, heading northwesterly across heavy scree. Your route leads to Stella Point on the crater rim.
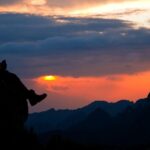
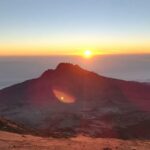
This is the most mentally and physically challenging portion of the trek. The sunrise moment is the reward: at Stella Point you stop briefly, then you can see the kind of sunrise that feels like it changes the sky’s entire color palette. Faster hikers may catch sunrise from the summit itself.
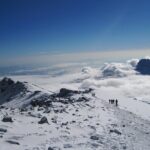
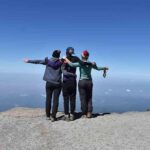
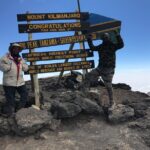
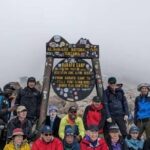
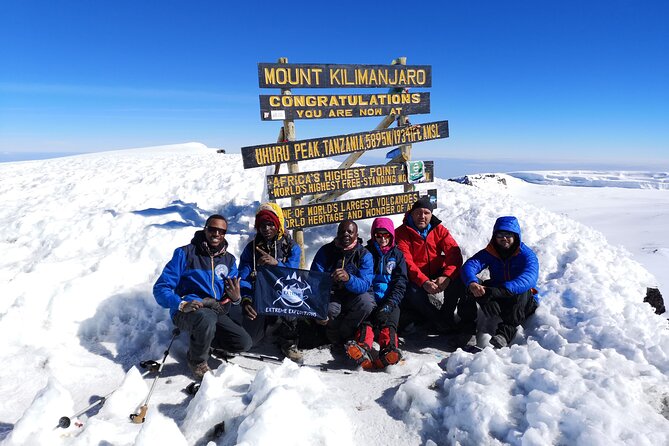
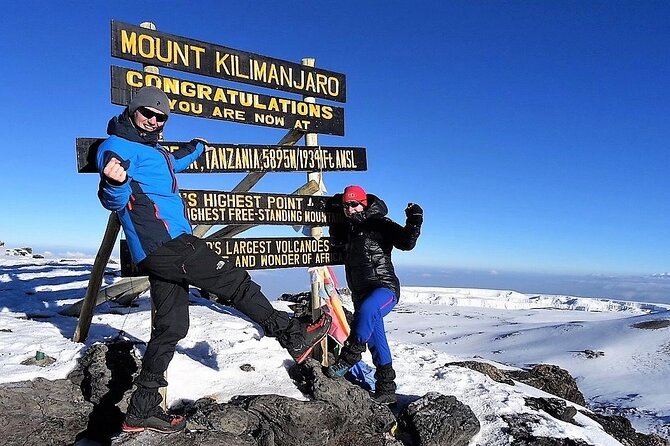
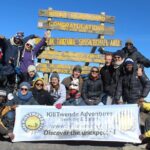
After Stella Point, you tackle an approximately 1-hour ascent to Uhuru Peak. Snow can still be present along the way, depending on conditions. Once you reach Uhuru Peak, you’ve climbed to the highest point on Mount Kilimanjaro and the continent of Africa.
From the summit, you descend toward Mweka (the next day is the longer lower walk to the gate).
Practical tip: pace is everything at altitude. The goal is steady breathing and controlled effort, not speed. If you feel like you’re moving slowly, that’s usually a good sign—you’re saving energy for the last push.
Day 8: Mweka descent, muddy footing, and back to Moshi
Day 8 is the payoff day for your legs. After breakfast, you continue the descent down to Mweka Park Gate to receive summit certificates. Lower elevations can be wet and muddy, so plan for slippery ground.
The trek portion on Day 8 is about 10km/6mi with 3–5 hours of hiking. Habitat shifts back toward forest, and you finish around 1680m/5500ft. Afterward, a vehicle waits for you at Mweka gate and drives you back to your hotel in Moshi, around 60 minutes.
What to wear and use: gaiters and trekking poles will help on muddy sections. Shorts and t-shirts are often enough at lower elevations, but keep rain gear and warmer layers handy because weather can still turn.
Practical tip: treat the final descent as its own physical challenge. Start slow even if you feel done—this is when people get sloppy and sore.
Price and value: what $2,250 covers (and what you must plan for)
This trek is listed at $2,250.00 per person for the 8-day experience. For value, the key point is what’s included versus what you’ll still pay separately.
Included costs in this package cover:
- All fees and taxes
- Breakfast (7), lunch (8), dinner (7) during the trek
- Admission tickets included each day listed
- Pickup is offered, and there’s also a return drive after the trek
- A mobile ticket is mentioned
- It’s private, meaning only your group participates
Not included:
- Accommodation before and after the trek
- Personal trekking gear
- Personal expenses, alcohol
- Tipping for the crew
So is it worth it? For most hikers, yes—because a Kilimanjaro trek is never just the walking. Costs pile up in park fees, guide/crew logistics, and daily food planning at high altitude. Still, you should budget honestly for pre/post lodging and gear. If you don’t already have trekking boots, layers, and tools like poles (or you’re missing rain protection), your total trip cost can creep up fast.
What to expect on the ground: weather, altitude, and pacing
This trek operates in all weather conditions, so you’ll hike in whatever conditions are handed to you. That sounds vague, but it matters for packing: you’ll want to cover your bases for cold nights, wind above the tree line, and rain that can show up without warning.
Altitude is also not a one-size-fits-all experience. The route is designed to improve your odds by giving extra time to acclimatize, but you still need to manage effort. A slower pace on summit day is not weakness—it’s strategy.
If you’re thinking about your odds, this itinerary is built for them:
- Additional days for acclimatization
- A plateau acclimatization day
- A profile that alternates higher exposure with rest periods
Wildlife, rangers, and that forest-to-plateau feeling
One of the more atmospheric parts of this route is the switch from montane forest to open moorland and semi-desert. On Day 1, you’re walking in a habitat where large animals exist. Because of that, the trek may include an armed ranger escort at the start for groups on the first day near Lemosho Glades.
That doesn’t mean every day is wildlife-heavy. It does mean the trek starts with a safety-and-awareness mindset that feels grounded. You’re not just imagining Africa on a postcard. You’re moving through real living ecosystems.
Service style and your crew’s attitude
You’re dealing with a company that runs trekking and safaris, and the service approach matters more than people think when you’re tired, cold, and altitude-slow.
In safari feedback tied to this same organization, names like Karim and Leokadia show up, with praise for being friendly, responsive, and driven to make the experience succeed (including Big Five goals). While that’s not a promise about your Kilimanjaro guide, it’s still a useful hint about how the team tends to operate: people-focused, and attention to what matters to you.
On a trek, that usually translates into practical things like staying organized at camp, keeping communication clear, and responding when you’re feeling off. On Kilimanjaro, small missteps add up. Good crew energy helps you avoid those.
Should you book the 8-Day Lemosho Route?
Book this trek if you want an acclimatization-focused plan, with extra time and route design that reduces the need to rush altitude gains. It’s also a strong choice if you prefer a quieter approach up through the Shira Plateau and want those classic Kilimanjaro landmarks like Lava Tower and the crater rim—without turning the climb into a one-day sprint.
Skip it or consider other options if you know you’re not ready for a very early summit start (midnight to 2 am) and you’re worried about how your body handles long, cold, steep hours on Day 7. Also, double-check your budget for things not included: gear, and lodging before and after the trek.
If you’re the kind of hiker who likes structure, steady pacing, and a realistic path to the summit, the Lemosho route is a solid match.
FAQ
How long is the 8-Day Mount Kilimanjaro Lemosho trek?
It’s listed as an 8-day trek, with each day’s hiking time varying from about 2–5 hours on Day 1 to about 3–5 hours on Day 8. Day 7 is the longest and most challenging with the summit push.
Where does the trek start and end?
It starts in Moshi, Tanzania, and ends back at the meeting point. After the trek, you’re driven about 60 minutes from Mweka gate back to your hotel in Moshi.
What’s included in the price?
The price includes all fees and taxes, meals during the trek (breakfast, lunch, and dinner as listed), and admission tickets. Pickup is offered, and a mobile ticket is included.
What’s not included?
Not included are accommodation before and after the trek, personal trekking gear, personal items, alcohol, and tipping for the crew.
Is there a vegetarian meal option?
Yes. A vegetarian option is available if you advise at the time of booking.
Does the trek run in all weather conditions?
Yes. It operates in all weather conditions, and you’re advised to dress appropriately.
What is the cancellation policy?
Free cancellation is available. You can cancel up to 24 hours in advance for a full refund. If you cancel less than 24 hours before the experience’s start time, the amount paid will not be refunded.