REVIEW · MOSHI
7 Day Trek To The Roof Of Africa Kilimanjaro via Machame Route
Book on Viator →Operated by Soraka Tours · Bookable on Viator
Climbing Kilimanjaro is a big ask. The Machame Route makes it feel real, with big altitude changes, scenic variety, and enough time to acclimatize for a serious shot at Uhuru Peak. I love that you get a structured pace with built-in recovery days, plus daily health checks with an oximeter so safety is part of the routine, not an afterthought. I also love the on-the-ground professionalism: Wilderness First Responder guides, an emergency oxygen canister, and a crew that runs logistics smoothly. One possible drawback: the climb is physically demanding, and the cost is high—so you’ll want to be sure your schedule, fitness, and gear needs match what’s included.
This trek also has a classic Kilimanjaro rhythm that’s easy to understand once you’re on it: higher each day, then a pause where it actually matters. You’ll start in the rainforest, move into moorland and heather, spend time on alpine terrain, then push toward the snow line. And the finale—sunrise toward Uhuru Peak—comes with real emotional weight, not just a scenic postcard moment.
For me, the smartest part is how the route is designed to manage your body. For you, that usually means fewer surprises. You’ll still feel it all in your lungs, legs, and head—but at least you’re not walking uphill on a totally random plan.
In This Review
- Key Highlights You’ll Feel on the Machame Climb
- Why Machame to Uhuru Peak Feels Different (and Worth the Sweat)
- The 9 Days, Day by Day: What Each Step Gives You
- Day 1: Arrival in Moshi and airport pickup
- Day 2: Machame Gate to Machame Camp (about 5,905 ft to 9,875 ft)
- Day 3: Machame Camp to Shira Camp (about 9,875 ft to 12,600 ft)
- Day 4: Shira Camp to Barranco Camp, plus Lava Tower acclimatization (to about 15,190 ft)
- Day 5: Barranco Camp to Karanga Camp (around 12,960 ft to 13,270 ft)
- Day 6: Karanga Camp to Barafu Camp (about 13,270 ft to 15,190 ft)
- Day 7: Barafu Camp to Uhuru Peak (about 15,190 ft to 19,341 ft) and descend to Mweka Camp
- Day 8: Mweka Camp to Mweka Gate and then hotel transfer
- Day 9: Transfer out for airport or safari adventures
- Guides, Safety Gear, and the “Small Things” That Matter
- Tents, Meals, and Sleeping Comfort at Altitude
- What’s Included vs What You’ll Need to Bring
- Group Size and Pace: Why It’s Not Just a Fancy Package
- Price and Value: Is $3,190 Smart or Just Big Numbers?
- Who Should Book This Machame Climb
- Should You Book This Machame Route With Soraka Tours?
- FAQ
- How long is the Kilimanjaro trek on this Machame itinerary?
- Where does the tour start?
- What route does the climb follow to the summit?
- Is airport transportation included?
- What accommodations are provided on the mountain?
- What meals are included?
- Do they handle dietary restrictions?
- Is there medical support and emergency equipment?
- What equipment do I need to bring?
- Is travel insurance included?
Key Highlights You’ll Feel on the Machame Climb
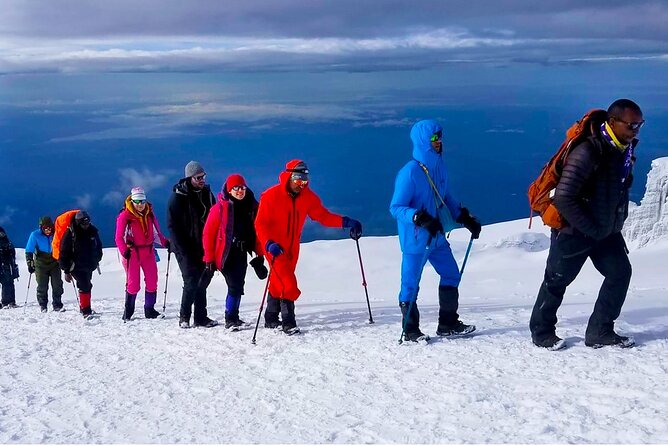
Rainforest to alpine desert in one trek: you’ll hike through clear climate zones as the altitude climbs.
Acclimatization that isn’t a gimmick: the Lava Tower stop and the ridge-style days help you adjust the hard way.
Morning summit push with serious support: sunrise timing plus experienced guides and crew for pacing and logistics.
Daily medical-style check-ins: oximeter readings and targeted health questions every day.
Tents, mats, and meals handled: you’re sleeping and eating in a controlled, warm setup instead of improvising.
Small group size: capped at 15 travelers, so you’re not just a number in a long line.
Why Machame to Uhuru Peak Feels Different (and Worth the Sweat)
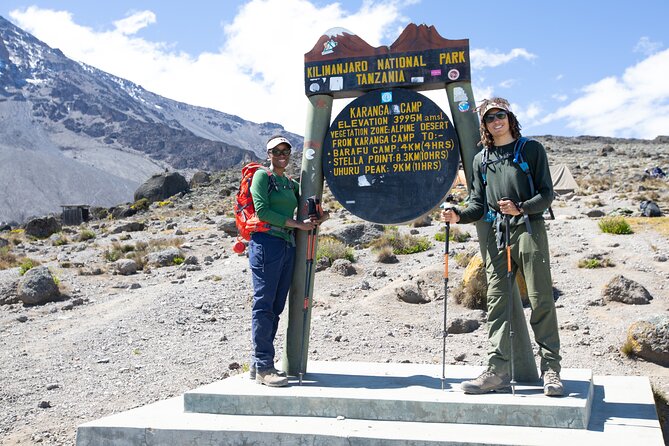
The Machame Route earns its reputation for a reason. You’re not just walking from point A to point B. You’re moving through Kilimanjaro’s “layers,” each one with its own footing, clothing needs, and mood. The rainforest start is slow and humid. Then the terrain shifts into heather and moorland. Later you’re in high alpine desert where the air feels thin and the sky looks too big.
This route is also known for a more varied climbing feel. Some days are about steady ascent and breathing. Others are about rhythm: short climbs, flatter stretches, and ridge walking that makes you keep your effort consistent. That matters because Kilimanjaro punishes big surges in pace. If you go too fast early, your summit push later will feel harder than it should.
I also like that this itinerary gives you a proper chance to acclimatize. It includes a day where you go high, then sleep lower the next day. That’s the kind of planning that can help you avoid the classic altitude mistake: treating altitude like it’s just another hill.
Price-wise, $3,190 per person isn’t cheap. But when you look at what’s included—park fees, rescue and camping fees, mountain meals, guides, tents, and airport transfers—the cost starts to make more sense. What you’re really paying for is the full operating system of a high-altitude expedition, not just “a hike with a view.”
You can also read our reviews of more tours and experiences in Moshi.
The 9 Days, Day by Day: What Each Step Gives You
Below is the trip flow you’ll follow in plain language—what each day is like, why it’s set up that way, and what you should watch for.
Day 1: Arrival in Moshi and airport pickup
You land at Kilimanjaro International Airport (JRO) and get picked up. The tour includes JRO pick-up and drop-off, plus ground transportation. You also get 2 nights at Kili Wonders Hotel in Moshi (or a similar hotel), with breakfast included.
Why this day matters: Kilimanjaro treks usually fail on logistics, not dreams. A clean transfer day means you start your climb rested and organized instead of hunting for maps, buying gear last minute, and stress-testing your body with a chaotic night.
Day 2: Machame Gate to Machame Camp (about 5,905 ft to 9,875 ft)
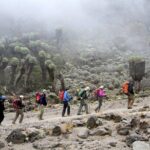
You begin in the rainforest and climb gradually up to Machame Camp. This is a classic “warm up the engine” day—humid air, thick greenery, and a pace that should feel manageable.
What I like here: starting in the rainforest helps you ease into hiking mode. You’re building stamina without the shock of immediate thin-air altitude.
What to consider: if you’re the kind of person who powers uphill, resist that instinct. Your goal is to arrive feeling like you could hike again tomorrow, not like you already used all your energy.
Day 3: Machame Camp to Shira Camp (about 9,875 ft to 12,600 ft)
The trek continues upward into heather and moorland zones before reaching Shira Camp. This is where the vegetation opens up and the air begins to feel different.
Expect a change in both scenery and breathing. Your legs may feel fine, but your lungs might work harder. Clothing also matters more now—layers help because temperatures can swing.
Day 4: Shira Camp to Barranco Camp, plus Lava Tower acclimatization (to about 15,190 ft)
You go from Shira Camp to Barranco Camp, and the day includes an acclimatization hike to Lava Tower (around 15,190 ft). You’ll get the chance to look toward the Western Breach and the Southern Glacier area.
This is one of the key “why this route works” days. You gain altitude high enough to stimulate acclimatization, then you settle into Barranco. That rhythm teaches your body how to handle altitude stress.
Practical note: you might feel tempted to push harder than necessary while you’re near a highlight viewpoint. Don’t. Stay focused on steady breathing and consistent effort.
Day 5: Barranco Camp to Karanga Camp (around 12,960 ft to 13,270 ft)
This is the famous Barranco Wall day. You’ll trek along the wall and enjoy the view from above, then continue to Karanga Camp.
What this day gives you: a mental win. The terrain can feel more exciting than a simple uphill slog, and that matters when you’re starting to think about the summit day.
Possible drawback: wall days can feel technical in the sense that you need careful footing. If you’re prone to rushing, slow down. Trust your steps, not your impatience.
Day 6: Karanga Camp to Barafu Camp (about 13,270 ft to 15,190 ft)
You’ll hike through high alpine desert to the final camp before the summit attempt.
This is the day where the mountain stops being “pretty” and becomes “serious.” The air is thinner, the ground can feel more exposed, and the horizon looks stark. It can also be the day where sleep matters most—because you’ll likely be up early soon.
Day 7: Barafu Camp to Uhuru Peak (about 15,190 ft to 19,341 ft) and descend to Mweka Camp
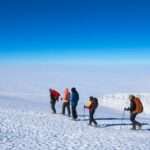
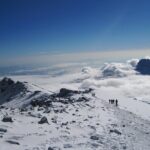
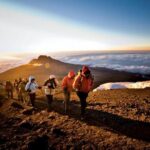
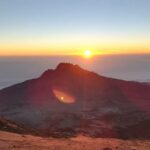
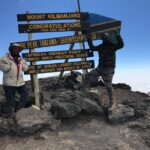
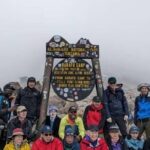
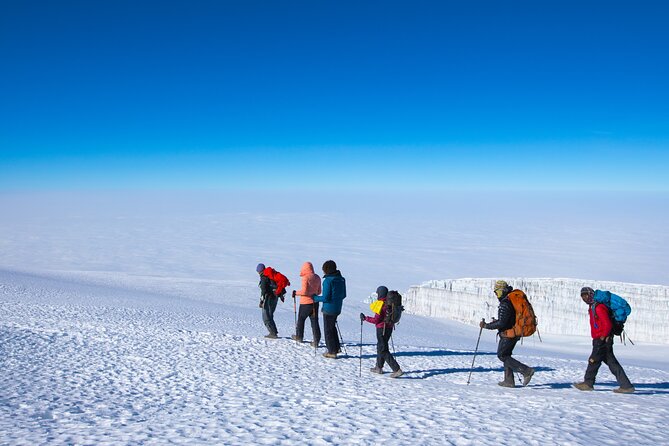
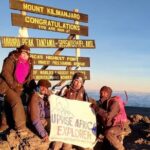
As you start your summit push at sunrise, you’ll see glaciers and the surrounding terrain in dramatic light. Then you summit and descend to Mweka Camp (around 10,170 ft).
This day is why you came. You’ll feel the altitude, but you’ll also feel the power of finishing. The best part is that the itinerary includes the descent to Mweka the same day, so you’re not stuck lingering at extreme altitude after the summit.
What to consider: summit day fatigue can make it hard to judge pace and footing on the descent. You need careful, controlled steps even when you feel like celebrating.
Day 8: Mweka Camp to Mweka Gate and then hotel transfer
You’ll go from Mweka Camp (about 10,170 ft) to Mweka Gate (around 5,380 ft), then transfer to the hotel.
This is the day you’ll finally feel your body loosen up. It’s also when you’ll likely be thinking about how fast the whole thing went—and how strange it feels to be back at lower altitude.
Day 9: Transfer out for airport or safari adventures
You finish with transfer—airport or onward safari plans.
This flexibility is useful. If you’re the kind of person who wants to tack on Tanzania wildlife time, you’ll have the time window to do it right after Kilimanjaro.
Guides, Safety Gear, and the “Small Things” That Matter
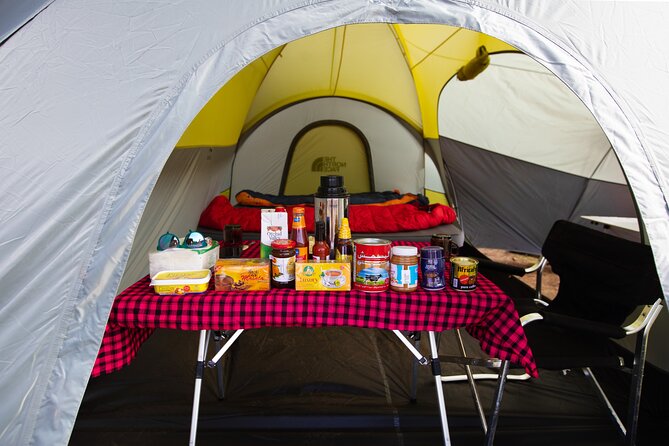
This trip is run with certified support and medical-style routines. You’ll have certified Wilderness First Responder Guides (each with over 10 years of climbing experience), plus an emergency oxygen canister and a medical kit.
You also get two daily health checks using an oximeter, plus specific health questions. That’s a big deal. Altitude safety isn’t just about having gear. It’s about checking how your body is adapting before you keep climbing.
On the human side, the guide experience shows up in the way you’re encouraged and kept on pace. In earlier climbs with this operator, guides like Baltasari and Baraka have been noted for friendly support and strong group energy, and that aligns with what you want on a summit attempt: calm, competent guidance when you’re tired.
Crew conditions matter too. The tour states that mountain crew are paid fair wages as set by KINPA. That’s not a small detail. It’s the difference between an expedition that feels like a machine and one that feels like a team that will still be strong tomorrow.
Tents, Meals, and Sleeping Comfort at Altitude
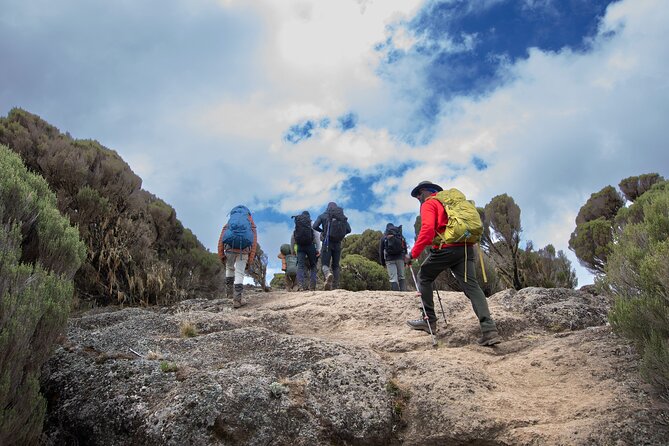
Comfort on Kilimanjaro is not luxury. It’s function. Still, this trek is built for function you can rely on.
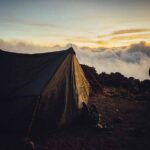
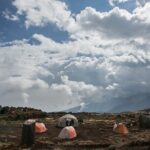
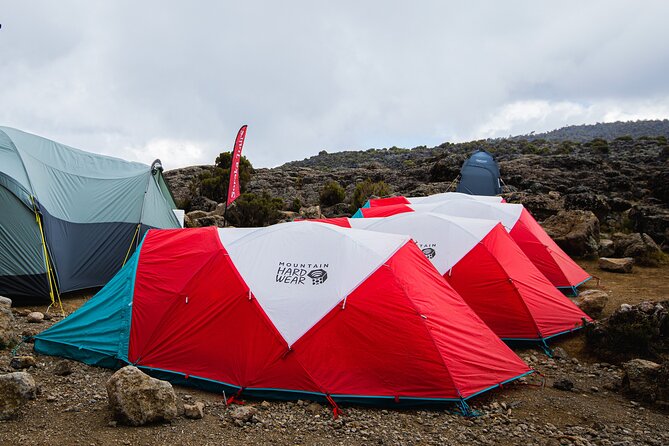
You’ll sleep in 4-season Mountain Hardware tents, two people per tent. You get warm sleeping mats, dining tents, table, chairs, and cutlery. Daily meals are included on the mountain—three freshly prepared meals each day.
Food is one of the easier ways to ruin your trek if it’s handled poorly. Here, the operator says they can accommodate vegetarians, gluten-free diets, halal, and kosher meal plans. If you have dietary needs, this is worth paying attention to when you’re choosing a summit company.
What about alcohol or hotel meals? Alcoholic beverages are not included. Lunch and dinner at the hotel are not included either—so plan on spending a bit extra on meals off the mountain.
One practical thought: the cold at night can be intense. Even with warm mats and tents, you’ll want to bring the personal layers you’ll need. The trek does not include personal climbing equipment like sleeping bags and hiking boots, so you must come prepared.
What’s Included vs What You’ll Need to Bring
Here’s the short list of what you can count on, based on what’s provided.
Included on the mountain:
- Park fees, rescue, and camping fees
- 3 freshly prepared meals daily
- 4-season tents (two per tent) and warm sleeping mats
- Dining tents and basic setup (tables, chairs, cutlery)
- Emergency oxygen canister and medical kit
- Daily health checks using an oximeter
- Certified Wilderness First Responder guides and experienced climbing crew
Included on the ground:
- JRO airport pick-up and drop-off
- Ground transportation
- 2 nights at Kili Wonders Hotel in Moshi (or similar), breakfast included
Not included (you must plan for it):
- Visa fee
- Airfare
- Travel insurance
- Tips for mountain staff
- Alcoholic beverages
- Hotel lunch and dinner
- Personal gear: sleeping bag, hiking boots, and other climbing equipment
This is the place where people get caught. Don’t show up thinking the operator will handle every item. If you already own solid winter hiking boots and a good cold-weather sleeping system, you’re in great shape. If not, budget time and money to get it right.
Group Size and Pace: Why It’s Not Just a Fancy Package
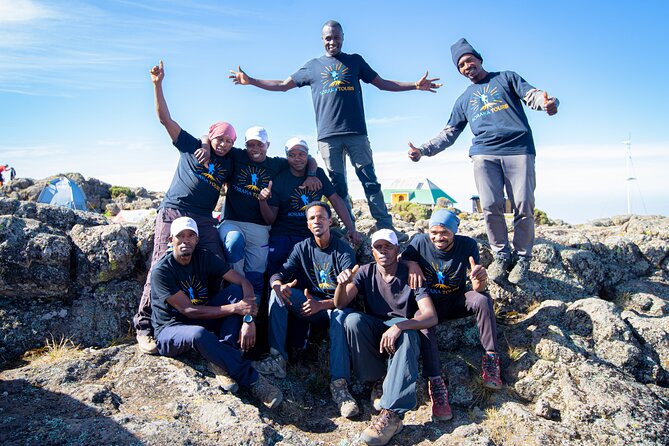
This trek caps at 15 travelers. That changes the feel. Smaller groups tend to move with less waiting, which matters when altitude makes every minute slower.
Pace is also built into the route design. Machame gives you the early climb, then offers recovery and acclimatization. Barranco Wall adds a fun but focused day. Karanga and Barafu funnel you into final summit logistics.
The summit day itself is sunrise-based and clearly planned: Barafu Camp early morning, Uhuru Peak at 19,341 ft, then descent to Mweka Camp. It’s the kind of plan that helps the guides manage both safety and timing.
If you’re moderately fit but not sure you can handle the summit, this route is still one to consider—just be honest with yourself. The operator’s own note says you should have moderate physical fitness level. That’s not the same thing as being ready for a hard uphill at altitude. It’s a nudge to train and prepare, not an excuse to coast.
Price and Value: Is $3,190 Smart or Just Big Numbers?
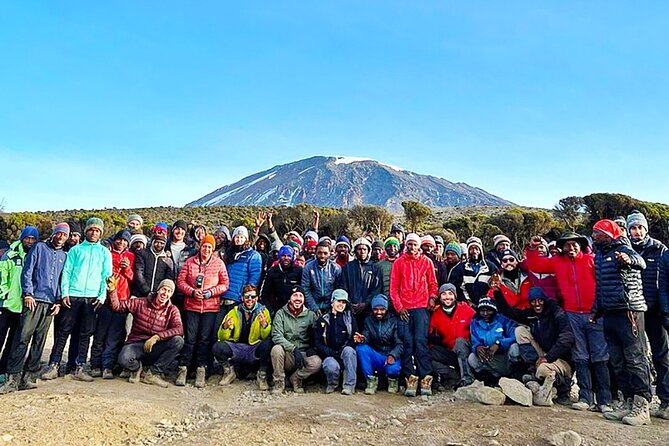
Let’s talk value without the sales talk.
At $3,190 per person, you’re paying for more than your walking days. Included are:
- National Park fees and the rescue/camping costs
- Mountain meals and tented accommodations
- Certified guides with Wilderness First Responder training
- Emergency oxygen canister and medical kit
- Airport transfers and ground transportation
- Hotel nights in Moshi and breakfast
- Daily health checks with an oximeter
What’s not included—visa, airfare, travel insurance, personal gear, and tips—are also normal for Kilimanjaro. But they add real cost after the headline price. Before you book, make a quick budget:
- Your airfare to JRO
- Your visa
- Travel insurance
- Your tips
- Any personal gear you don’t already have
If you’re comparing operators, focus less on “who’s cheapest” and more on “what’s truly covered.” For Kilimanjaro, the biggest savings often come from skipping things that keep you safe or comfortable—like proper tents, enough meals, trained guides, or health monitoring. This package is built around those essentials.
Who Should Book This Machame Climb
This tour is a strong fit if:
- You want the classic Machame mix of rainforest, moorland, alpine desert, and summit challenge
- You’re willing to work for a Roof of Africa payoff
- You care about safety systems like daily health checks and emergency oxygen
- You want a small group and professional crew support
It may not be the best fit if:
- You’re not comfortable with a demanding high-altitude hike
- You want a fully hands-off gear experience (personal climbing equipment is not included)
- You’re on a tight budget, because the total trip cost includes items beyond the listed price
Should You Book This Machame Route With Soraka Tours?
If you want a serious shot at Kilimanjaro with real planning behind it, I’d book this Machame trip. The combination of acclimatization (including Lava Tower), structured summit timing, and daily health checks makes it feel thoughtfully run. The support team—certified Wilderness First Responder guides, emergency oxygen on hand, and an experienced crew—covers the kinds of risks that matter most at altitude.
I’d only hesitate if you’re unprepared for hard effort, or if you haven’t lined up your personal gear, visa, insurance, and tipping budget. Kilimanjaro doesn’t forgive sloppy prep.
If you’re ready to train, layer up, and respect the altitude, this route offers exactly what people hope for when they chase the Roof of Africa: a tough journey with clear milestones, strong support, and a summit day you’ll remember for the rest of your life.
FAQ
How long is the Kilimanjaro trek on this Machame itinerary?
The trek portion is 7 days, with a total duration of about 9 days including arrival, hotel time in Moshi, and the final transfer.
Where does the tour start?
You start at Kilimanjaro Airport (JRO), with pick-up service included.
What route does the climb follow to the summit?
It follows the Machame Route to Uhuru Peak, with stops including Machame Camp, Shira Camp, Barranco Camp, Karanga Camp, and Barafu Camp.
Is airport transportation included?
Yes. JRO pick-up and drop-off and ground transportation are included.
What accommodations are provided on the mountain?
You’ll use 4-season Mountain Hardware tented accommodation, with two people per tent, plus warm sleeping mats.
What meals are included?
You get 3 freshly prepared daily meals on the mountain. Breakfast is included at the Moshi hotel, while hotel lunch and dinner are not included.
Do they handle dietary restrictions?
Yes. They state they can accommodate vegetarians, gluten free diets, halal, and kosher meal plans.
Is there medical support and emergency equipment?
Yes. Guides are certified Wilderness First Responder Guides, and the package includes an emergency oxygen canister and a medical kit. There are also two daily health checks using an oximeter.
What equipment do I need to bring?
Personal climbing equipment is not included, including items like your sleeping bag and hiking boots. You should also be ready for cold-weather hiking with your own layers and essentials.
Is travel insurance included?
No. Travel insurance is not included, so you’ll need to arrange it separately before you go.