REVIEW · MOSHI
Top 6 Days Mt. Kilimanjaro Bike trek Tour by Marangu-Kilema Route
Book on Viator →Operated by #1 Best Kilimanjaro Bike Tour Operators | BURIGI CHATO SAFARIS C.O L.T.D · Bookable on Viator
Bike up Kilimanjaro and you’ll get why people remember it. This 6-day mountain-biking trek takes you from the Marangu side up toward Kibo, then early in the morning you’re moving for the summit before a high-speed descent back down through alpine scenery and jungle-like stretches. It’s built around the Kilema Route, the one route made for bike access.
Two things I really liked: the round-trip transfers from Moshi (so you’re not piecing together rides), and the fact that accommodations and meals are handled along the way, with crew support and porter help included. You also get that nice mix of scenery—alpine desert, rocky sections, and forest-like riding—so it never feels like you’re doing one long sameness slog.
One consideration: this isn’t a casual spin. You need real altitude stamina and decent mountain-bike comfort, plus night-summit cold and the practical gear challenge of keeping equipment working when temperatures drop.
In This Review
- Key highlights worth planning for
- Pedal Power on Kilimanjaro’s Bike-Accessible Route
- Price and logistics: what $3,668 covers (and what it doesn’t)
- Moshi start-up: transfers, gates, and your first bike check
- Day 1: Kilema gate to Horombo Hut (16km with a serious elevation jump)
- Day 2: Alpine desert riding and the Mawenzi–Horombo loop
- Day 3: Rocky start, the Saddle, and the long push toward Kibo
- Day 4: Kibo hut, summit-eve orientation, and night equipment planning
- Day 5: 4am climb, Hans Meyer’s Cave, Gilman’s Point, and the ride to Uhuru
- Day 6: Kilema gate descent, rainforest riding, and back to Moshi
- The value of hut nights and crew support (not just the views)
- Who this Kilimanjaro bike trek is best for
- What to pack and how to ride smarter at altitude
- Should you book this Kilimanjaro bike trek?
- FAQ
- What city do you start from?
- What time does the experience start?
- Do I get transfers and gate handling included?
- Are meals and accommodation included?
- Is a mountain bike included?
- Where is the summit-attempt route and how is it done?
- Are non-summit options available?
Key highlights worth planning for
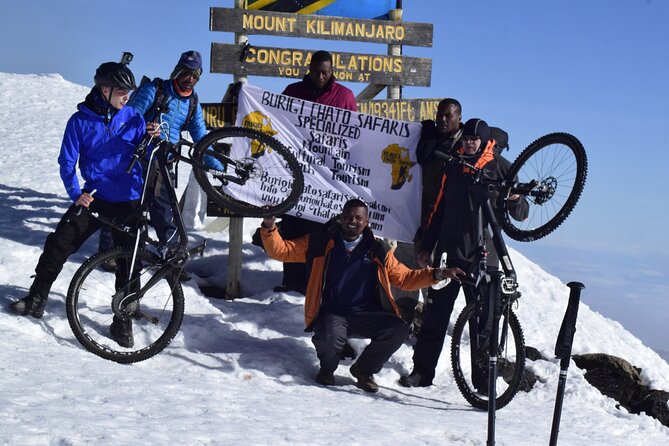
- Only bike-accessible summit route on Kilimanjaro’s Kilema line of travel
- Hut-based trekking with guided cycling and support, not solo DIY
- Big altitude day structure: Horombo → Mawenzi area → Kibo → summit night → Stella → Horombo
- Night summit prep matters: thermal clothing plus headlamp and battery replacement planning
- Transfers and gate handling are built in from Moshi, with park gate registration steps
- Bike hiring isn’t included, so confirm what you’re responsible for before you go
Pedal Power on Kilimanjaro’s Bike-Accessible Route
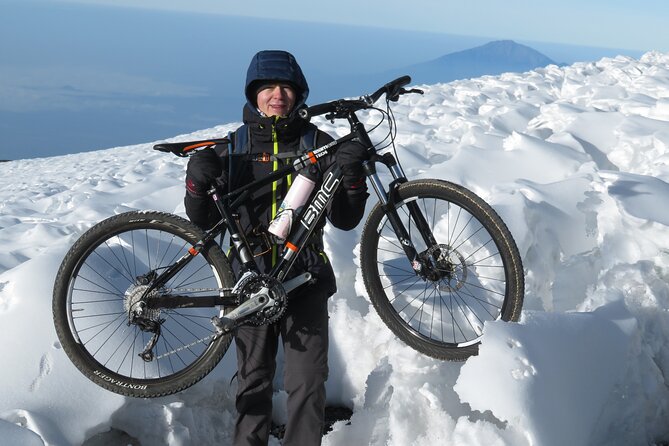
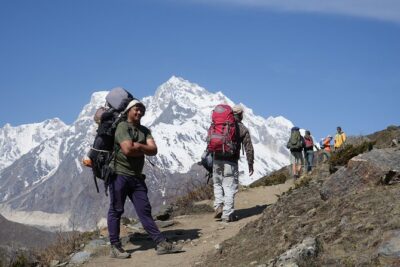
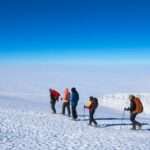
Kilimanjaro has lots of ways to climb it. Most are hiking-focused. This one flips the script and lets you ride parts that hikers only see on foot—up through alpine desert, across cold high places, and down toward the rainforest edge. If you’re a cyclist who’s also willing to respect altitude, this is a rare combo.
What makes the experience interesting is the rhythm. You’re not just chasing a summit photo. Each day has a different “feel” to it: lower-elevation biking that builds confidence, then tougher rocky sections where you’ll fight for traction, then the long, cold night push when everything slows down and the goal becomes simply moving safely.
And yes, the “bike trek” label can sound like a gimmick until you’re standing at the gates and realizing you’re operating a bike at serious altitude. That’s the whole point. You’ll earn the views, then you’ll actually ride them—rather than walking past them.
You can also read our reviews of more tours and experiences in Moshi.
Price and logistics: what $3,668 covers (and what it doesn’t)
The price is listed at $3,668 per person for the 6-day trek, and the value is mostly in the “you show up, we run the machine” parts:
Included elements you should count as real value:
- Private transportation and gate transfers from Moshi
- Airport pickup and drop-off
- Park-related fees and taxes
- Crew wages and the supporting team’s work
- Hut/camp accommodation and meals (dinner and lunch each listed for 6 days, breakfast listed for 5)
- A hotel stay before and after the trek (you can book it directly or through the operator)
Not included items you need to budget for:
- Flights
- Tipping the crew
- Visas
- Trekking mountain bike hiring
- Personal trekking gear
So here’s my practical take: the cost makes sense if you’re the kind of traveler who wants altitude logistics handled for you. If you already have your own gear and bike figured out, you might feel the price is heavy. If you don’t, the included support becomes the difference between a smooth trip and a stressful one.
Also, the activity notes a maximum group size up to 200 travelers. That doesn’t mean your cycling group will be massive, but it does mean you should ask what your specific group size will feel like on your date.
Moshi start-up: transfers, gates, and your first bike check
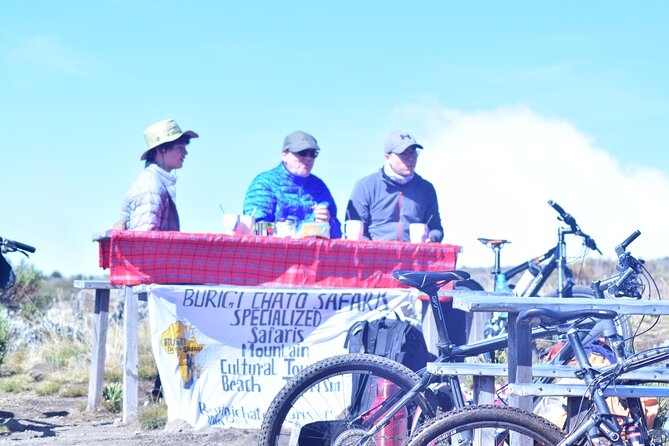
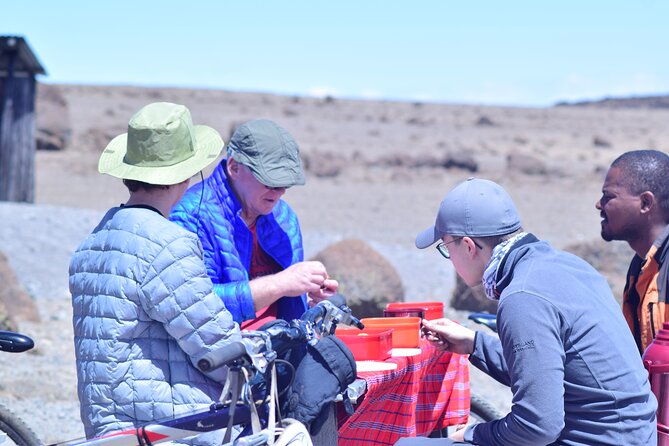
You meet with your guide and start with transfer time from Moshi that’s listed as about 45 minutes to the Marangu gate area. At the park gate, hikers are required to register at the park office—so you’ll go through that formal step before the route continues.
Then the trip drives onward to the Kilema gate. That’s where the cycling actually begins on Day 1. Before you ride, you do a “daypack reality check.” You’ll be responsible for carrying key items like at least drinking water, your lunch pack, and extra clothing in your daypack, plus a final bike check.
That part matters more than it sounds. At altitude, the margin for “we’ll fix it later” shrinks fast.
Day 1: Kilema gate to Horombo Hut (16km with a serious elevation jump)
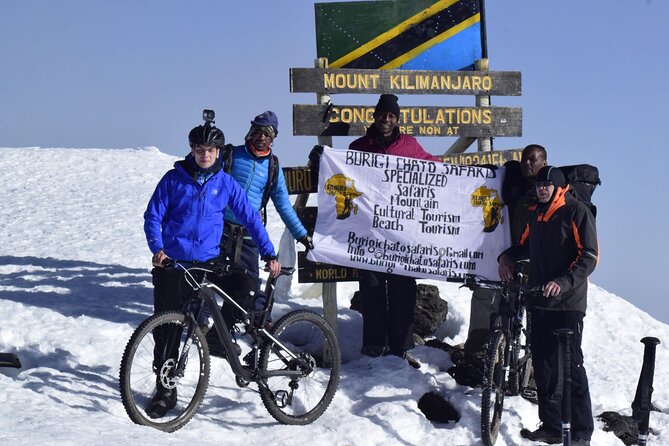
Day 1 is the on-ramp. You ride roughly 16 km from the Kilema gate (1,950m) to Horombo hut (3,705m). This isn’t just a distance day—it’s a “get your body and bike working together” day.
You’ll also be riding with your guide on a mountain bike. The day is described as suitable for good fitness levels and mountain biking skills, and it depends on road conditions—so expect variability rather than a paved-road guarantee.
Why this day is valuable:
- It gives you an immediate sense of the route’s feel before the truly cold nights
- You’ll sleep at Horombo, which becomes your baseline for later altitude discomfort
One small strategy I’d copy: when you arrive, don’t treat your hut like a dead-stop. The goal is to help your body settle in and get used to the air while you still have energy.
Day 2: Alpine desert riding and the Mawenzi–Horombo loop
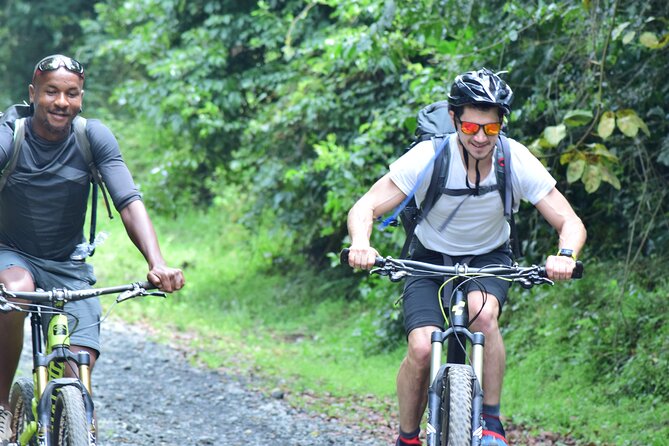
After breakfast you start cycling through alpine desert vegetation, with a listed cycling distance of about 10 km. The terrain here can be a mix of small stones and rougher ground, but the route is shorter than Day 1.
A common trap on Kilimanjaro is thinking shorter distance automatically means easier. The altitude does not care about your GPS. Still, this day functions well as a pressure-release valve: you get more time on the bike without the same “all day climbing” fatigue you’ll feel later.
What I like about Day 2’s structure is that it keeps you moving while giving your body time to adjust.
Day 3: Rocky start, the Saddle, and the long push toward Kibo
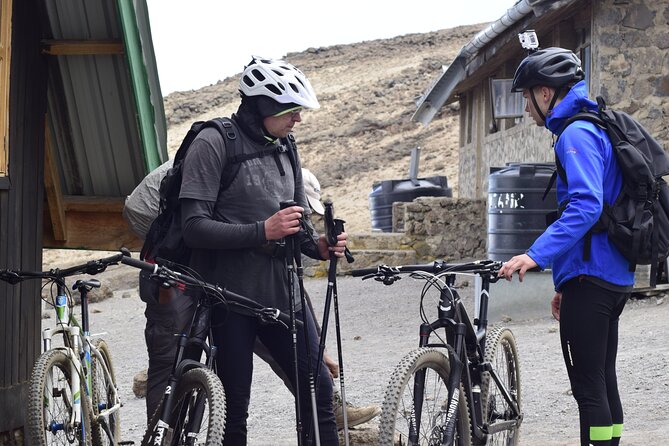
Day 3 is where the ride starts turning into a test.
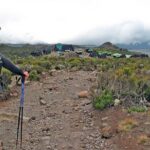
You begin with early breakfast and then cycle into the alpine desert habitat. The first 3 km are described as very rocky, with stony, eroded trail where cycling becomes very difficult. After about that rough stretch, the trail improves and cycling becomes more doable.
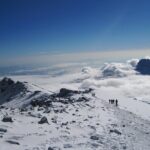
Then you hit the Saddle area between Mawenzi and Kibo. The route there is relatively flat, and cycling should feel easier.
But the real challenge is the high-altitude section toward Kibo:
- Low oxygen and cold conditions make the 7 km toward Kibo strenuous
- The final km before reaching Kibo is called especially demanding
This day is the one I’d prepare mentally for. If you’re expecting “pretty bike riding,” you’ll be caught off guard. If you’re expecting “bike riding as part of an altitude adventure,” you’ll be right on track.
Day 4: Kibo hut, summit-eve orientation, and night equipment planning
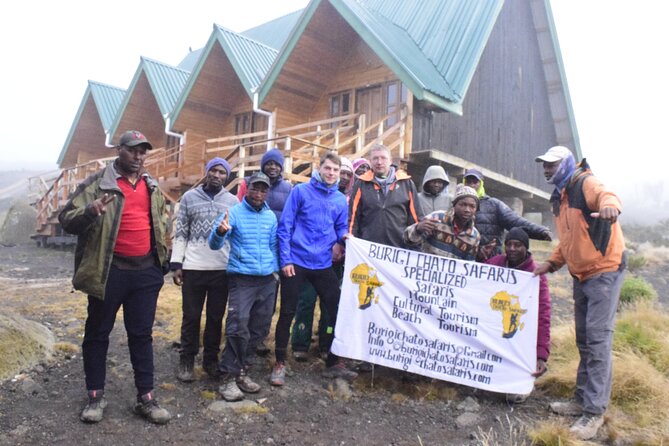
Early wake is part of Day 4. You make sure duffel bags are packed and ready to go. After breakfast, you cycle back up to Kibo hut, and the itinerary mentions a final 7 km to Kibo offering a good biking trail.
At Kibo, you’ll have lunch and aim to rest. Timing depends on how you feel, but around 16h00 you may be able to hike partially up the summit path to get oriented for the summit attempt later that night.
Then comes the key reality of Kilimanjaro at bike-trek speed:
- The summit (Uhuru Peak) is 1,195m higher
- Your final ascent is attempted the same night
- You need to prep equipment, thermal clothing, and handle things like headlamp and camera batteries
Two practical notes that you can’t ignore:
- You’ll want a plan for freezing conditions affecting water and equipment
- You should have a spare set of critical items (especially headlamp and batteries), since those are the things that can turn a tough night into a dangerous one
Day 5: 4am climb, Hans Meyer’s Cave, Gilman’s Point, and the ride to Uhuru
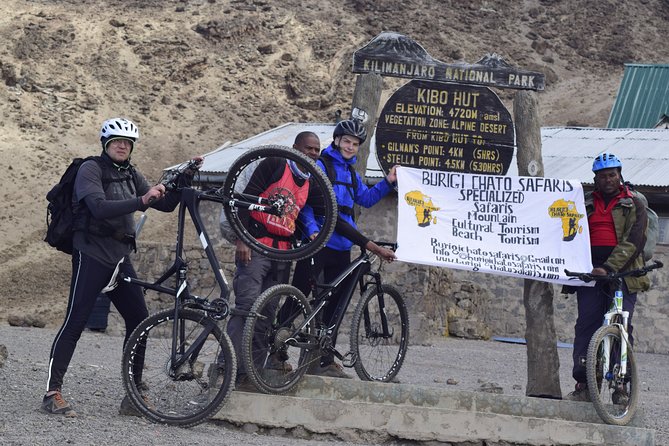
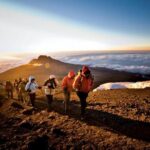
Day 5 starts at 4:00 am. Guides wake you so you can begin the zigzag trek up a steep, described-as scree slope. After about two hours, you reach Hans Meyer’s Cave. From there the gradient gets steeper.
Then you continue for around another three hours to Gilman’s Point. At that stage, you take your bike from porters and move into the bike portion toward Uhuru Peak.
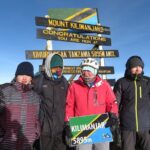
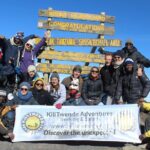
The cycle portion is described as arriving at Uhuru Peak, spending a few minutes (photos), and then riding down to Stella Point. After lunch you ride down to Horombo.
What I like about this design:
- The “hard climb” is clearly separated from the “bike sprint/descent” segments
- It keeps the summit attempt connected to the bike experience, instead of having you park the bike and only hike the final drama
One more thing: altitude symptoms can show up here fast because you’re combining cold, early-morning effort, and a long lead-up. The itinerary structure already points you toward safety steps like drinking enough water and slowing down when reminded.
Also, it’s worth knowing that there have been incidents where a guide’s bike broke and the operation still worked out. That’s not something you should count on, but it’s a reminder to bring patience and to confirm how mechanical issues are handled.
Day 6: Kilema gate descent, rainforest riding, and back to Moshi
Day 6 is your payoff ride.
After breakfast you bike down to the Kilema gate, crossing alpine and rainforest areas, then you transfer to the Marangu gate for check out and head back to a hotel in Moshi.
This is where you’ll understand the whole “Kilema Route bike trek” concept. You started at gate altitude with a first climb. Now you’re closing the loop, moving across ecological zones, and trading grind for motion.
If you’ve felt altitude fatigue on previous days, don’t ignore that your legs may still be tired. It’s still biking at high altitude terrain, so treat it as a careful descent—not a victory lap you rush through.
The value of hut nights and crew support (not just the views)
A big part of why this tour feels like it’s “built” for you is the support system:
- Porters and crew handle key logistics so you’re not carrying everything
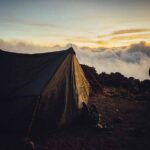
- You’re sleeping in mountain huts during the main parts of the route
- You’re not arriving to a chaotic setup situation; the process is organized
Some feedback also highlights the crew and porters keeping things going when conditions get rough, including first aid support when altitude symptoms show up. That’s not the kind of detail you want to test firsthand. But it’s reassuring to know the trip is designed for real mountain conditions, not just ideal weather days.
And for cyclists, there’s a psychological benefit here too: you’re riding with a guide on a bike, and the group rhythm keeps you from spending your energy on navigation stress.
Who this Kilimanjaro bike trek is best for
This tour is a strong match if:
- You have moderate fitness and the ability to handle altitude
- You’re comfortable on a mountain bike and can handle rocky, stony terrain sections
- You’re excited by the idea of a night summit attempt and early starts
It may be a weaker match if:
- You’re hoping for an easy “mostly downhill” experience (there are multiple demanding altitude sections)
- You don’t want cold-night equipment responsibility
- You don’t already have a plan for bike hiring and personal gear
If you’re unsure about summiting, the program notes that non-summit itineraries are available—so you can still do the route experience with a different objective.
What to pack and how to ride smarter at altitude
The itinerary already flags a few essentials:
- Bring a daypack with drinking water, lunch pack, and extra clothing
- Have thermal clothing for the summit night
- Plan for headlamp and camera battery replacement, and carry spares
- Bring the personal gear that’s not included (the exact list isn’t provided, so follow the operator’s guidance once you book)
From a “ride smarter” angle, here’s what matters most based on the route descriptions:
- Day 3 includes a rocky first 3 km. Expect to walk some segments and don’t force it.
- The Saddle feels flatter, but the cold and oxygen still affect your breathing and power output.
- On summit day, don’t treat biking as recovery. The altitude you reached before you mount the bike already sets your limits.
If you can do one thing before you go, do this: practice riding and braking on rough ground, even if it’s not at altitude. Bike control on rocky trail can save your energy.
Should you book this Kilimanjaro bike trek?
Book it if you want Kilimanjaro to feel different—more motion, more cycling, and a summit plan that still keeps the bike experience central. It’s also a good fit if you value transfers, meals, and huts handled for you, and you don’t want the logistical stress of coordinating gates and daily planning.
Hold off or ask more questions if you:
- Don’t have mountain-bike skills for rocky trail
- Haven’t planned for bike hiring (since it’s not included)
- Are not ready for summit-night cold and battery/headlamp management
If you’re balancing risk vs. reward, my best advice is simple: be honest about your cycling comfort and your altitude tolerance. If those check out, this is one of the most distinctive ways to experience Africa’s highest peak—because you don’t just reach the top. You ride through the whole story.
FAQ
What city do you start from?
You start from Moshi, Tanzania. The trek includes transfers from Moshi.
What time does the experience start?
The start time is listed as 9:00 am.
Do I get transfers and gate handling included?
Yes. Private transportation is included, along with gate transfer, and airport pickup and drop-off.
Are meals and accommodation included?
Yes. The package includes hut/camp accommodation and meals: dinner is listed for 6 days, lunch for 6 days, and breakfast for 5 days, plus a hotel stay before and after trekking.
Is a mountain bike included?
Trekking mountain bike hiring is not listed as included, so you should confirm what you’ll be responsible for before departure.
Where is the summit-attempt route and how is it done?
On the summit night, you start around 4:00 am for a zigzag climb to Hans Meyer’s Cave and onward to Gilman’s Point. From there you take your bike from porters to ride to Uhuru Peak, then ride down toward Stella Point.
Are non-summit options available?
Yes. Non-summit itineraries are available.