REVIEW · KATHMANDU
Everest Base Camp Trek Via Gokyo Lake and Cho La Pass
Book on Viator →Operated by Marvel Treks and Expedition · Bookable on Viator
A trek that mixes Everest drama with Gokyo calm. You get the classic Everest story from Namche to Base Camp, then switch gears for the quiet high-altitude feel of the Gokyo Lakes and the early challenge of Cho La Pass. The way the route is stitched together makes the days feel varied instead of repetitive.
I also like how the trip is built around real logistics: round-trip flights to Lukla, meals and twin-sharing teahouses included, plus a licensed English-speaking guide and porter support (with a 1:2 ratio). That matters because on a trek like this, getting the boring parts right keeps your energy for the hard part.
One thing to consider: altitude comes for you, and Cho La is an early-morning, serious crossing. You’ll want a steady pace, good cold-weather basics, and patience if weather changes the tempo—especially around flights.
In This Review
- Key things that make this trek different
- Kathmandu: briefing, gear check, and getting your footing
- Lukla flight and the first trekking rhythm to Phakding
- Namche Bazaar: the Everest “yes, it’s real” moment
- Tengboche: pine forest, Thamserku views, and monastery time
- Dingboche and Lobuche: where altitude starts to press
- Gorak Shep and Base Camp: glacier approach and big achievement
- Kala Patthar sunrise and the Dzongla connection
- Cho La Pass and Gokyo Valley: the serious switch into lake country
- Gokyo Lakes days: panoramic views plus multiple lake visits
- Back down through Namche: hot shower and the satisfaction of recovery
- The Dudh Koshi return to Lukla and your last full hiking day
- Fly back to Kathmandu and use your buffer day well
- Guides, food, and why the trip feels smoother than DIY
- Price and logistics: what $1,000 buys you (and what it doesn’t)
- Who this trek suits best (and who should think twice)
- Should you book Everest Base Camp via Gokyo and Cho La?
- FAQ
- How long is the trek?
- Where does the trek start and end?
- What’s included in the trek price?
- Are meals included during the trek?
- Do I need to bring my own trekking gear?
- Is a Nepal visa included?
- Do I need travel insurance?
- Is this trek private?
- Is emergency oxygen part of the safety plan?
- Are hot showers and Wi-Fi included?
- Can I take service animals?
Key things that make this trek different
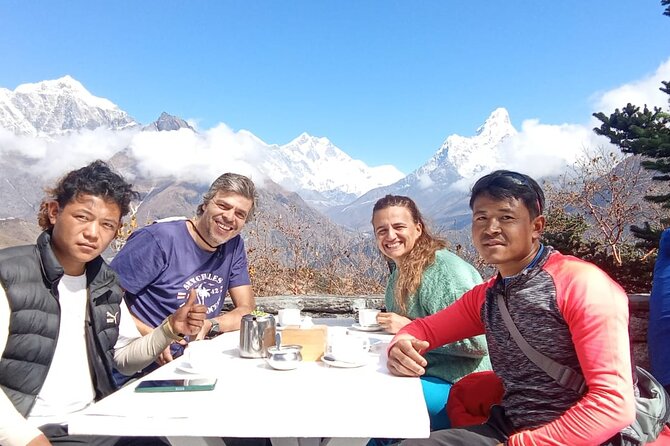
- Cho La Pass adds real challenge: you cross early, so expect cold mornings and focus on steady steps
- Gokyo Lakes are the payoff day: panoramic views and multiple lakes on a high-altitude route
- You still do the Everest classics: Namche, Tengboche, Khumbu Glacier/Base Camp, and the big sunrise moment at Kala Patthar
- Teahouse life is part of the plan: twin-sharing lodging plus breakfast/lunch/dinner removes a big decision load
- Support is built in: licensed guide + porter ratio, Sagarmatha permits/TIMS, and emergency oxygen mentioned in the trek overview
- It’s designed for variety: pine forests, monastery stops, memorial areas, glacier sections, and lake valleys in one circuit
Kathmandu: briefing, gear check, and getting your footing
Your trip starts in Kathmandu with an airport pickup where your guide holds a sign with your name. That sounds small, but on arrival days it can mean the difference between calm and chaos. You’ll then do a trek briefing and a gear check. This is where you get your “what to expect” reality check: how early you’ll rise, how you’ll handle cold, and what to pack so you’re not stuck renting the wrong things later.
You get one night in Kathmandu with breakfast included. That’s useful because it gives you time to reset after travel and to rent personal gear in Kathmandu if you don’t already have it (boots, jacket, poles, and so on aren’t included). If you’re bringing your own gear, this is also the day to confirm what’s comfortable. A trek like this will punish shoes that feel okay for one city walk but fail after hours on rocky trails.
Practical value tip: keep your passport and trekking documents easy to reach during the first transitions, and pack a small “morning layer” you can pull on fast during early starts. Cold mornings on the high route don’t reward fumbling.
You can also read our reviews of more tours and experiences in Kathmandu.
Lukla flight and the first trekking rhythm to Phakding
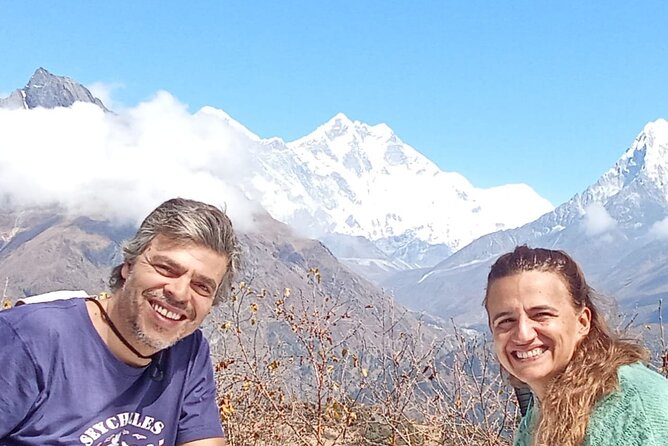
Next comes the scenic flight to Lukla, then you start trekking through Sherpa villages toward Phakding. The early part of this circuit matters because it teaches you the pace: walk steady, drink regularly, and don’t chase speed. These first days are where you learn what your lungs and legs feel like before the higher passes and longer days arrive.
Your daily rhythm will be simple: walk with your guide, arrive at a teahouse, eat a full meal plan you don’t have to figure out, then recover and sleep. Since breakfast/lunch/dinner are included during the trek, you’re not hunting for food options with cold fingers or limited time.
Possible drawback: Lukla flights can be weather-sensitive, and while flights are included, delays can happen. The trip notes that extra hotel nights due to flight delays or early return aren’t included, so it helps to build flexibility into your travel budget.
Namche Bazaar: the Everest “yes, it’s real” moment
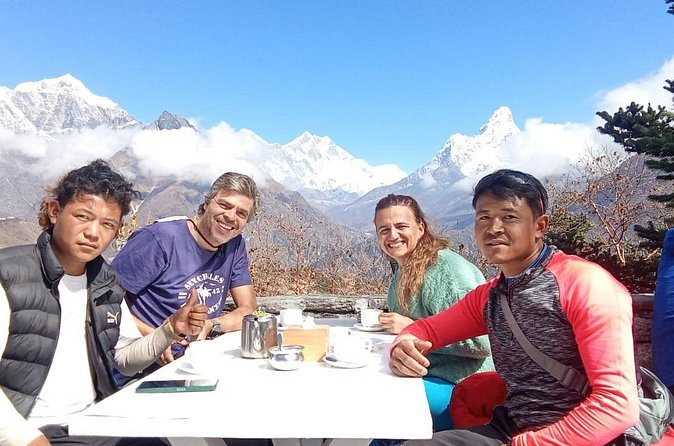
Namche Bazaar is where the Everest story becomes tangible. You cross suspension bridges and enter Sagarmatha National Park, and you get your first real glimpse of Everest. This is also where the circuit starts to feel like a trek with acclimatization, not just hiking.
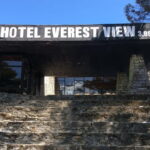
You’ll spend time in Namche and can choose an optional hike to the Everest View Hotel (at 3,880m). Even if you don’t go up, the area has a market vibe and a Sherpa museum to help you understand what you’re seeing on the trail. That context is practical: it helps you interpret the monasteries, the flags, and the way Sherpa culture fits into mountain life rather than treating it as just scenery.
Small decision that pays off: if you can handle it comfortably, the Everest View Hotel side hike is a good way to test your altitude tolerance. The altitude is real, but so is the reward of seeing how the mountains layer in the clear air.
Tengboche: pine forest, Thamserku views, and monastery time
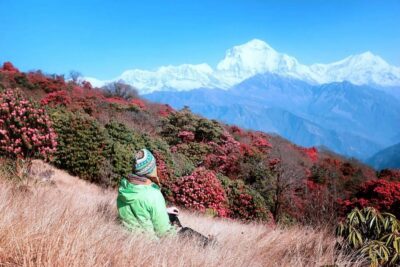
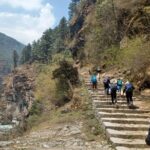
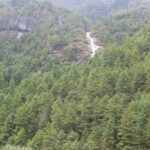
On the way to Tengboche, you walk through a pine forest with views of Thamserku and Everest. This is one of those sections where a trek feels like it changes settings: from settlement trails to forest shade to open mountain sightlines.
Then you visit Tengboche Monastery. Stops like this matter because they slow the day down in a good way. Instead of constantly pushing for altitude gains, you get a cultural pause—also a chance to warm up, sit for a bit, and reset your attention.
What to watch: teahouses and monasteries still run in the mountain cold. Even on days that feel “easier,” pack layers you can adjust during transitions when wind hits.
Dingboche and Lobuche: where altitude starts to press
Dingboche is a shift. You cross the Imja Khola, pass Pangboche, and begin to feel the higher altitude. The route here is not just about distance—it’s about letting your body adjust gradually. If you’ve done other hikes at altitude, you’ll recognize the pattern: your pace slows, you breathe deeper, and you focus on rhythm more than speed.
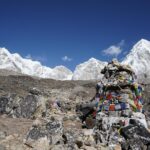
Then comes Lobuche, with alpine terrain and memorials of climbers. This section has emotional weight, not because the trek becomes “sad,” but because it reminds you that this mountain has stakes. The memorials can make the whole journey feel more respectful and less like an Instagram backdrop.
My advice: on days like this, don’t measure success by how fast you arrive. Measure it by how controlled your breathing is and how steady your legs feel when you stop.
Gorak Shep and Base Camp: glacier approach and big achievement
From Gorak Shep, you follow the Khumbu Glacier route to Everest Base Camp. You’ll take photos and enjoy the achievement, then return to Gorak Shep. This is a classic day, but it still deserves respect: glacier terrain isn’t “difficult” in the same way as a steep climb, but it can feel tiring and slow because you’re focused on footing and route clarity.
Since meals and teahouse nights are included, you’re not mentally juggling where the next meal comes from. That’s a big quality-of-life difference. After a glacier approach and the mental high of reaching Base Camp, you want a predictable setup waiting for you.
Possible drawback: the Base Camp push is often about endurance and cold. Even when the sky is clear, temperatures can bite. Make sure your gloves and layers are truly usable for the conditions you’ll face, not just comfortable on a mild morning.
Kala Patthar sunrise and the Dzongla connection
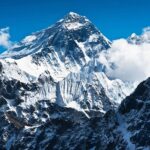
The next morning is your sunrise view of Everest from Kala Patthar. This is one of the “people remember this” moments on the Everest circuit, because the light and perspective make the mountain look close enough to touch. You then trek down to Lobuche and continue to Dzongla.
This day is logistically demanding because sunrise means early wake-up, and early wake-up means you lose sleep you didn’t plan to lose. If you hate mornings, this is the trek where you learn to tolerate them.
What I’d do to enjoy it more: keep your photo goal realistic. You’ll want to capture the view, but also spend a few minutes just standing there and letting your eyes adjust. The best moments here are often the quiet ones between shots.
Cho La Pass and Gokyo Valley: the serious switch into lake country
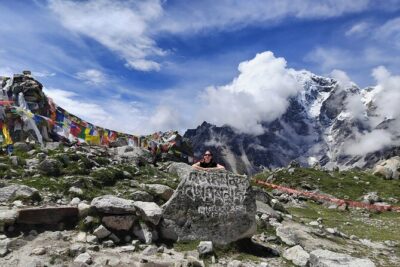
This is where the trek gets extra spicy. You cross icy Cho La Pass early morning, then descend into the Gokyo Valley. Cho La is described as a glacier pass, and in practice that means you should treat it as a key technical and physical moment, not a simple crossing.
Then you reach Gokyo, where the pace shifts again. Instead of the Everest trail vibe, you enter a more quiet lake-focused setting. The day is longer in effort even when it feels “less famous,” because passes ask for concentration.
Consideration: if you tend to get anxious on exposed or icy sections, this is where your guide’s guidance and your own calm habits matter most. Steady steps and controlled breathing beat bravery.
Gokyo Lakes days: panoramic views plus multiple lake visits
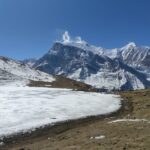
The next day includes a morning climb for panoramic views of Everest, Cho Oyu, and Makalu. After that, you visit the 3rd and 4th Gokyo Lakes. These lake days are the point where the route earns its name. You trade constant altitude drama for long sightlines, still water, and changing light on the surrounding peaks.
Because the trek includes meals and teahouse nights, you can focus on the walk and the views rather than constantly deciding what to eat or where to charge devices. Charging and other extras can cost extra at teahouses, and Wi-Fi is also not included.
Simple packing tip: bring a small towel or wipes for lake days. The air can be dry and cold, but you still come back dusty and tired. Small comfort goes a long way.
Back down through Namche: hot shower and the satisfaction of recovery
You return toward Namche, descending past Machhermo, Dole, and Khumjung. When you reach Namche, you get hot shower time and a chance to rest. That’s a real part of mountain trekking value: recovery isn’t optional. It’s how you arrive at the end of the circuit feeling human again.
This segment also helps your mind. Going downhill can feel like “relief,” but it’s also careful work—trail conditions and fatigue matter. If you manage your speed, you can enjoy the transition and still protect your knees.
Practical value tip: even if you feel good, don’t overdo it on downhill days. Eat, drink, and keep your steps controlled.
The Dudh Koshi return to Lukla and your last full hiking day
Your final trekking day heads along the Dudh Koshi River to Lukla. This is a satisfying closer: the route feels calmer, you’re not stepping into new passes, and you’re walking with the sense that the finish is near.
Still, you’re already carrying fatigue from multiple high-altitude days. What makes this day feel right is your preparation earlier: steady pace, good sleep when you could get it, and using the porter support for your load (the trek includes a licensed porter and a guide/porter ratio of 1:2).
What you can do on this day: slow your pace just enough to enjoy the river motion and the final village scenery. These aren’t only “kilometers.” They’re your last chance to soak up the human side of the mountains before you switch back to city life.
Fly back to Kathmandu and use your buffer day well
On the last day, you take an early morning flight to Kathmandu. The trip ends back at the meeting point. You’ll get free time for rest, shopping, or an optional massage.
This is a smart place to plan light activities. You’ve got one of those “tired but proud” bodies. Massage can feel amazing, and shopping can be fun if you avoid turning it into a marathon.
If your flight schedule changes: delays can force extra nights, and those extra hotels aren’t included. Keep your Kathmandu plans flexible and don’t schedule anything that requires perfect timing.
Guides, food, and why the trip feels smoother than DIY
One reason people enjoy guided treks is not just safety—it’s the removal of constant decisions. Here, you’re covered with daily meals, teahouse lodging, and permits including Sagarmatha National Park and TIMS. You also get airport transfers at arrival and departure, plus a duffel bag for trekking gear that is to be returned.
That duffel part matters more than it sounds. It reduces day-to-day carrying and helps keep your main bag organized instead of stuffed into pockets. The porter support (with 1:2 ratio) also reduces the physical tax of trekking, which helps on high days.
On the people side, I’ve seen praise for Marvel Treks guides who are friendly and good at reassurance. Names like Udio and Shisir come up in past feedback, with an emphasis on being kind and helpful during moments of discomfort. Even if your exact guide may differ, that style is the kind of professionalism you want in the Himalaya.
Price and logistics: what $1,000 buys you (and what it doesn’t)
The price is $1,000 per person for an approximately 14-day trek. That’s not cheap, but it covers the parts that usually cost more when you DIY: domestic flights (Kathmandu–Lukla–Kathmandu), one hotel night in Kathmandu with breakfast, all meals during the trek, 12 nights twin-sharing teahouse accommodation, plus permits (Sagarmatha National Park and TIMS) and TIMS, and licensed guide and porter.
So you’re paying for planning time, risk management, and on-the-ground coordination. For a trek where weather and scheduling can shift quickly, that coordination is part of the value.
What’s not included is also clear. You’ll pay for international airfare and Nepal visa fee on arrival. Lunch and dinner in Kathmandu aren’t included. Personal gear isn’t included (you can rent in Kathmandu). Travel insurance is mandatory (not optional), and tips for guide/porter are optional but expected. Extra hotel nights due to delays aren’t included, plus personal extras like hot showers, Wi-Fi, and battery charging at teahouses.
Bottom line on value: if you want to trade uncertainty for a structured route with support, the price makes sense. If you already have all gear, enjoy planning flights, and don’t mind handling permits and daily meal logistics, DIY might be cheaper. But you’d be taking on more friction.
Who this trek suits best (and who should think twice)
This trek is best for you if you have moderate physical fitness, you enjoy multi-day hiking, and you want a single route that covers both Everest highlights and the Gokyo Lakes experience. The Cho La Pass crossing makes it better for trekkers who handle cold and are okay with early starts.
It’s also a good match if you like cultural stops—monasteries and Sherpa villages—woven into the hike rather than added as side tours.
Think twice if you’re very new to multi-day trekking, hate early mornings, or have limited tolerance for cold and altitude effects. The route asks for stamina and careful pacing. The good news is that with a guide and porter support, you can focus on walking well instead of carrying everything.
Should you book Everest Base Camp via Gokyo and Cho La?
I’d book this trek if your checklist includes three things: Everest Base Camp, Gokyo Lakes, and a real mountain pass day like Cho La. The way the route swaps between glacier sections, monastery breaks, and lake country gives you variety without losing the Everest goal.
I wouldn’t book it if you want a relaxed stroll, you’re not comfortable with early departures, or you’re hoping altitude will be minimal. This is a serious high route. Even with emergency oxygen noted in the trek overview and strong logistical support, your body still has to adjust.
If you’re the type who likes clear plans, good food, and guided safety, this is the kind of trek that can feel both adventurous and well-handled.
FAQ
How long is the trek?
It runs for about 14 days.
Where does the trek start and end?
It starts at Tribhuvan International Airport in Kathmandu and ends back at the same meeting point.
What’s included in the trek price?
Round-trip domestic flights Kathmandu–Lukla–Kathmandu, 1 night hotel in Kathmandu with breakfast, all meals during the trek, 12 nights twin-sharing teahouse accommodation, a licensed English-speaking guide and porter (with a 1:2 ratio), permits (Sagarmatha National Park and TIMS), airport transfers, and a duffel bag for trekking gear.
Are meals included during the trek?
Yes. Breakfast, lunch, and dinner are included during the trekking days.
Do I need to bring my own trekking gear?
Personal trekking gear is not included (boots, jacket, poles, etc.). You can rent gear in Kathmandu.
Is a Nepal visa included?
No. The Nepal visa fee on arrival is not included.
Do I need travel insurance?
Yes. Travel insurance is mandatory.
Is this trek private?
It’s listed as a private tour/activity, meaning only your group participates.
Is emergency oxygen part of the safety plan?
The trek overview mentions safety support including emergency oxygen.
Are hot showers and Wi-Fi included?
No. Hot showers, Wi-Fi, and battery charging at teahouses are listed as personal expenses. They may cost extra.
Can I take service animals?
Service animals are allowed.