REVIEW · KATHMANDU
Kathmandu: 6 Days Langtang Valley Trek with Kyanjin Ri
Book on GetYourGuide →Operated by MTA Trekking Pvt. Ltd. · Bookable on GetYourGuide
Most people remember one thing from Langtang: the mountains. This 6-day trek strings together Tamang villages, Kyanjin Gompa, and that optional early push to Kyanjin Ri for big Himalayan payoff. You start with a scenic drive, walk through forests, then end back in Kathmandu with that satisfying feeling of having earned the views.
What I like most is the mix of culture and walking. You’re not just hiking between viewpoints; you also visit monasteries, spend time in Kyanjin Gompa, and even stop for cheese tasting during the day’s activities. It gives the trip a human rhythm, not just a photo-rush.
One consideration: altitude. Even with a sensible route, you can feel off at higher elevations, and Kyanjin Ri is a real climb to 4,770m, so you’ll want to move at a safe pace and listen to your body.
In This Review
- Key things to know before you go
- Why Langtang Valley and Kyanjin Gompa fit a 6-day trek
- Getting to Syabrubesi: the Kathmandu-to-mountains handoff
- Day 1 to Day 3: Pahiro, Ghoda Tabela, and the climb to Kyanjin Gompa
- Kyanjin Gompa: monasteries, cheese, and why this village matters
- Day 4 optional Kyanjin Ri: sunrise views and the reality of 4,770m
- Day 5 and Day 6: the long descent to Syabrubesi and back to Kathmandu
- Guides and pace: where this trek tends to win
- Food, overnight comfort, and how to plan for real rest
- Price and value: what $179 covers (and what to budget for)
- What to pack for Langtang: practical gear for forests and high points
- Who should choose this trek, and who should slow down
- Should you book this Kathmandu to Langtang trek with Kyanjin Ri?
- FAQ
- How long is the Langtang Valley trek?
- Where does the trek start and end?
- What’s the highest point on the optional route?
- Are meals included?
- Is a porter included?
- What’s included in the price besides the guiding?
- What should I bring?
- What altitude issues should I watch for?
Key things to know before you go
- Tamang culture on the trail: You’ll pass through villages and learn about local life as you gain elevation.
- Kyanjin Gompa is a highlight: Monasteries and the chance to meet locals make it more than just a stopover.
- Optional Kyanjin Ri hike: The viewpoint is worth it for many people, but it’s the strenuous “win the day” moment.
- Professional guide support: English-speaking guides like Ghanshyam and Sudarshan are mentioned for pace-adjusting and clear explanations.
- Comfort is planned in: Private comfortable accommodation for 5 trekking nights helps you rest and recover.
Why Langtang Valley and Kyanjin Gompa fit a 6-day trek
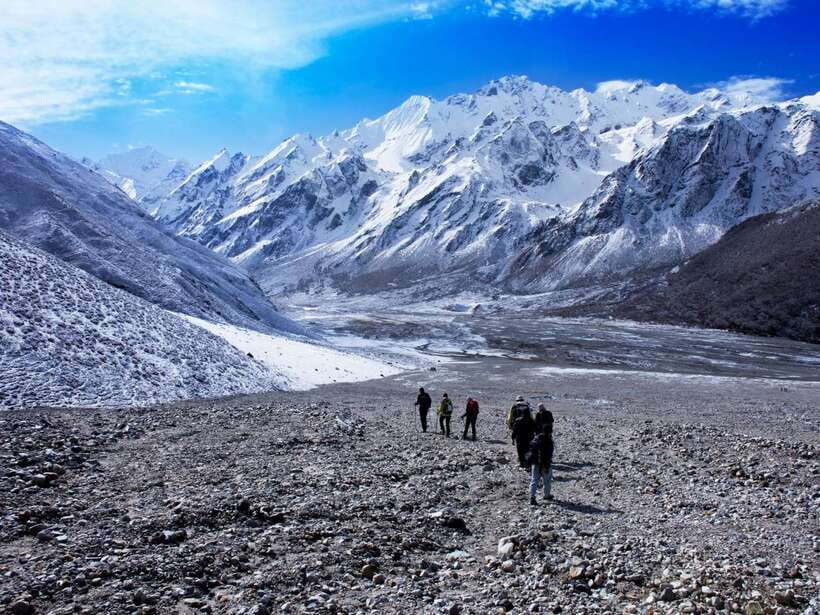
Langtang Valley is the kind of trekking region where you get variety without needing weeks. In six days, you can move from Kathmandu’s city energy to quiet mountain trails, then land in a monastery village where the atmosphere feels different.
I also like how this route gives you a culture anchor. You’ll hike through rhododendron forests and traditional Tamang areas, then focus on Kyanjin Gompa rather than only “collecting peaks.” That matters because the valley experience is more complete when you learn the place, not just pass through it.
Finally, the inclusion of an optional summit day is a smart design. If you’re feeling strong, you go for Kyanjin Ri. If you’re not, you still get the core trek and the monastery village experience.
You can also read our reviews of more tours and experiences in Kathmandu.
Getting to Syabrubesi: the Kathmandu-to-mountains handoff
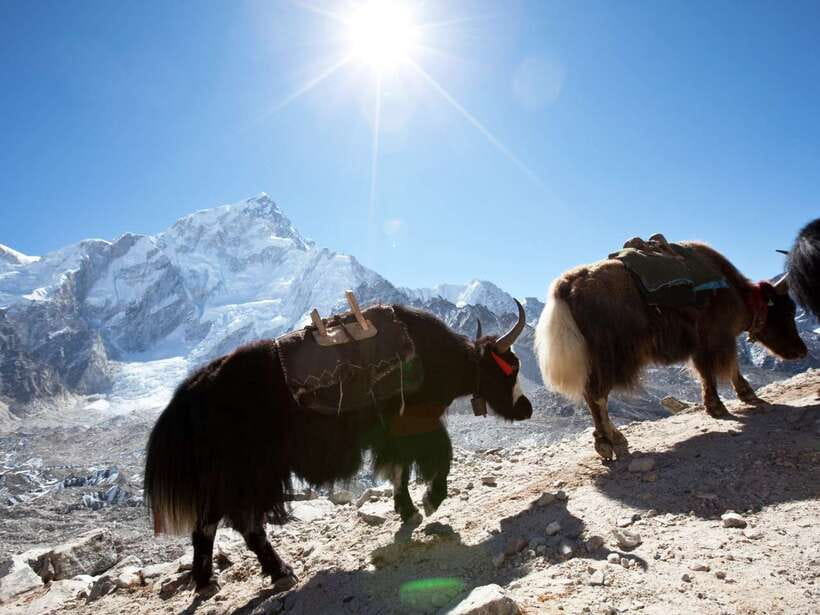
Day 1 starts with a scenic drive from Kathmandu to Syabrubesi, the common gateway into Langtang. The road winds through villages and green mountain scenery, which is a nice warm-up before your first real ascent on foot.
Once you reach Syabrubesi, you begin trekking along the peaceful Langtang River. The plan then takes you up to Pahiro (1,550m) for the night. This is a good first-day setup because you’re not jumping into the highest elevations immediately—you’re easing into the trekking rhythm.
If you’re sensitive to long travel days, remember that you’ll be moving on Day 1 before the hike begins. It’s not brutal, but it’s still a full “get moving” day.
Day 1 to Day 3: Pahiro, Ghoda Tabela, and the climb to Kyanjin Gompa
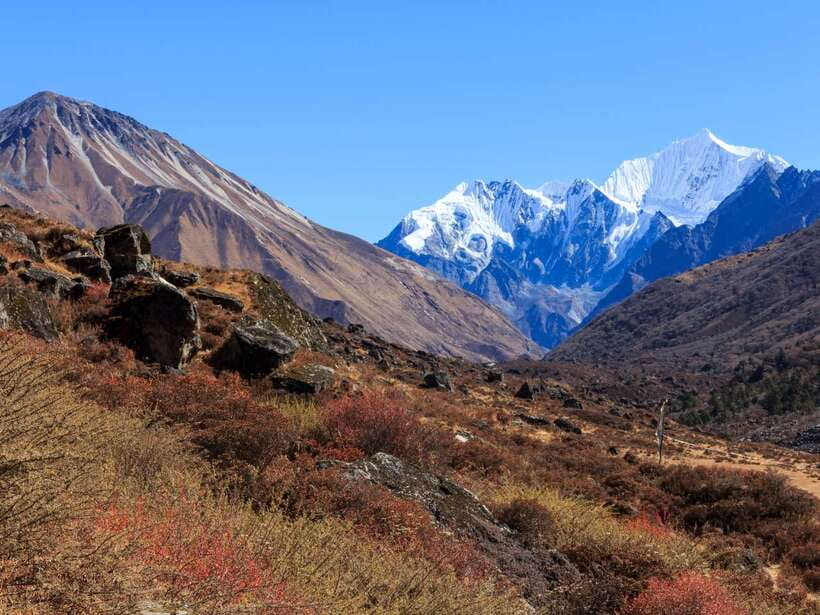
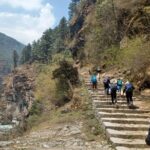
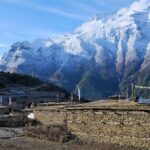
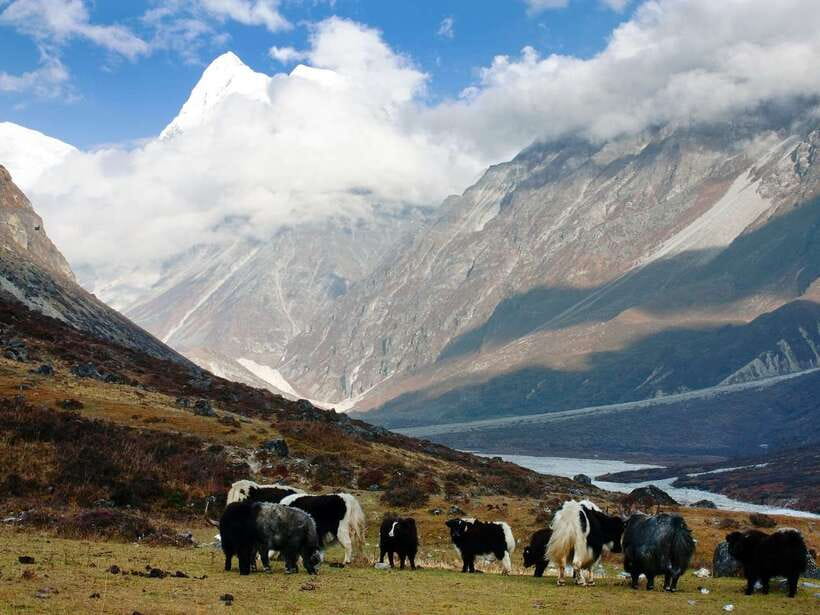
From Pahiro on Day 1, the trek continues on Day 2 toward Ghoda Tabela (2,900m). The route is known for forest walking, plus village passages and views of snow-capped peaks along the way. You also get glimpses of waterfalls, which helps break up the climb visually.
Day 2 is more demanding than Day 1 because you gain altitude more noticeably. Still, it’s spread across a walking day with plenty to look at besides your feet. If you’re the kind of hiker who gets distracted (in a good way) by wildlife and views, this day tends to keep you engaged.
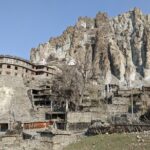
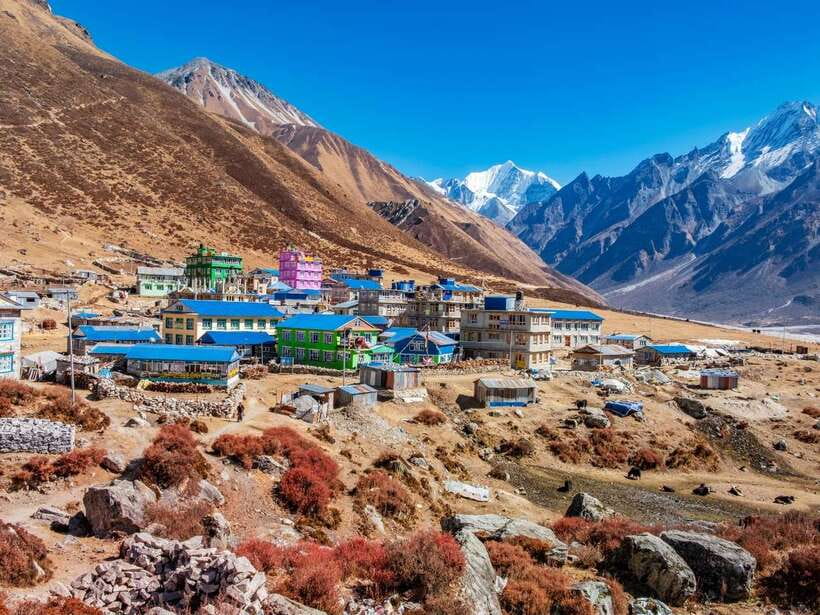
Then on Day 3 you move from Ghoda Tabela up to Kyanjin Gompa (3,870m). This is where the atmosphere changes. You’re moving into a traditional Himalayan village area surrounded by towering peaks, and the Tamang culture becomes part of the “why you’re here,” not just scenery.
At Kyanjin Gompa, you explore ancient monastery sites and visit a local cheese factory. You also spend time meeting friendly locals, which is one of the more memorable parts of the trip because it feels like you’re stepping into daily life. You end Day 3 staying in Kyanjin Gompa, so you’re not rushing away immediately.
Kyanjin Gompa: monasteries, cheese, and why this village matters
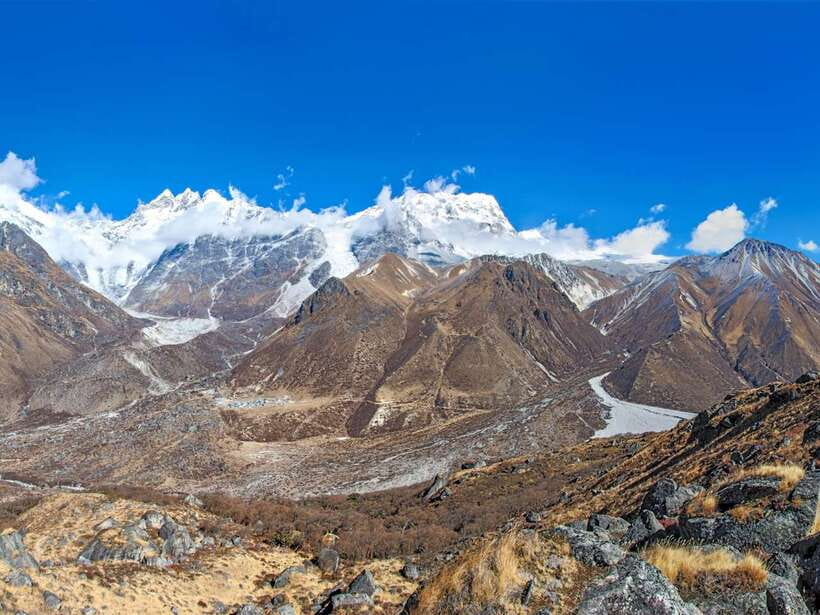
Kyanjin Gompa isn’t just a dot on the map. It’s a place where you can feel how religion, community, and mountain survival connect. The monastery visits give you context for the village’s spiritual life, while the cheese activity adds a practical angle—how people turn local resources into food and trade.
I like that the day includes both the symbolic and the practical. It makes the altitude feel less like an obstacle and more like part of the setting. You’re not only gaining height; you’re getting to see how people live when winter and weather are real players.
One more benefit: Kyanjin Gompa is a natural checkpoint for pacing. By the time you arrive, you can judge how your body is responding and decide how hard you want to push on Day 4.
Day 4 optional Kyanjin Ri: sunrise views and the reality of 4,770m
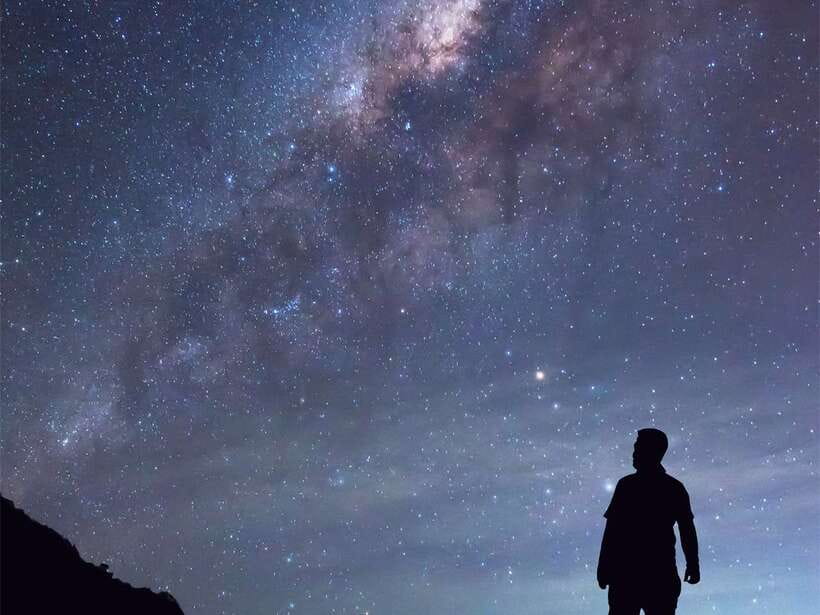
Day 4 is your fork in the road. There’s an optional hike from Kyanjin Gompa toward Kyanjin Ri (4,770m), then you return and descend to Thangsyap (3,200m) for the night.
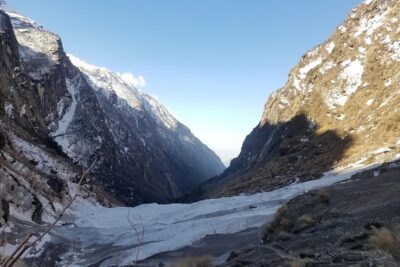
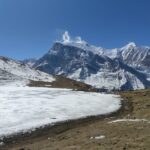
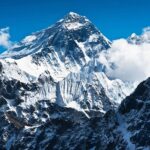
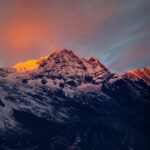
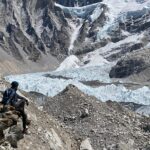
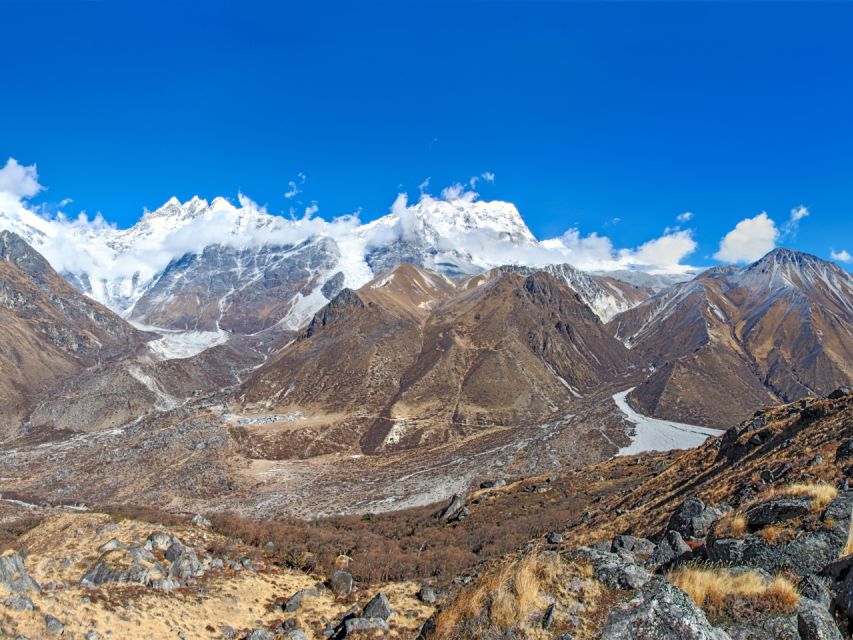
This is the demanding part of the whole trek. You’re going uphill to a viewpoint where the payoff is panoramic mountain scenery and glacial valley views. Many people treat this as the emotional peak of the itinerary—especially when the timing lines up for clear morning skies.
But here’s the practical part: plan to hike steadily, not fast. Altitude affects everyone differently, and you might feel okay at one stage and not as okay higher up, especially if ascent is too rapid for your body. If you get headaches, nausea, fatigue, or loss of appetite, take it seriously and adjust your effort right away.
If you do go for it, bring extra patience for the final stretches. Sunrise hikes can feel even more intense because your body is waking up while the altitude is already working on you.
Day 5 and Day 6: the long descent to Syabrubesi and back to Kathmandu
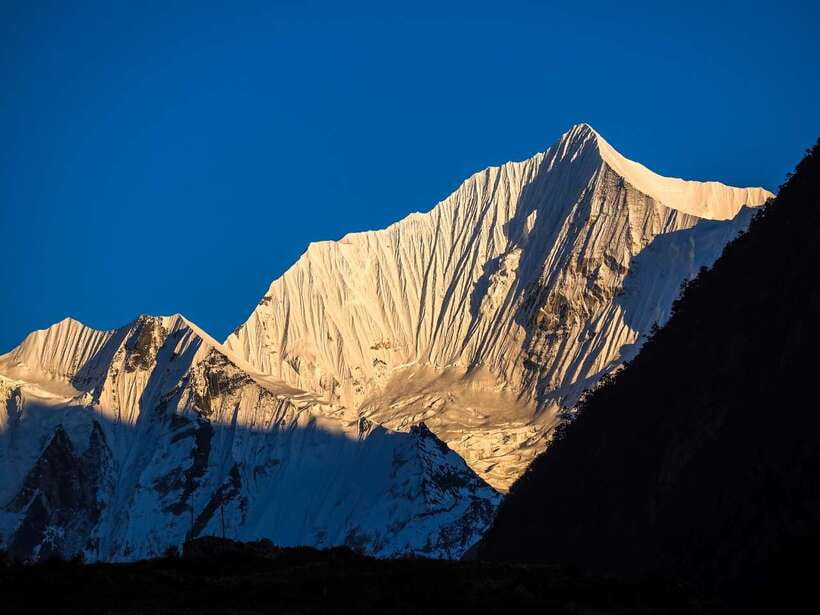
On Day 5 you trek from Thangsyap back to Syabrubesi (1,550m). This reverse day is where your legs do most of the thinking. The good news is that you’re going downhill and your body gets a chance to recover from the highest elevations.
Even in a descent day, views keep showing up as you lower altitude. The Langtang River corridor again helps you feel grounded—quiet water, forest paths, and a steadier rhythm.
Day 6 finishes with the drive back to Kathmandu. It’s not a trekking day, but it’s still part of the experience because you go from mountain silence back to city noise. If you’ve got plans after landing, leave some buffer time. You’ll likely want a slow meal and an easy evening.
Guides and pace: where this trek tends to win
This trek’s quality comes down to execution, not hype. A big factor is the guide’s ability to match your pace and keep you informed as conditions change.
In the local experience, names like Ghanshyam and Sudarshan come up in standout ways. I’d take that as a hint: the better guides here focus on how you’re feeling, not just the timetable. People also mention that guides respond quickly to questions and share trail knowledge, which can make a hard day feel manageable.
If you want the best version of this trek, look for a guide who does three things:
- Adjusts breaks based on how you feel.
- Checks in often at higher elevations.
- Explains what’s next so you’re not guessing.
That’s exactly the sort of support that shows up in the experiences tied to this itinerary.
Food, overnight comfort, and how to plan for real rest
This tour includes private comfortable accommodation for 5 nights during the trek. For food, it says all meals are included during the trek for the full package. That matters because trekking hunger can turn into poor decisions fast, and having meals handled helps you focus on walking safely.
You’ll also be in a system where luggage storage is provided, so you don’t have to carry everything you don’t need. On a trek, reducing unnecessary weight is a big quality-of-life upgrade.
What’s not included: soft and hard drinks. Also, personal expenses like phone calls, laundry, and things like bottle/boiled water and shower costs are on you. That’s normal for the region, but it affects budgeting, especially if you like checking in with family.
Price and value: what $179 covers (and what to budget for)
At $179 per person for 6 days, the value is mostly about what’s organized and what’s not. This price covers pickup and drop-off, trekking permits and paperwork, the Trekkers’ Information Management System fee, and staff-related costs.
You also get transport as per the itinerary for the number of people in your group, described as shared transportation/bus. For many trekkers, the real value is not just the walking—it’s getting permits done correctly and having logistics taken care of so you’re not sorting details at elevation.
Important cost notes:
- A guide is included, but porter charge is extra.
- All meals are included only for the full package.
- You’ll still pay for personal items like drinks, water, and phone charging.
If you’re a first-time trekker or you want energy reserved for views, consider adding a porter. Even if you don’t need one for fitness, you might appreciate it for comfort and consistency over multiple walking days.
What to pack for Langtang: practical gear for forests and high points
The essentials listed here are straightforward and they make sense for both warm walks and cold mornings. Bring your hiking shoes, jacket, and gloves, plus sunscreen and sunglasses since altitude and sun glare don’t play nice.
You’ll also want:
- A sleeping bag (required)
- A flashlight (especially for early starts)
- Trekking gear you’re comfortable with
- Water (carry or plan how you’ll refill)
- Passport or ID card
If you’re going to Kyanjin Ri, even if it’s optional, treat it like a real commitment. Layers and gloves matter more than you think once it gets colder and you’re moving slower.
And keep it simple: alcohol and drugs are not allowed, which is common on organized treks here.
Who should choose this trek, and who should slow down
This is a great fit if you want:
- A shorter trek with real altitude highlights
- Tamang village culture plus monastery visits
- The option to try Kyanjin Ri if you feel good
It may be less ideal if you hate early mornings or you’re unsure about altitude. Kyanjin Ri is challenging, and while the overall route includes acclimatization opportunities, altitude is still altitude.
If you’ve never trekked before, don’t write it off. A lot depends on pace and how your guide manages your day. People specifically mention first-time trekkers feeling supported and able to keep going with the right pace.
Should you book this Kathmandu to Langtang trek with Kyanjin Ri?
I’d book it if you want a well-structured 6-day trek that mixes culture and big scenery, and you’re comfortable treating altitude seriously. The itinerary is built around memorable stops like Kyanjin Gompa, and the option to go for Kyanjin Ri lets you match effort to how you feel that morning.
I’d think twice if you’re very sensitive to height changes or you know you struggle with early starts and steep climbs. In that case, you could still consider doing the core trek while skipping the optional summit day, but you’ll need to be honest with your body from Day 3 onward.
If you like organized logistics, an English-speaking guide, and a plan that balances walking with meaningful breaks, this trek looks like a solid choice.
FAQ
How long is the Langtang Valley trek?
It runs for 6 days.
Where does the trek start and end?
It starts with pickup from Kathmandu and the trek begins after the drive to Syabrubesi, then you return to Kathmandu at the end on Day 6.
What’s the highest point on the optional route?
The optional hike to Kyanjin Ri goes up to 4,770m.
Are meals included?
All meals are included during the trek only for the Full Package option. Soft and hard drinks are not included.
Is a porter included?
An authorized English-speaking guide is included, but porter charges are extra.
What’s included in the price besides the guiding?
Pickup and drop-off, trekking permits and paperwork (including the required systems fee), government tax, private comfortable accommodation for 5 trekking nights, luggage storage, and covered staff expenses are included.
What should I bring?
You should bring a passport or ID card, sleeping bag, flashlight, sunscreen, hiking shoes, gloves, water, jacket, trekking gear, and sunglasses.
What altitude issues should I watch for?
Altitude affects everyone differently. You might get symptoms of AMS such as headaches, nausea, fatigue, or loss of appetite if the ascent is too rapid for your acclimatization.