REVIEW · KATHMANDU
Kathmandu: 2 Nights 3 Days Chisapani Nagarkot Trek
Book on Viator →Operated by Breakfree Adventures Pvt. Ltd. · Bookable on Viator
Sundarijal to Changu Narayan via Nagarkot is a great view-first trek. I love the chance at big Himalayan panoramas (Everest on clear days) without committing to a high-altitude slog, and I also love that a private licensed guide handles permits and keeps the pace realistic. One thing to consider: visibility depends on good weather, and if the skies don’t cooperate, the Everest payoff can be muted.
You’ll hike through a mix of uphill stair climbs, forest paths, and village trails, then you’ll finish with the UNESCO-listed Changu Narayan Temple area. Even though the walking is active, this is set up so beginners can do it with the right pacing. The trek also comes with practical creature comforts: private vehicle transfers at both ends and lodge accommodation with attached bathrooms.
If you want authentic hillside scenery, temple moments, and Himalayan sunrise time, this route hits a smart sweet spot. The cost also makes sense for what you’re getting—transport, guide work, permits, and two nights of lodging are included—while you’re still free to focus on the trail and photos.
In This Review
- Key things that make this trek worth your time
- Why Sundarijal to Changu Narayan via Nagarkot feels like the smart compromise
- Day 1: Sundarijal water, Shivapuri National Park, and your first uphill work
- Day 2: forest trail to Jhule and Chauki Bhanjyang, then Nagarkot’s big view day
- Day 3: sunrise first, then Changu Narayan’s UNESCO temple area
- The private guide setup that actually matters (permits, pace, and transfers)
- Price and value: what $190 covers, and what you’ll still pay for
- Pace, fitness, and what the trail feels like in real terms
- Weather, Everest views, and how not to get disappointed
- Who this trek is best for
- Should you book Kathmandu’s Chisapani–Nagarkot–Changu Narayan trek?
- FAQ
- Is this trek private for my group?
- Where does the trek start and end?
- How long is the experience?
- What kind of fitness level do I need?
- Are porters included?
- What meals are included?
- Are permits included?
- Are hotel transfers included?
- Are temple or viewpoint entry fees included?
- What if the weather is bad?
- What is the cancellation window?
Key things that make this trek worth your time
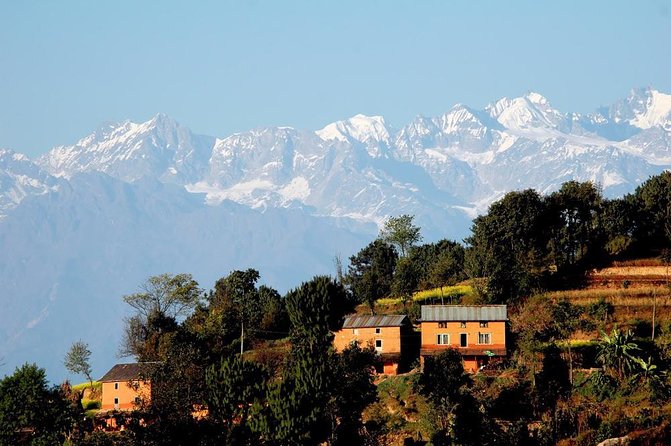
- Himalayan viewpoints without extreme altitude pressure, designed for a 3-day rhythm
- Private guide who arranges permits/paperwork and lets you set the walking pace
- Easy-to-live-with logistics: private vehicle transfers and lodge stays with breakfast
- Nagarkot sunrise and view tower time, right when conditions are often best
- Temple finish at Changu Narayan (UNESCO-listed), plus a hill-to-Bhaktapur overlook on the way down
- Porters are optional (extra cost), so you can choose how hands-on you want support
Why Sundarijal to Changu Narayan via Nagarkot feels like the smart compromise
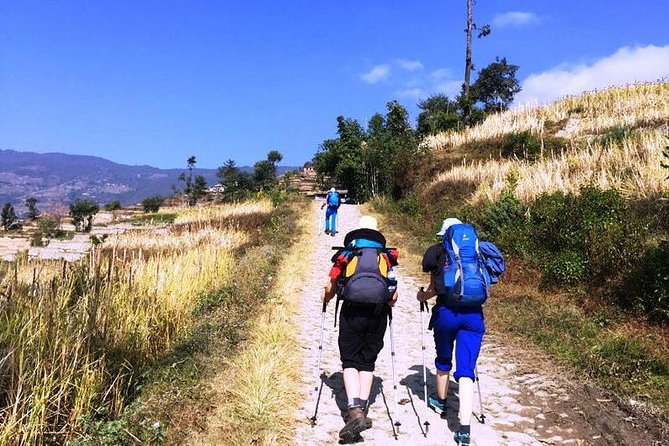
This is the kind of trek that rewards you fast. You’re not spending days stuck in altitude headaches; instead, you’re moving through forests and villages on a manageable multi-day route, then closing with classic Himalayan viewpoint time.
The route is built around a simple idea: maximize skyline moments while keeping the hike doable. Nagarkot is the big draw here—known for wide views, including Everest when the day is clear. Then Changu Narayan gives you something different at the end: an old temple site and a sense of place that feels far more grounded than just hiking for views.
The other major win is mental ease. You’re not juggling paperwork, permits, transport timing, or where to sleep. With a guide handling the planning and transfers, you can focus on what matters: your legs, the weather window, and getting your photo angles right.
You can also read our reviews of more tours and experiences in Kathmandu.

Day 1: Sundarijal water, Shivapuri National Park, and your first uphill work
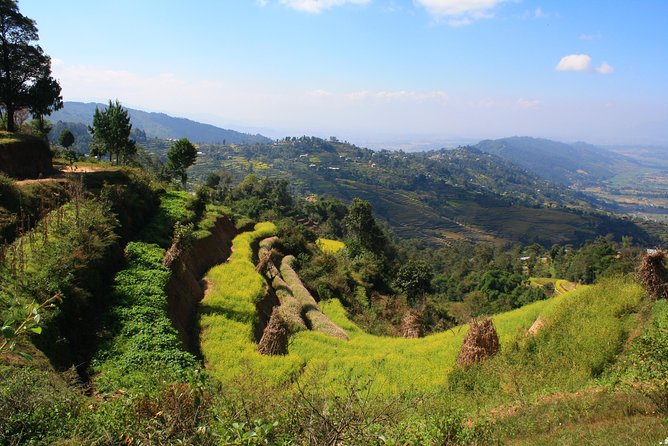
Day one starts with a hotel meet-up in Kathmandu and a drive to Sundarijal, the trek’s starting point. It’s about an hour by private vehicle, which is a relief after Kathmandu traffic and a good way to get everyone settled before the climb begins.
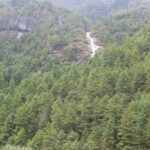
Once you reach Sundarijal, the trail begins uphill, following a large water pipe descending from the reservoir area. That detail matters because it gives you an easy-to-follow start—kind of like the trail has a built-in line you can track. Then you head into Shivapuri National Park terrain. This is one of those Nepal forest zones where the trail feels alive: varied plants, shade, and a sense of being close to Kathmandu but not stuck in the city.
You’ll also pass through Sundarijal Water Falls time early on. The admission here is listed as free, which is a nice little bonus, and it’s the kind of stop that breaks up the first-day energy. Expect a steady start: you’ll be working, but not doing anything technical.
What to watch for on day one: pace. Uphill is part of the deal here, and if you sprint early, you’ll pay later. Think steady and controlled, especially if you’re coming in as a beginner. Your goal is to finish the day feeling satisfied, not wrecked.
Day 2: forest trail to Jhule and Chauki Bhanjyang, then Nagarkot’s big view day
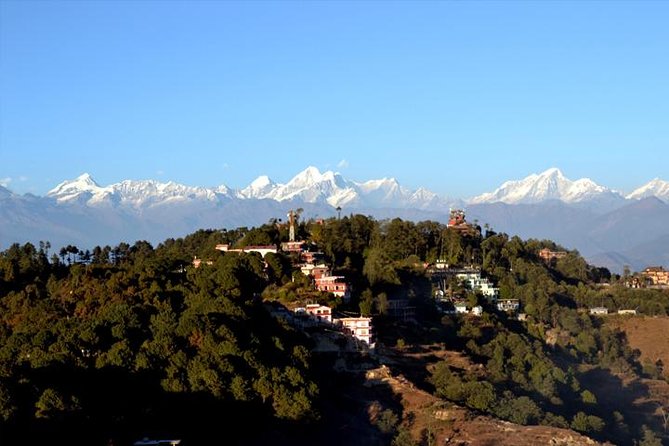
Day two is where the trek starts switching gears from forest hiking to the wider countryside feeling. After breakfast, you continue uphill through lush forest, then you move into descent sections toward Jhule and onward to Chauki Bhanjyang. This mix matters because it spreads the effort across different types of walking.
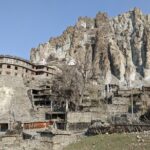
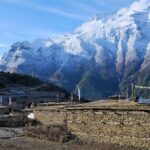
The route also takes you across villages and terraced fields. That’s where the hike starts feeling like local life rather than just scenery. You’ll be walking through places with structure and routine—fields laid out carefully, homes clustered along the path, and a very different rhythm from what you get in a city.
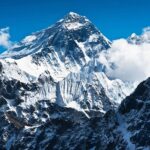
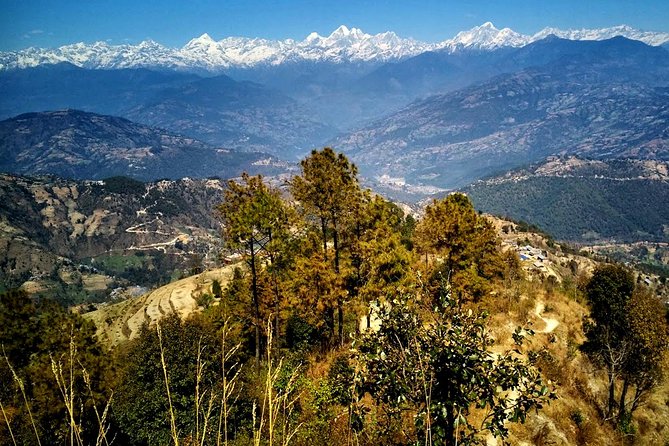
Then you reach the main payoff: Nagarkot. Nagarkot is a well-known Himalayan viewpoint, especially for the idea of seeing Everest when conditions are right. The reality check is simple: you need a clear day. The good news is you’re also going to have time at key viewpoint spots to maximize your odds rather than just passing through once.
Two stops are part of this day’s view time: Nagarkot itself and the Nagarkot View Tower, where you get a structured vantage point for panorama-style photos. Some days the sky is crisp and dramatic; other days you’ll see less haze and more detail only during certain hours. Either way, this is when you’ll feel the trek shift from walking to sightseeing.
One practical consideration from a real-world perspective: if the weather is poor, Everest visibility can be disappointing. I’d plan mentally for that possibility. This is still a worthwhile day even without Everest in the frame—because Nagarkot’s views are broader than one peak.
Day 3: sunrise first, then Changu Narayan’s UNESCO temple area
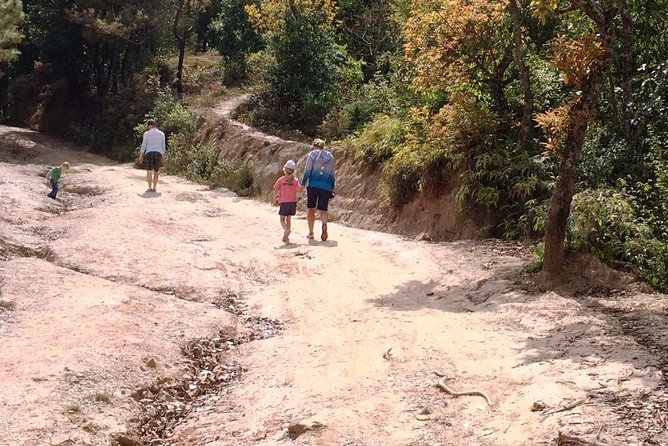
Day three begins early—wake up early for sunrise over the Himalayas, then have breakfast before moving on. This is one of those moments where timing is everything. Sunrise is often the best chance for clearer visibility, calmer air, and that classic view-photo lighting.
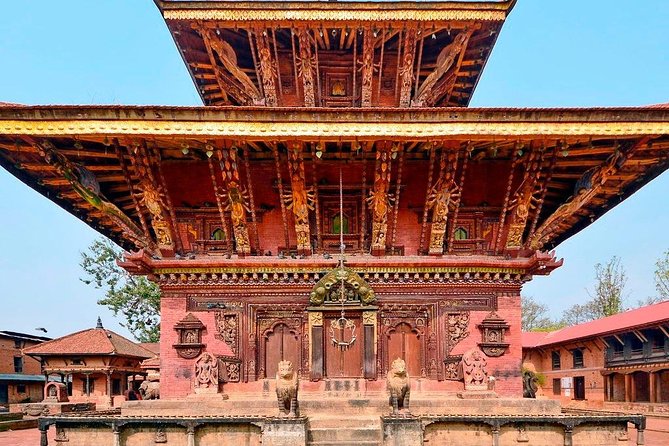
After breakfast, the hike continues to Changu Narayan Temple, a UNESCO World Heritage Site. The trail to the temple is a mix of climbing and steady effort, and once you get there, it’s less about endurance and more about appreciating the setting. You’re ending your trek at a place that’s historically significant, not just scenic.
Then you descend via Teltok (Telkot). The descent route is where you get a different perspective—because you’re moving down while looking out over the region. En route, you’ll get a bird’s-eye view of Bhaktapur, which is a fun, unexpected geography lesson. Even if you don’t have time to explore Bhaktapur deeply on this trip, that overlook gives you a sense of how close these historic towns sit to each other.
Temple entry notes: Changu Narayan Temple is listed as not included in the price. One other Changu Narayan-listed stop is marked as free in the details, so don’t treat this as a sure thing. Bring a little cash for on-site fees if you want a stress-free finish.
After the walking part, a private vehicle takes you back to Kathmandu from Changu Narayan. That’s a huge quality-of-life detail. Instead of waiting around or figuring out shared transport, you land back in the city and can actually enjoy your final day without logistics fatigue.
The private guide setup that actually matters (permits, pace, and transfers)
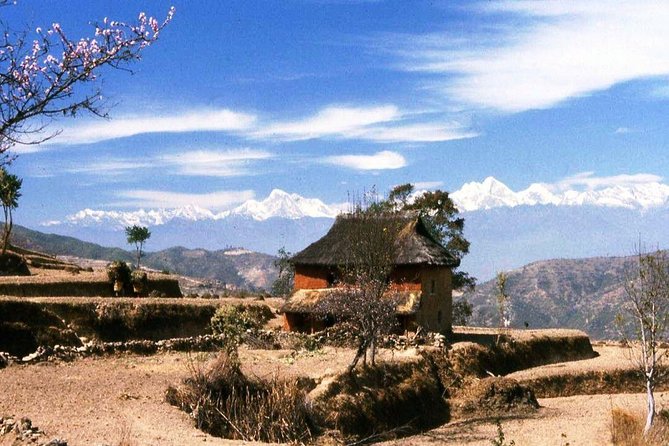
A lot of treks say private guide, but the value depends on what the guide really handles. Here, the guide takes care of permits and paperwork, plus the lodge accommodation and hearty breakfasts each day. That means you’re not trying to figure out which permit you need or what’s required at checkpoints.
Pace is also part of the design. This is not a one-size-fits-all route with constant pressure. You can move at a speed that fits your fitness, with the guide adjusting the timing. That flexibility is especially important if you’re a beginner or returning to hiking after a break.
Porters are optional. If you want one, you can arrange it for an extra cost. That’s a good model because you get choice: light and fast, or supported with less strain on your back.
The transfers are the other big deal: private vehicle rides at both ends of the journey. Getting from Kathmandu to Sundarijal is easier because it’s scheduled and direct. Getting back from Changu Narayan is similar—no searching for rides, no bargaining at the end of a trek.
And because this is a private tour/activity, it’s just your group. That usually helps with pacing and reduces the stop-and-go frustration that can happen on mixed groups.
Price and value: what $190 covers, and what you’ll still pay for
At $190 per person for 3 days, the price looks reasonable once you break down what’s included. You’re paying for more than the hike—you’re also paying for the support structure.
Included in the cost:
- Hotel pick-up and drop-off in Kathmandu
- Private vehicle transport to Sundarijal and from Changu Narayan back to Kathmandu
- 2 nights of accommodation: one in Chisapani and one in Nagarkot, both with attached bathrooms
- Breakfast included each day
- Hiking and national park permit
- Highly experienced licensed guide
- All necessary taxes
Not included (so budget for this):
- Lunch and dinner (drinks and meals)
- Tips for trekking staff and the driver
- Porter, if you want one
Here’s the value logic I’d use before booking. If you were to DIY this trek, you’d still have to solve permits, arrange transport, find compatible lodge stays, and coordinate timing so you’re not losing hours. The included structure is what you’re buying. Your money buys time and reduces stress.
Also, the attached bathroom detail is not small. After hiking days, it makes a difference in comfort and sleep quality. The trek can be demanding enough without adding extra hardship from basic lodging constraints.
Pace, fitness, and what the trail feels like in real terms
This trek is listed as moderate fitness. In plain language: you should be comfortable walking uphill and handling stair-like sections. Nepal trails often come with steps, and this one includes that type of effort.
The good part: it’s described as feasible for beginners when you go at a pace that fits you. The guide support helps, especially when the trail turns into repeated uphill stretches. If you’re not a regular hiker, it’s still a workable challenge because the schedule is only 3 days and the pace can be adjusted.
My advice: prepare your expectations. This isn’t a flat nature walk. Your knees will work. But the effort feels manageable because it’s guided, paced, and broken into day-sized segments rather than one long grind.
Weather, Everest views, and how not to get disappointed
This experience requires good weather. That matters because the itinerary is built around Himalayan visibility and sunrise timing.
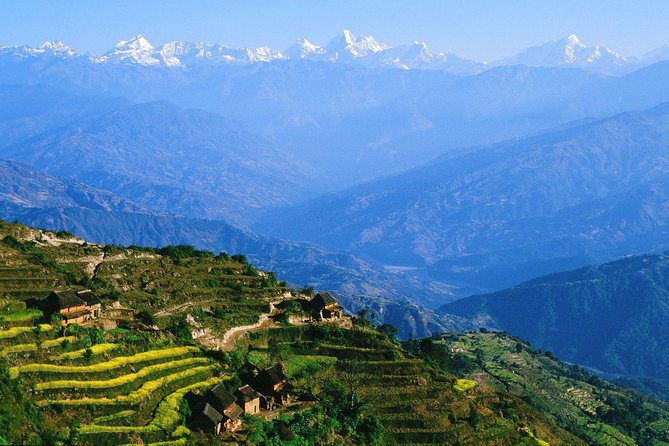
Nagarkot is the main viewpoint for the big-peak dream—Everest is possible on a clear day. But sometimes cloud cover or haze limits views. In one case, Everest wasn’t visible even though the trek itself was still enjoyable. That’s the realistic trade-off: visibility is a bonus, not a guarantee.
What you can do:
- Treat sunrise at Nagarkot as your best chance, not a casual morning.
- Keep a flexible mindset. If you don’t see Everest, you can still enjoy broad Himalayan views when skies open at intervals.
- Dress for changing conditions. Morning can feel much colder than you expect, even when Kathmandu is warm.
If the trek is canceled due to poor weather, you’re offered a different date or a full refund. That’s important because it protects you from paying for a trip that can’t deliver the view window it’s designed around.
Who this trek is best for
This is a strong match for:
- You want classic Himalayan viewpoints but don’t want a high-altitude trek
- You like hiking with structure and support (permits, transfers, lodging handled)
- You’re a beginner or returning to hiking and want a pace that won’t push you too hard
- You care about finishing with a UNESCO temple site, not just walking for scenery
It may not be the best match if:
- You need guaranteed Everest views every time
- You strongly prefer a DIY, no-guide travel style (because so much is included here)
Should you book Kathmandu’s Chisapani–Nagarkot–Changu Narayan trek?
If your dream includes Himalayan panorama time, and you want a trek that’s active but still friendly for moderate fitness, I think this is an easy yes. The main reason is value plus structure: private transfers, guided logistics, two nights of lodging with breakfasts, and permits handled for you.
The only real hesitation is visibility. If Everest is the only thing you care about, you might feel let down on cloudy days. But even then, the mix of Nagarkot viewpoints and the Changu Narayan UNESCO finale gives you more than a single-peak payoff.
So if you want a well-run trek that doesn’t beat you up and still gives you memorable mountain moments, book it—and then put your faith in sunrise and clear weather windows.
FAQ
Is this trek private for my group?
Yes. This is a private tour/activity, so only your group participates.
Where does the trek start and end?
The trek starts at Sundarijal and ends at Changu Narayan, with private vehicle transfers back to Kathmandu at both ends.
How long is the experience?
It’s listed as 3 days (approx.).
What kind of fitness level do I need?
The experience says you should have moderate physical fitness. Expect uphill hiking and stair-style sections.
Are porters included?
Porters are not included in the price. If you need one, you can arrange it for an extra cost.
What meals are included?
Breakfast is included each day. Lunch and dinner are not included, so you’ll need to plan for those meals and drinks.
Are permits included?
Yes. Hiking and national park permits are included, along with any necessary taxes.
Are hotel transfers included?
Yes. You get hotel pick-up and drop-off in Kathmandu, plus private transportation to and from the trek start/end points.
Are temple or viewpoint entry fees included?
Sundarijal Water Falls, Nagarkot, and Nagarkot View Tower are listed as free in the details. Changu Narayan Temple is listed as not included, so you may need to pay on-site for at least one temple entry.
What if the weather is bad?
Good weather is required. If it’s canceled due to poor weather, you’ll be offered a different date or a full refund.
What is the cancellation window?
You can cancel for free up to 24 hours in advance for a full refund. If you cancel less than 24 hours before the start time, the amount paid is not refunded.