REVIEW · KATHMANDU
15 Days Round Annapurna Trek with Poon Hill from Pokhara
Book on Viator →Operated by CAN Travels · Bookable on Viator
When you line up mountains and morning light, things get real. This 15-day Annapurna Circuit trek with a Poon Hill extension brings you from Kathmandu through river gorges, high passes, and back down to Pokhara, with the big visual payoff being the Poon Hill sunrise. I like how the route blends classic Circuit trekking with the popular Poon Hill viewpoint, so you get both the long mountain walk feel and that one wow-moment at dawn.
Two other things I really like: the government-licensed English-speaking guide and the fact that the itinerary builds in pacing and acclimatization rather than rushing you straight upward. One consideration: you’re doing a lot of long travel days by bus/jeep in between trekking segments, and you should be ready for cold, exposed conditions during the high, early-morning section.
In This Review
- Key highlights you’ll actually feel on the trail
- First, what this trek really gives you: Circuit walking plus a sunrise “mission”
- Getting started in Kathmandu: a real briefing beats guesswork
- Valley to village: Day 2 to Day 6 through Syange, Dharapani, Chame, and Pisang
- Day 2: Syange
- Day 3: Dharapani
- Day 4: Chame
- Day 5: Pisang
- Day 6: Manang
- Acclimatization Day 7 in Manang: the smartest day on the calendar
- High, dry terrain: Day 8 and Day 9 toward Yak Kharka and Thorung Phedi
- Day 8: Yak Kharka
- Day 9: Thorung Phedi
- The cold, early-morning push: Day 10 to Muktinath
- Tatopani via bus and checkpoints: a day that resets your legs (and mindset)
- Ghorepani Day 12 to Pokhara approach: downhill, then uphill again
- Poon Hill sunrise: the shortest effort with the biggest payoff (Day 13)
- Back to Kathmandu and the airport timeline: don’t cut it too close
- What’s included (and what you’ll still need to budget for)
- Included value
- Not included: the two big items
- Price and value: how $790 stacks up for a 15-day trek
- The guides and organization: what the best parts have in common
- Who this trek is best for (and who should think twice)
- Quick FAQ
- FAQ
- Do I need to be experienced to do this trek?
- Is there an English-speaking guide?
- What kind of sleeping arrangements are used on the trek?
- Will I need permits?
- How much of the trip involves road travel?
- What expenses are not covered in the price?
- Should you book this Annapurna Circuit with Poon Hill extension?
Key highlights you’ll actually feel on the trail
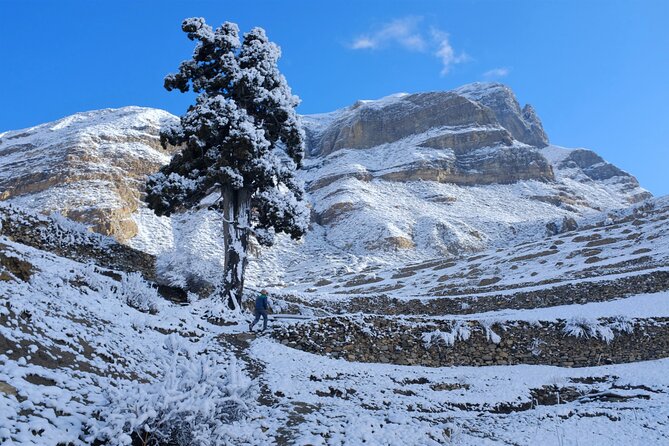
- Poon Hill sunrise: an early-morning hike just to catch the changing colors and peak views at dawn
- Careful acclimatization rhythm: a dedicated day around Manang to help your body adjust before going higher
- High-pass timing: an ultra-early start (around 3:30 a.m.) to cross before wind and exposure build
- An English guide with official licensing: you’ll get clear explanations, safety checks, and practical trekking support
- Guesthouse trekking comfort: sleeping in local lodges along the way instead of camping gear logistics
- Well-run handoffs: the route includes transfers, permits, and documentation so you’re not scrambling day to day
First, what this trek really gives you: Circuit walking plus a sunrise “mission”
This trip is built for one simple reason: you want the full Annapurna experience without having to plan every moving part yourself. You’ll trek through multiple altitude zones—starting in warmer river valleys, climbing into drier high terrain, and then descending back toward Pokhara’s lower elevations.
Then you add the Poon Hill piece at the end, where the goal is not distance. It’s timing. That early start is what makes Poon Hill worth it: you’re going before the crowds energy kicks in, before the day warms up, and you’re rewarded with a sky-and-peak show. If you like trips where the views are earned step by step, this format fits well.
You can also read our reviews of more tours and experiences in Kathmandu.

Getting started in Kathmandu: a real briefing beats guesswork
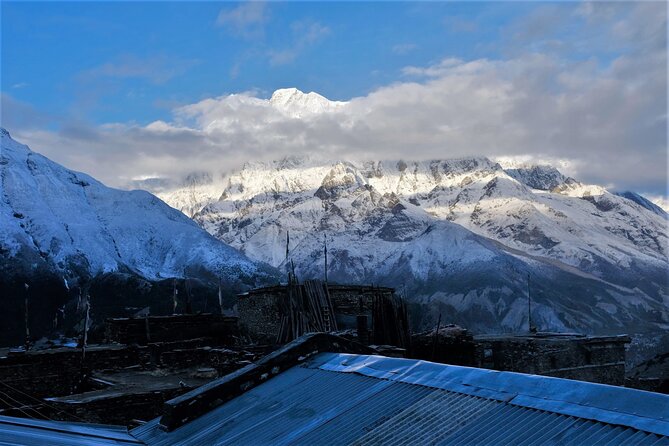
Day 1 is anchored in Kathmandu’s Thamel area. After you land at Tribhuvan International Airport, a representative meets your group and drives you to a hotel. After check-in, you get a briefing on what to expect.
Why that matters: trekking in the Annapurnas has a lot of moving parts—permits, altitude, village-to-village logistics, and early mornings. A good briefing helps you keep your head clear when you’re tired from travel. It also sets expectations for the long days ahead, including cold starts.
One more practical note: the meeting point listed is SPOT ON 376 Hotel Hazel, in Kathmandu, with a start time of 9:45 pm. If your arrival doesn’t line up with that, double-check your exact pickup timing with the operator so you’re not waiting in the wrong place.
Valley to village: Day 2 to Day 6 through Syange, Dharapani, Chame, and Pisang
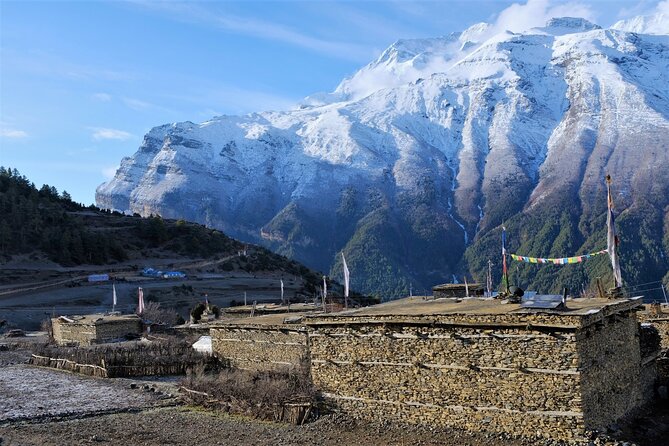
After the road portion out of Kathmandu, the trek begins to feel more “Nepal” day by day—villages, forest, river bends, and occasional waterfall glimpses.
Day 2: Syange
You start with a 190-kilometer, ~6.5-hour drive to Besisahar, then continue by jeep to Syange. This is a transition day, but it’s also useful: you’re moving into the region and building momentum before full trekking effort.
Day 3: Dharapani
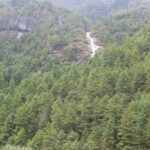
From the road, you’ll see vegetation changes and occasional waterfalls below, plus views of snow-covered peaks. Then you continue onward to the trekking zone. Expect this day to feel like “getting oriented,” not like a huge hike.
Day 4: Chame
Chame marks a noticeable shift: vegetation and terrain change as elevation increases and temperatures drop. The trail runs through forested sections until reaching Bagarchhap, described as a typical Tibetan-style village. That blend—trail + settlement atmosphere—is part of why this circuit feels immersive in the best way: you’re not just walking past scenery.
Day 5: Pisang
You follow the Marsyangdi River area with pine forests and small villages, then climb more earnestly after crossing a bridge. This is one of those days where you’ll feel the “up” even if it doesn’t look intense on paper.
Day 6: Manang
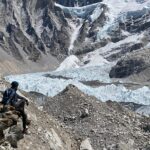
The views improve again, and snow-covered peaks become frequent. You’ll trek up to a hill viewpoint area for broader looks down the valley. If you like photography, this is the day you start realizing your camera batteries will not survive on optimism alone.
Acclimatization Day 7 in Manang: the smartest day on the calendar
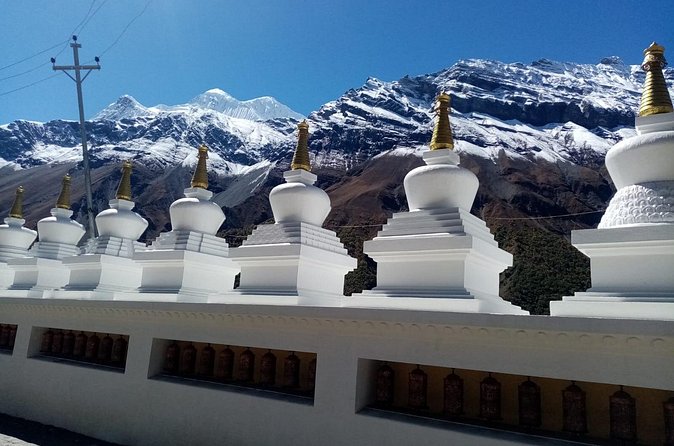
Day 7 stays in Manang and focuses on acclimatization. The plan calls out that for higher-altitude trekking, it’s critical to adjust and stay active rather than sitting still all day. You also may wish to take a short trek during this acclimatization time.
This is a major value point of the itinerary. Altitude isn’t a vibe; it’s physics. Building in a day like this makes the next stages more manageable and helps you keep energy instead of paying for it later.
High, dry terrain: Day 8 and Day 9 toward Yak Kharka and Thorung Phedi
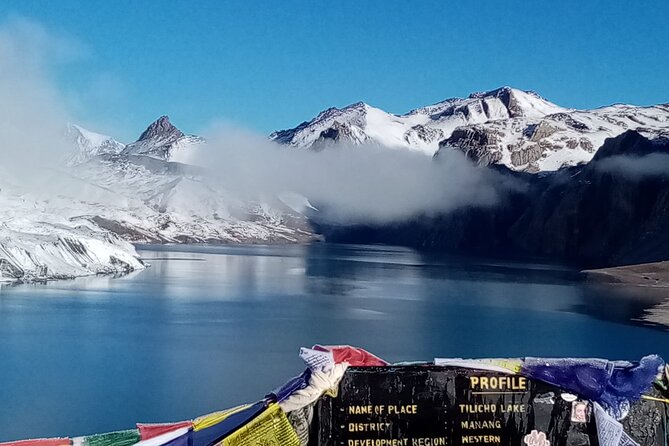
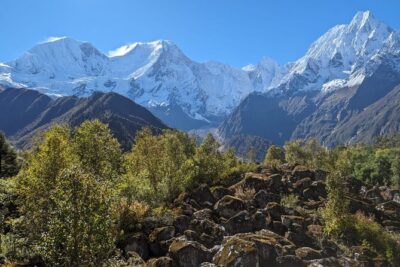
As you leave Manang, the trail climbs for about an hour, with views of Annapurna II, Gangapurna, and Chuli peaks. Terrain turns more arid. That “dry high” feeling is a clue you’re rising into a different climate system.
Day 8: Yak Kharka
You’ll be working on your altitude management and finding a pace that feels sustainable. This day is all about settling into higher terrain.
Day 9: Thorung Phedi
You continue with a steady climb to a tiny settlement with strong mountain views, then the trail becomes bleaker and more exposed to high winds. If you’re prone to feeling cold easily, pack for wind chill here. The high, exposed feeling is mentioned for a reason.
The cold, early-morning push: Day 10 to Muktinath
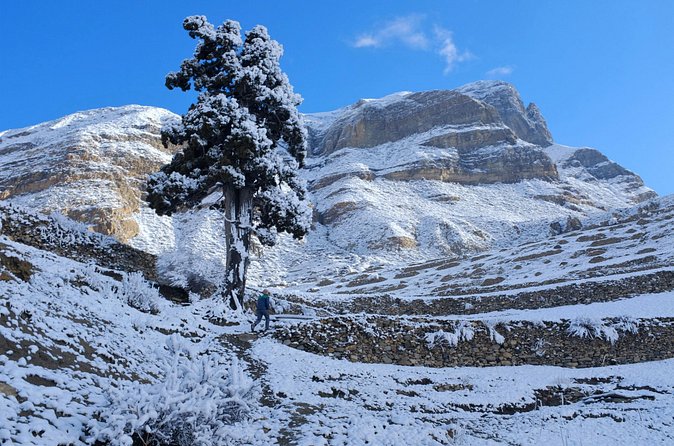
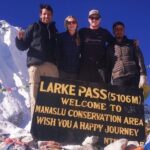
Day 10 is the big timing day. You start at around 3:30 a.m. to reach the pass before wind picks up later. The description is blunt: it can be cold, blustery, and exposed.
Then you continue toward Muktinath. This is not just a long day—it’s a “manage your body” day. I’d treat it like a test: keep moving smoothly, avoid burning energy early, and don’t chase speed for pride. The operator clearly expects the route to be difficult here, and that’s another reason the earlier acclimatization day matters.
Tatopani via bus and checkpoints: a day that resets your legs (and mindset)
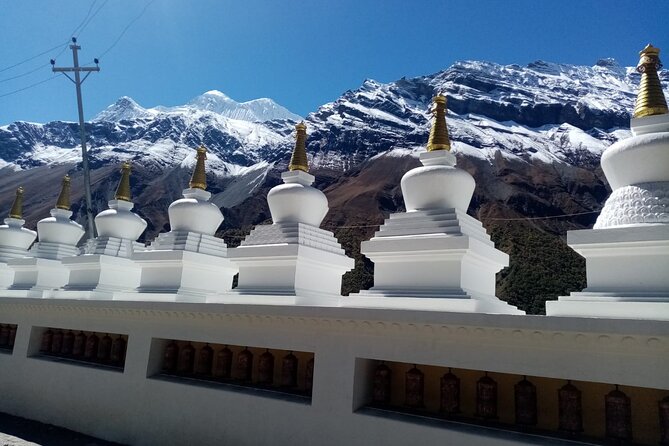
After the high-pass segment, you shift gears. Day 11 begins with bus travel toward Tatopani, and the schedule notes about 5–6 hours of bus time, with an ACAP checkpoint at Jomsom.
This is one of the days where you’ll feel the advantage of included transfers and documentation. Long road days are easier when you’re not thinking about routes, tickets, or the next “where do we go now?” step. When your legs need recovery after the colder, higher walking, this kind of reset matters.
Ghorepani Day 12 to Pokhara approach: downhill, then uphill again
Day 12 heads toward Ghorepani. The route starts with a descending trail to a suspension bridge, then after crossing, it’s all uphill passing small villages and terraced fields.
That pattern—down to bridge, then climb—is a classic trekking “feel” you should be ready for. It’s manageable if you keep your pace easy and steady, but it can surprise you if you start too fast because the downhill feels like permission to relax.
Poon Hill sunrise: the shortest effort with the biggest payoff (Day 13)
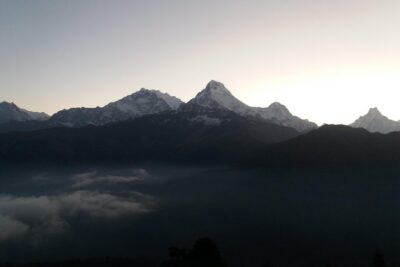
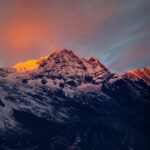
Day 13 is your early-morning mission up to Poon Hill for sunrise. The highlight here is timing and light: as dawn approaches, you’ll get a shift in colors and panoramic views that leave you breathless (in the good way).
Why this moment is worth building toward: after days of altitude, wind, and long trekking stretches, Poon Hill gives you a clean, focused reward. It’s a view you’ll remember because you earned it early—before breakfast logic, before warm air, before fatigue becomes the main character.
This day also connects the trek to a more relaxed phase. You move toward Pokhara Lakeside afterward, which is a nice change from constant trekking cadence.
Back to Kathmandu and the airport timeline: don’t cut it too close
Day 14 is the return drive from Pokhara to Kathmandu, about 6–7 hours, with a few rest stops. Day 15 is your airport transfer, taking you about 3 hours before your scheduled departure.
This matters because air travel timing in Nepal can feel more complicated than you expect. If you’re tired from a long trek, you’ll want a buffer. This plan builds one in, and that’s good planning.
What’s included (and what you’ll still need to budget for)
Included value
You get a lot of “trip overhead” taken care of:
- hotel pickup and drop off round trip
- a government-licensed English-speaking guide
- trekking permit and official documents
- Kathmandu 2 nights + Pokhara 1 night in 2-star label hotels with breakfast
- guesthouse accommodation during the trek
- a normal first-aid kit with your guide
- round-trip transfers by shared bus or jeep
- private tour format (your group only)
It’s not just comfort. It’s logistics. Permits, docs, and guide support are the difference between an adventure and a stressful checklist.
Not included: the two big items
- Food and drinks are available for purchase. That means you should budget for meals along the trekking days and any drinks/snacks you want.
- Gratuities are optional. If you’ve worked with a guide you trust, tipping is a real part of how trekking runs here.
Price and value: how $790 stacks up for a 15-day trek
At $790 per person, this is priced like a “managed” Nepal trek rather than a DIY plan. For a 15-day itinerary that includes hotels (Kathmandu + Pokhara), trekking permits, guide services, and transfers, the value is in what you don’t have to organize.
If you were to plan yourself, you’d still need a guide for official permits and safety management, and you’d still need guesthouse budgeting and transport planning. This package bundles those core pieces. That said, the cost won’t cover every meal and drink, so plan for on-the-ground spending.
Also, because it’s a private tour format for your group, you’re less likely to feel lost in a mismatch of walking speeds. The operator’s “group discount” note can also help if you travel with companions.
The guides and organization: what the best parts have in common
The reviews have a clear theme: guide quality and on-time, careful organization. One trek mentioned Krishna and another singled out Biru for being friendly, safety-focused, and always ensuring comfort. The recurring praise isn’t just about being nice—it’s about doing the practical things well: explaining details, keeping arrangements on schedule, and handling day-to-day logistics cleanly.
That matters on a trek like this, where the difference between a good trip and a frustrating one is often minor coordination. When transfers line up and the early starts happen as planned, you spend energy on the trail instead of on uncertainty.
Who this trek is best for (and who should think twice)
This is a strong match if:
- you have solid physical fitness and can handle long trekking days plus some early mornings
- you like a structured itinerary with an English-speaking guide
- you want classic Annapurna walking and also a “top-of-the-list” sunrise viewpoint
You should think twice if:
- you’re sensitive to cold and wind exposure (the early-morning high section is described as exposed)
- you dislike long travel days where the day includes bus/jeep segments more than walking
- you want everything fully “all-inclusive” with no on-the-ground meal spending (food and drinks aren’t included)
Quick FAQ
FAQ
Do I need to be experienced to do this trek?
The trip notes that travelers should have a strong physical fitness level. It also includes acclimatization time in Manang, but you should still be prepared for higher-altitude walking and an early start on the pass day.
Is there an English-speaking guide?
Yes. The experience includes a government-licensed English speaking trekking guide, along with a normal first aid kit.
What kind of sleeping arrangements are used on the trek?
You’ll stay in guest houses during the trek. Kathmandu and Pokhara include hotel nights with breakfast.
Will I need permits?
Yes. Trekking permit and all official documents are included.
How much of the trip involves road travel?
A fair amount. The early days include a drive to Besisahar and jeep to Syange, and later days include bus segments, including a long bus ride toward Tatopani.
What expenses are not covered in the price?
Food and drinks are available on purchase, and gratuities are optional.
Should you book this Annapurna Circuit with Poon Hill extension?
If you want the Annapurna Circuit spirit plus a famous sunrise finale, this itinerary makes sense. The best reason to book is the combination of permit support, a licensed English guide, guesthouse accommodation, and organized transfers—all of which reduce the stress that can drain a trek like this.
My only “hold on” is the reality of cold, wind, and early start timing during the pass section. If you can handle that with the right attitude and gear, you’re set up for a memorable run: high views, village walking, acclimatization that respects altitude, and then a sunrise moment that’s short on effort and long on impact.