REVIEW · POKHARA
Poon Hill Trek from Pokhara 4 Days
Book on Viator →Operated by My Dream Adventure (MDA) · Bookable on Viator
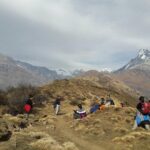
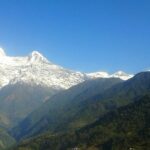
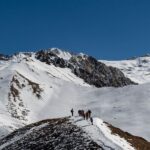
Sunrise over the Himalaya in four days. This Poon Hill trek from Pokhara is built for big payoff: quick access to the Annapurna and Dhaulagiri viewpoints, plus forest walking and village culture on the way there and back. The star is Poon Hill sunrise, when the first light hits the peaks.
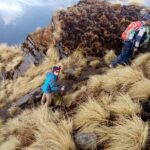
What I like most is the mix of scenery and people: rhododendron and oak forests, terraced fields, and clear streams, followed by time in Gurung and Magar communities. I also appreciate the practical side—English-speaking guidance and guest-house stays keep you moving without turning your trip into logistics homework. On routes like this, a guide such as Dadhi or Milan Rai is the kind of teammate who explains what you’re looking at and keeps the day’s plan clear.
One consideration: the trek asks for early mornings (especially Day 3), and weather matters for the sunrise view. If clouds sit on the peaks, you’ll still get a great walk, but the big photo moment might be muted.
In This Review
- Key things to know before you go
- Why the Poon Hill trek from Pokhara is such a good 4-day plan
- Day 1: Pokhara to Ulleri via Nayapul, and why the first day is never just a warm-up
- Day 2: Ulleri to Ghorepani, with Banthali and Annapurna South in your line of sight
- Day 3: The pre-dawn push to Poon Hill sunrise, then Ghandruk for village time
- Day 4: Ghandruk back to Pokhara, including rhododendron forests and peak goodbyes
- Guides, permits, and what the package really handles for you
- Price and value: is $230 per person fair for 4 days?
- What to pack for a sunrise trek that also includes forests
- Weather and the sunrise reality at Poon Hill
- Who should book this Poon Hill trek (and who might not)
- Should you book this 4-day Poon Hill trek from Pokhara?
- FAQ
- How long is the Poon Hill Trek from Pokhara?
- Where does the trek start?
- Is hotel pickup and drop-off included?
- What permits do I need for this trek?
- Do I need to send passport details or a photo?
- What kind of accommodation is provided?
- What fitness level is required?
- What is the cancellation policy?
Key things to know before you go
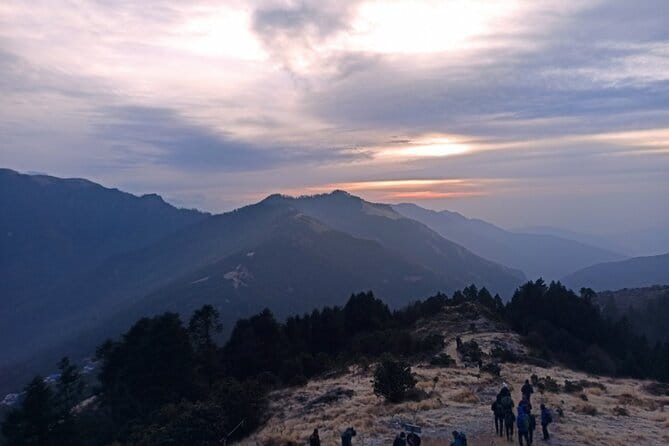
- Poon Hill sunrise timing matters: Day 3 starts before dawn so you’re in place before the light hits the mountains.
- Ulleri and Ghorepani are classic stepping-stones: they break up the trek with manageable day stages.
- Banthali offers Magar village views: you’ll pass through a Magar community and get Annapurna South sightlines.
- Ghandruk is the cultural stop: you connect sunrise views with a well-known village setting.
- Permits are handled for you: trekking permit and TIMS card are included, but you must provide passport details and a photo.
Why the Poon Hill trek from Pokhara is such a good 4-day plan
Poon Hill is one of those treks that feels small on paper and huge in real life. You’re not spending weeks changing altitudes and habits. Instead, you’re doing a short hike with a clear purpose: walk through forests and villages, then earn the sunrise views from the top of the Poon Hill area.
From Pokhara, the plan is also straightforward. You get hotel pickup and drop off, then you head toward Nayapul by shared local bus (around an hour). That matters because it removes the most annoying part of trekking in Nepal: figuring out transport on your own before you even put on your boots.
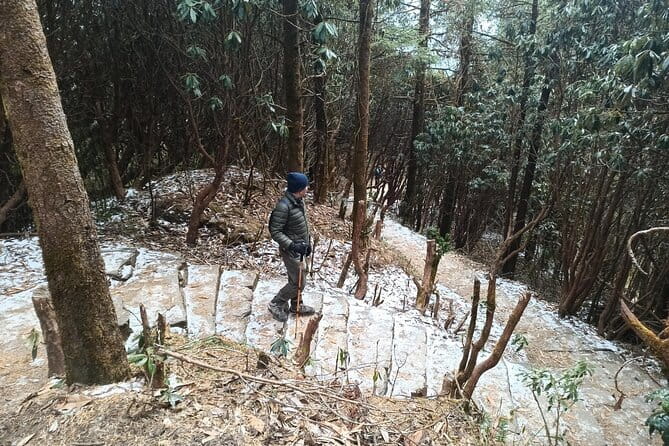
The route design is built around variety. Early days bring you through subtropical-to-hill scenery—rhododendron and oak forests, terraced mountain farms, and streams cutting through valleys. By the time you reach the viewpoint day, you’re ready for the wide-angle payoff: Annapurna and Dhaulagiri peaks lighting up as morning arrives.
You can also read our reviews of more tours and experiences in Pokhara.
Day 1: Pokhara to Ulleri via Nayapul, and why the first day is never just a warm-up
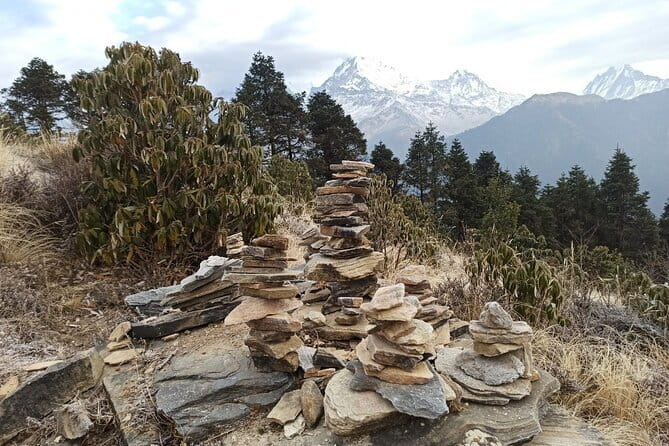
Day 1 starts with movement, not standing around. You’ll drive by local bus from Pokhara to Nayapul (about an hour). Then the trek begins right away, hiking up to Ulleri, which sits around 2,070 meters.
This first day usually does two jobs at once:
- It gets your legs used to the rhythm of uphill walking.
- It also sets the tone for the whole trek. Ulleri is a traditional trekking stop, so you’re not arriving in the middle of nowhere—you’re stepping into a mountain-town feel.
The practical upside: you’re in a guest house by the end of the day, not scrambling for a place to sleep. The slight downside is that you’ll want to treat this as a real hiking day, not a stroll. If you show up stiff or dehydrated, the climb will remind you.
Day 2: Ulleri to Ghorepani, with Banthali and Annapurna South in your line of sight
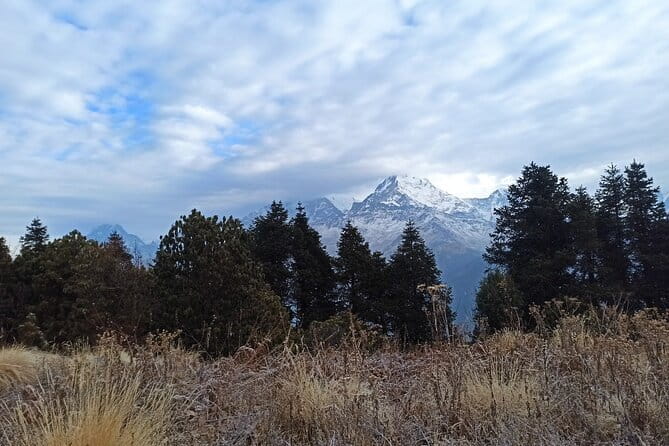
Day 2 is an early-morning start from Ulleri to Ghorepani. The walking time is listed at about 6 hours, so it’s a solid day without being punishing.
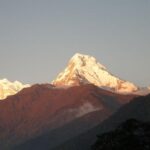
The standout along the way is crossing Banthali, a village inhabited by the Magar community. This is where you start getting the kinds of views that make people stop mid-trail to stare. You also get sightlines toward Annapurna South, which helps you understand why Poon Hill is worth the effort.
Why this day feels good: it’s long enough to feel like a trek, but not long enough to drain you. And Ghorepani works as a viewpoint base—once you’re there, Day 3 becomes a focused mission.
A small reality check: Ghorepani is popular, so expect teahouses and bustle. If you’re the type who likes quiet, you might want to plan your meal timing and downtime carefully. The upside is convenience. You’ll be able to eat, regroup, and sleep in a familiar trek setting.
Day 3: The pre-dawn push to Poon Hill sunrise, then Ghandruk for village time
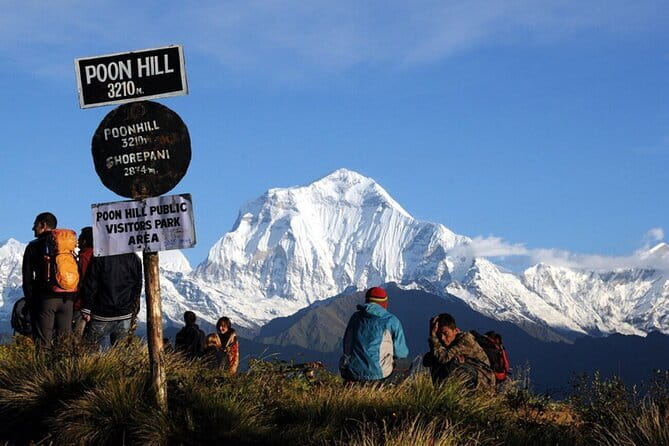
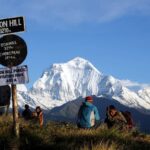
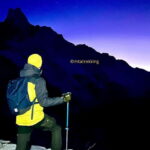
Day 3 is the one that people remember. You start before dawn and hike to the Poon Hill base specifically so you don’t miss sunrise. Once you arrive, you wait for the first light and watch the peaks take shape.
That timing is everything. Sunrise hikes are a little like good theater: you can’t show up late and expect the best scenes. The plan here is built to get you into position early enough to enjoy it properly.
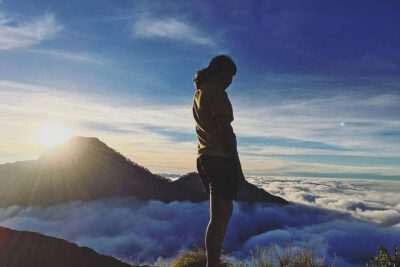
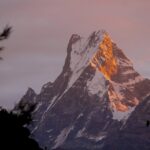
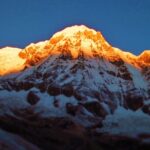
When clouds behave, this is where the whole trek pays off. You’re looking toward the Annapurna and Dhaulagiri ranges, and the first rays of morning can make the view feel unreal. When clouds don’t behave, you’ll still get a cool pre-sun landscape and clear walking practice, just without the dramatic peak lighting.
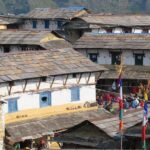
After the sunrise moment, you continue on to Ghandruk. Ghandruk is a major village stop, and it gives your trek a cultural backbone. Instead of ending the day on a viewpoint and vanishing back to hotels, you get time among local life and traditions.
If you care about culture as much as views, this is the right day for it. You’ll see the trekking route doesn’t just cut through mountains—it threads through communities like Gurung and Magar villages, where daily life is very much part of what makes the trail worth walking.
Day 4: Ghandruk back to Pokhara, including rhododendron forests and peak goodbyes
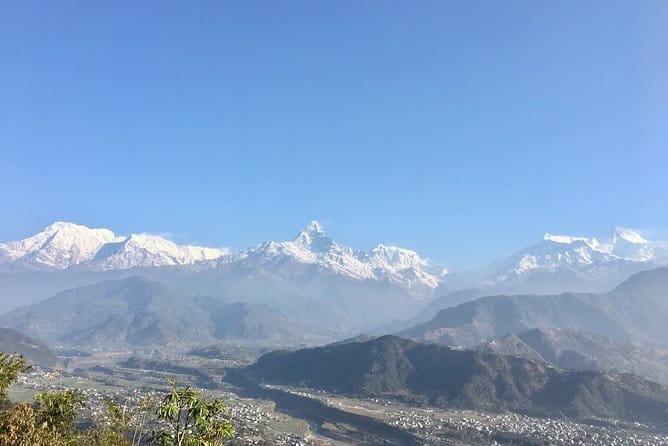
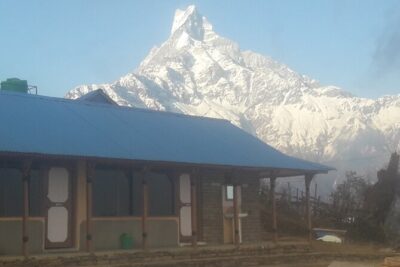
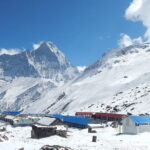
Day 4 runs about 6 hours. You leave Ghandruk and hike downhill along a scenic route toward Pokhara. The plan explicitly mentions sending you off with views of major peaks: Annapurna I, Annapurna South, Dhaulagiri, Fishtail, and Himchuli, plus time through rhododendron forest.
This is a satisfying finish day. Downhill trekking can be easier on your energy, but it’s not automatically easier on your knees. Start slow, and don’t race your way down because you’re excited to reach Pokhara. Let your feet land carefully, especially on rocky or uneven sections.
The other nice part of Day 4 is closure. Sunrise felt like the climax, but the descent gives you perspective. You watch the mountain views shrink back into distance while forest and village details take over again. Then, you’re back in Pokhara with the whole trek feeling like it flowed in a circle.
Guides, permits, and what the package really handles for you
This trek includes an English-speaking trekking guide, plus trekking permit and TIMS card. That’s more important than it sounds. Trek permits can slow people down if they have to chase paperwork at the last minute. Here, you’re told to provide passport details and a photo (a selfie works) so the permits can be issued.
The best part is that it lets you focus on walking and enjoying the route instead of managing forms. It also means your guide isn’t just there for direction—they’re usually the person who helps you understand what you’re seeing, what to expect next, and how to pace the day.
From the people attached to this trek, there’s a clear theme: good organization and helpful guidance. Names like Sagar and Sham show up in accounts connected to this route, and guides such as Bikram are associated with making the hike feel easy and well managed. (You may get different team members, of course, but the service style is the same idea: clear plans, friendly support.)
You’ll also stay in guest houses. That’s the standard comfort level for this trek type, and it helps keep the experience realistic. You’re not paying for luxury. You’re paying for reliability.
Price and value: is $230 per person fair for 4 days?
At $230 per person for about 4 days, the value depends on what you compare it to.
In your favor:
- Hotel pickup and drop off are included.
- Round trip transfer by shared local bus is part of the plan.
- An English-speaking guide is included.
- Trek permits (including the TIMS card) are included.
- You’re getting guest-house accommodation built into the plan.
- You’re traveling as a private trek with only your group participating.
That’s a lot bundled together for a short trekking trip. If you tried to assemble this yourself—permits, guide, transport, and places to stay—your costs and stress could easily climb.
The one place where you still control your spending is personal expenses. That means meals beyond what’s covered, snacks, drinks, tips if you choose to tip, and any extras. Also, group discounts are mentioned, so if you can travel with friends or family, your per-person cost could be even more comfortable.
Bottom line: this is priced like a guided, organized short trek. If you want a straightforward experience with less scrambling, it’s in the fair-to-good value range.
What to pack for a sunrise trek that also includes forests
Even with a short itinerary, you’re doing early mornings and changing conditions—cooler air before sunrise and warmer trekking later. Pack for that contrast.
A few practical things you’ll appreciate:
- Layers you can add or remove quickly.
- Rain protection (Nepal weather can change fast).
- Comfortable trekking shoes with good grip.
- A small headlamp or flashlight for pre-dawn starts, since you’ll be moving before sunrise.
- Sun protection (even on a chilly morning, the sun can be strong once it shows up).
For the evenings in guest houses, you’ll likely want a warm layer. For the trail, you’ll want something that dries fast and doesn’t feel like a weight by midday.
Weather and the sunrise reality at Poon Hill
The big promise is sunrise over the Annapurna and Dhaulagiri ranges. The route is designed so you’re there in time, and that’s the right approach.
Just don’t bet everything on a perfect sky. Clouds can roll in. When they do, you’ll still get the walk, the village days, and the mountain atmosphere. But the dramatic peak-lighting moment may soften.
Your best move is to treat sunrise as the goal, not the guarantee. Go in ready to enjoy whatever the sky gives you—because the morning experience and the early-trail feeling are part of why this trek works.
Who should book this Poon Hill trek (and who might not)
This trek is ideal if you want:
- A moderate physical fitness hike with clear daily stages.
- A short route that still delivers a major viewpoint payoff.
- Cultural time in villages like Ghandruk and exposure to Gurung and Magar communities.
- A guided plan with permits handled and guest-house lodging included.
It may not fit if:
- You hate early starts and are looking for a slow schedule.
- You want a totally private experience with no shared buses or common trekking stops. You’re private as a group, but the trek area itself can be busy.
If you’re a first-time trekker who wants a meaningful taste of the Annapurna region without committing to weeks, this is one of the most sensible formats.
Should you book this 4-day Poon Hill trek from Pokhara?
If you want a well-run, short trek where you’re not wrestling with logistics, I think this is a smart choice. The combination of Poon Hill sunrise, a classic route through Ulleri and Ghorepani, and a culture-forward finish in Ghandruk gives you a full story in just 4 days.
Book it if:
- You can handle early mornings.
- You want a guided experience with permits and guest-house lodging taken care of.
- You like routes where the view is the reward, but the trail and villages are still the point.
Skip it if:
- You need a totally relaxed schedule with no pre-dawn hiking.
- You’re only interested in the one sunrise photo and would be disappointed if clouds soften the view.
FAQ
How long is the Poon Hill Trek from Pokhara?
It’s listed as 4 days (approx.).
Where does the trek start?
The plan includes driving from Pokhara to Nayapul by local bus, and the hike begins after you reach Nayapul.
Is hotel pickup and drop-off included?
Yes. Hotel pickup and drop off are included.
What permits do I need for this trek?
The trekking permit and TIMS card are included.
Do I need to send passport details or a photo?
Yes. You’ll need to provide passport details and a photo (a selfie also works) to issue the trekking permit.
What kind of accommodation is provided?
Accommodation is provided in guest houses.
What fitness level is required?
The guidance says you should have a moderate physical fitness level.
What is the cancellation policy?
Free cancellation is available up to 24 hours in advance for a full refund. If you cancel less than 24 hours before the start time, the amount paid is not refunded.