REVIEW · POKHARA
From Pokhara: 5-Day Mardi Himal Base Camp Trek
Book on GetYourGuide →Operated by Snow Peak Tours and Travels pvt. ltd. · Bookable on GetYourGuide
Close-up mountain views in just five days.
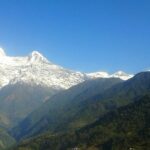
This guided Mardi Himal Base Camp trek from Pokhara is interesting because it mixes big Annapurna panoramas with the feeling of getting very close to Mardi Himal and Machapuchre. I like that the route is built for gradual adjustment with real mountain-time each day, but the first stretches can still feel tough if you’re not used to hiking with altitude and uneven steps.
You’ll also love the early-morning payoff.
Day 4 in particular is set up for sunrise viewing and extended time at the base camp area, and the trek as a whole travels through rhododendron forests and small settlements where the mountain scenery keeps changing angle as you climb.
In This Review
- Key things that make this Mardi Himal trek worth your time
- Why Mardi Himal Base Camp works as a 5-day plan from Pokhara
- Day 1: Pokhara to Pitam Deurali View Point (the first altitude taste)
- Day 2: Low Camp through villages and rhododendron forest (settle into the rhythm)
- Day 3: Low Camp to High Camp (when the air feels sharper)
- Day 4: High Camp to Mardi Himal Base Camp, sunrise, then back to Low Camp
- Day 5: Low Camp down through Sidding to Lumre, then back to Pokhara
- Guides, tea houses, and meals: what “included” means on the ground
- Price and value: what you’re paying for at about $181 per person
- Fitness and altitude: how hard is it, really?
- Who this Mardi Himal trek suits best (and who should think twice)
- Should you book this trek from Pokhara?
- FAQ
- Where are the pickup and drop-off locations?
- What does the price include?
- Are meals fully included during the trek?
- Do I need a porter?
- Do I need to submit my passport for permits?
- Is travel insurance required?
Key things that make this Mardi Himal trek worth your time
- Certified, English-speaking guide who helps with pacing, trail decisions, and safety along the way
- Teahouse-style lodging on a classic route, with meals available depending on your option
- Rhododendron forests and village walking that break up the climb with human-scale moments
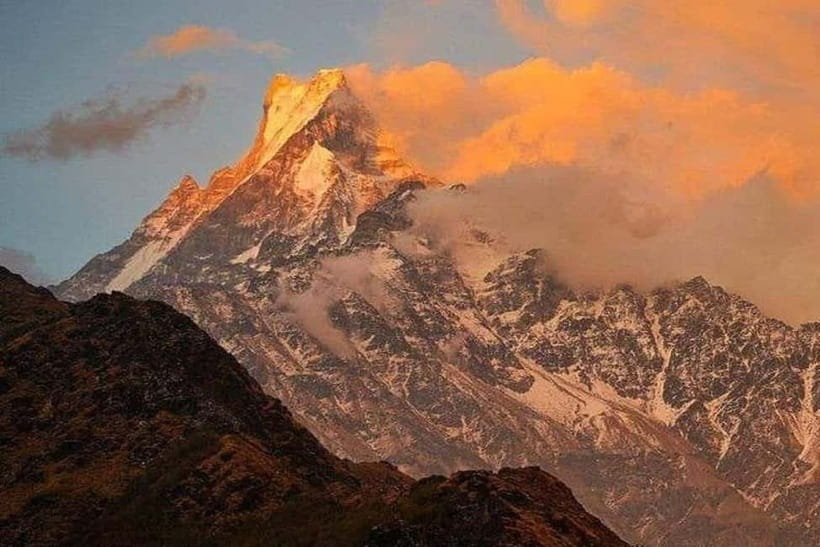
- Sunrise time over the Annapurna region with an emphasis on viewpoints and time to watch the light shift
- Base camp time plus a return day that keeps the trip long enough for views without dragging into weeks
- A short, satisfying final descent toward Lumre, so the end feels lighter than the approach
Why Mardi Himal Base Camp works as a 5-day plan from Pokhara
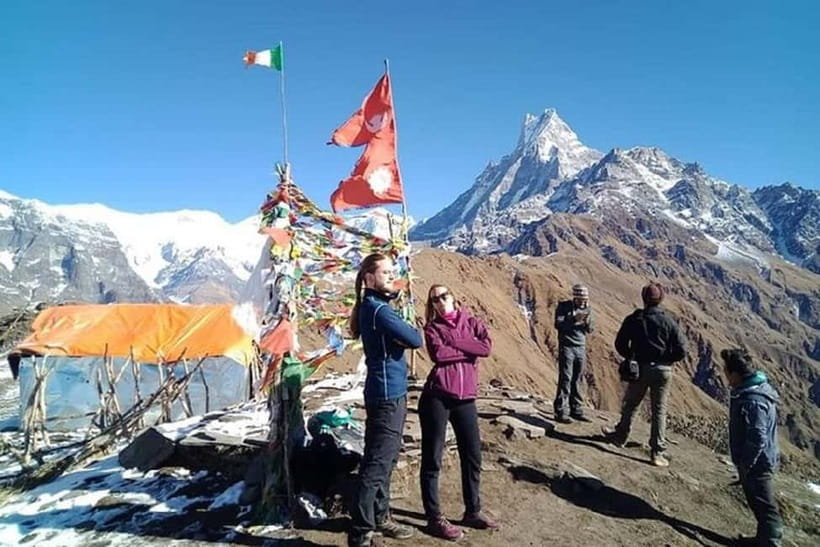
If you want Everest-style drama without Everest-level time commitment, Mardi Himal is one of the best bets. This trek is short enough to feel achievable, but long enough to reach the kind of vantage that makes people stop talking and just look.
The other win is how quickly you start noticing the Annapurna region from different angles. You’re not doing a flat “walk and repeat” route. You’re moving from forested footpaths into higher clearings, then into colder, more open mountain air—so your brain gets trained to see the range as a changing panorama.
And it’s guided. That matters more than most people expect. A good guide helps you keep your effort steady, keeps you from taking the wrong turns when trails get busy or confusing, and can adjust pacing around weather. In the mountains, that small control reduces stress.
You can also read our reviews of more tours and experiences in Pokhara.
Day 1: Pokhara to Pitam Deurali View Point (the first altitude taste)
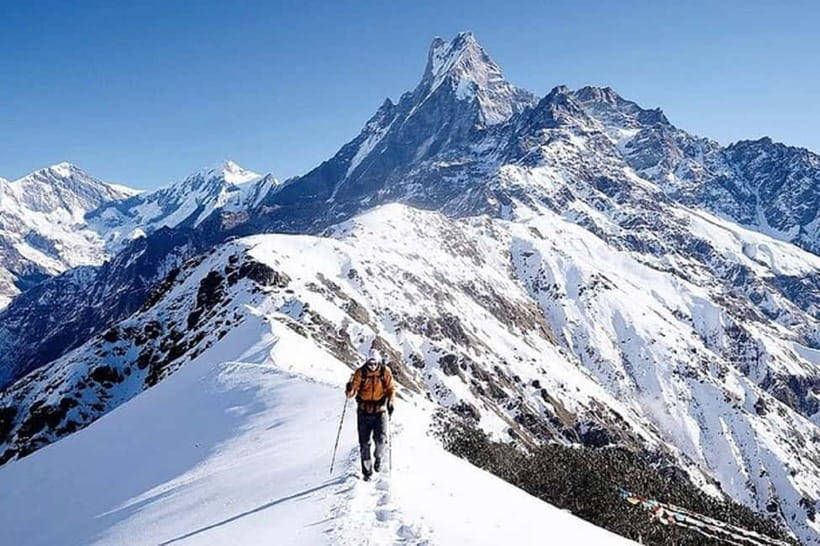
You start with a scenic drive out of Pokhara, then switch over to trekking in the morning, building gradually instead of jumping straight into a hard climb. The day includes a move through areas like Kande and a trek route that passes Australian Camp and Pothana before reaching Pitam Deurali View Point.
Why this stop matters: Pitam Deurali is where you get your first real “mountains are right there” moment. The view from a high point like this also helps you understand what you’re aiming for over the next few days. I like that your energy goes into walking, not just staring out a window.
What to watch for on Day 1: it’s often easier to go faster than your body wants. The smartest move is to keep your pace comfortable from the start. Even if the hike feels manageable, Day 1 sets the tone for how you’ll handle the next climbs.
Overnight note: you’ll spend the night at the Pitam Deurali area, which gives you time in the evening to settle before moving upward again.
Day 2: Low Camp through villages and rhododendron forest (settle into the rhythm)
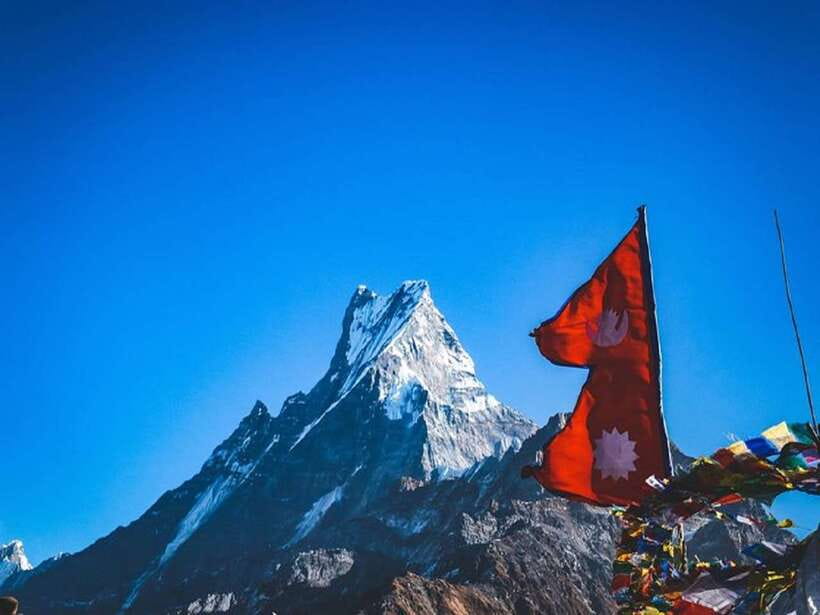
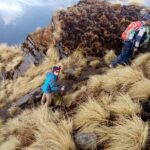
Day 2 is about rhythm. After breakfast, you hike through settlements and enchanted rhododendron forests to reach Low Camp.
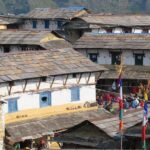
This is the kind of day that makes the whole trek feel worth it, even if the altitude isn’t yet at its highest. In warmer months, rhododendron forests can bring color and thick shade, which makes the climb feel less exposed. And the villages—no matter how small—remind you this trek is lived-in, not just scenic.
At Low Camp, you get your first real “base of operations” feeling. You stop, eat, and let your body catch up. This is also where having a guide helps you plan the next day’s effort.
Potential drawback: the first two days tend to feel more challenging for many people. The path can ask for steady foot placement, and if you rush, you’ll feel it later. Go slow early.
Day 3: Low Camp to High Camp (when the air feels sharper)
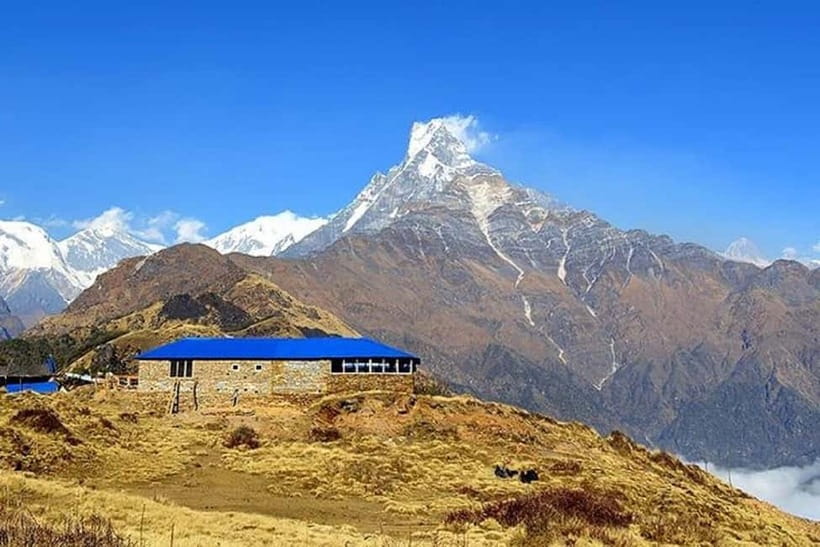
Day 3 continues the ascent to High Camp, with breakfast first, then a climb that brings you to the final settlement area on this trail.
Why High Camp is a key moment: it’s not just another stop. It’s where the scenery tends to open up and where you start to feel the temperature drop. You’ll want to keep moving, but not strain. The goal is to arrive feeling like you still have energy, because you’ll need it for base camp time on Day 4.
Packing reality check: colder conditions are common at higher altitude. Plan for layers you can add and remove without turning your hike into a clothing wrangling contest. A hat, warm jacket, and gloves (even if light) are often the difference between comfortable and miserable.
Day 4: High Camp to Mardi Himal Base Camp, sunrise, then back to Low Camp
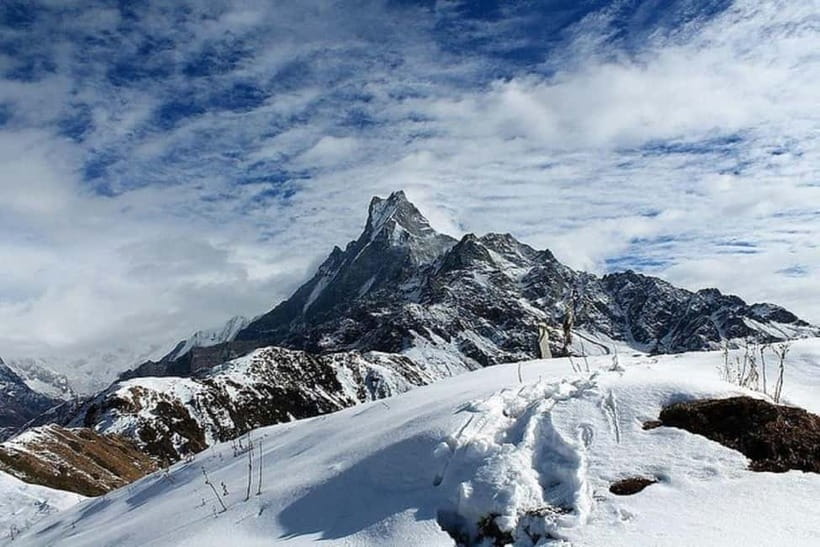
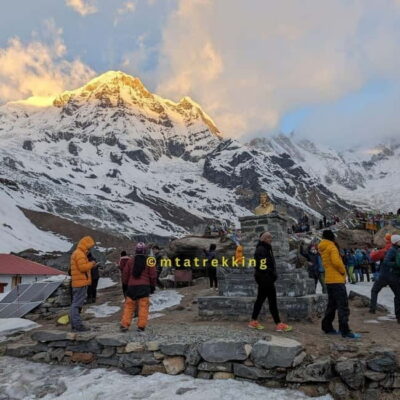
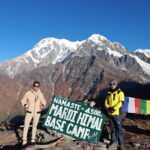
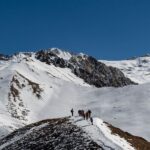
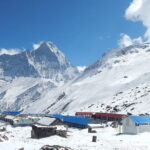
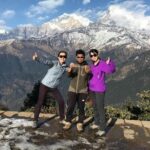
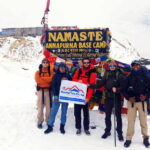
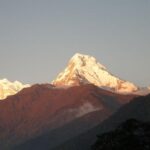
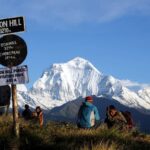
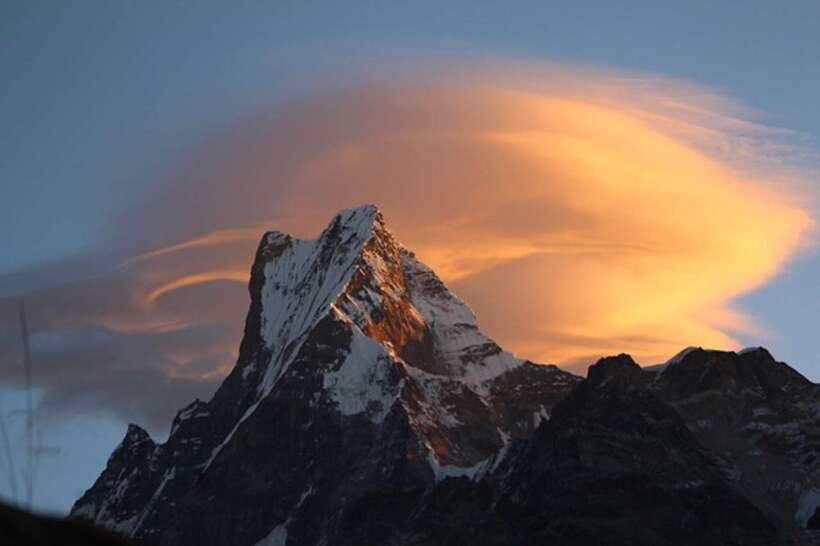
This is the signature day. After breakfast, you trek to Mardi Himal Base Camp, where you get panoramic views of the Annapurna Himalayan range. The schedule also includes time for sunrise viewing over the mountains.
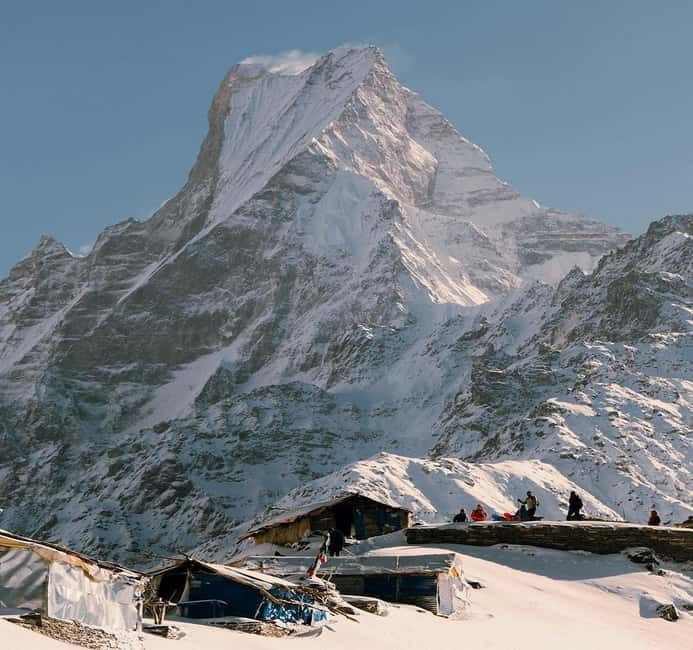
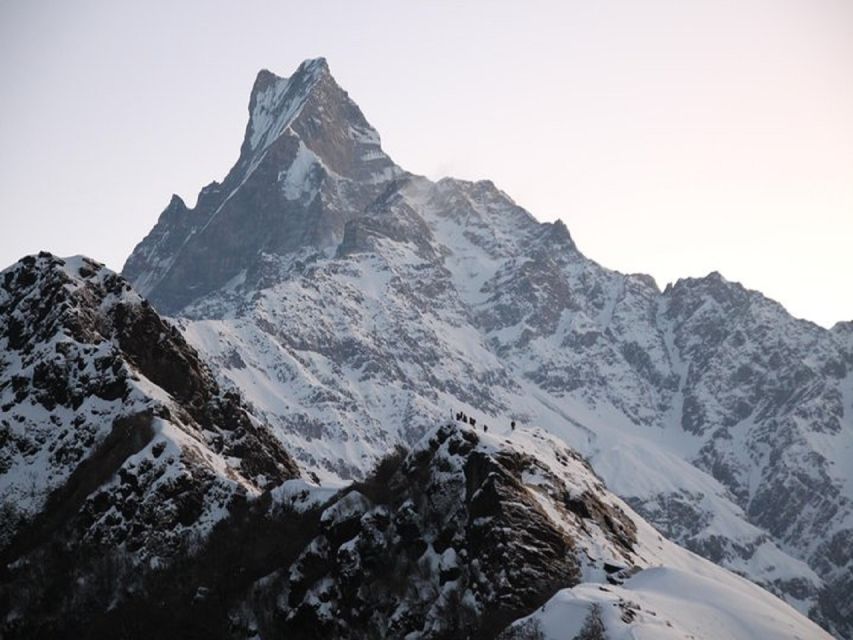
The reason base camp time feels special is simple: the combination of altitude, exposure, and clear lines of sight. At this point, the mountain shapes are easier to read, and you can often see the range in ways that feel almost three-dimensional. People talk about “closeness” to Mardi Himal and Machapuchre because your perspective tightens as you climb—peaks stop being background and start being foreground.
Then you return to Low Camp. That round-trip structure matters: it gives you a big payoff day without turning the entire experience into an all-out endurance push. You get to explore at base camp for ample time, then reset for the final day.
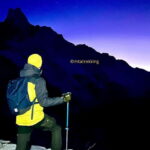
Sunrise tip: sunrise viewing is worth protecting your sleep schedule. If you’re tired, you’ll feel it during the early-morning hours. Bring a headlamp if it’s going to be cold and dark while you start.
Day 5: Low Camp down through Sidding to Lumre, then back to Pokhara
Day 5 is a descent with a couple of meaningful stops. You hike down to Sidding for lunch, then continue toward Lumre where your vehicle meets you for the ride back to Pokhara.
Why I like this ending: the final day feels like closure. You’ve already had your main mountain moment on Day 4, so the descent becomes a chance to enjoy the route without the pressure of “one more climb.” Lumre also shifts you away from the high, quiet feel and back toward the everyday pace of the region.
Road comfort note: the pickup and drop-off involve transportation from Pokhara and back. One group recommended a jeep for a bumpy road segment at the end of the day, so it’s worth asking what vehicle you’ll use and how rough the drive is expected to be.
Guides, tea houses, and meals: what “included” means on the ground
This trek runs on a simple mountain system: a certified guide, tea house/lodge nights, and meals that depend on the option you select. You’ll also have luggage storage facilities in Pokhara, which is a big practical win if you’re carrying only day gear on the trail.
Tea houses: accommodations are described as simple lodges along the route. That generally means basic rooms, shared dining areas, and the idea that you’re trading luxury for location. The upside is you’re never far from a hot meal and a place to rest.
Meals: the big detail is that meals throughout the trek are included depending on your option, but not all meals are guaranteed. In practice, I’d plan cash for snacks and extra drinks, because tea and small purchases are part of life on these trails. One visitor suggested paying for your own meals can be a better deal if you’re trying to control costs, but you’ll need enough cash to do it comfortably.
Guides and the small extras: people consistently remember more than just the view. Some groups reported guides going above and beyond—like bringing fruit snacks during the trek, helping with trail choices and pacing, and keeping things encouraging even when someone moves slower due to a knee issue. One person also mentioned a Dal Bhat invitation at a guide’s home after finishing, plus an optional detour to Lwang village where locals held a volleyball tournament and there was barbeque.
Those details aren’t guaranteed, but they’re exactly what you’re buying when you choose a guide over self-guided hiking: flexibility, local context, and a more human route.
Price and value: what you’re paying for at about $181 per person
At $181 per person for a 5-day private trek, this isn’t a budget rock-bottom deal—but it also doesn’t look overpriced for what’s included.
Here’s where the value shows up:
- Permits and TIMS fees included, so you don’t have to figure out paperwork last minute
- Round-trip transportation between your hotel/airport and the trail starting point
- Certified English-speaking guide, plus guide expenses and insurance covered
- Simple lodging in tea houses along the route
- Luggage storage in Pokhara before you start hiking
- Trekking gear support like a trekking stick or sleeping bag as needed (based on what the operator offers)
- First aid kit on the ground
What may affect your final cost:
- Meals aren’t fully locked in if you choose an option that doesn’t cover everything. If you prefer tea, snacks, or extra hot drinks, budget for them.
- A porter is optional at $20 per day. If your knees or back aren’t loving the load, hiring one can turn the climb from a struggle into a manageable hike.
My practical take: if you want a straightforward way to do Mardi Himal without spending time on permits, route confusion, or logistics wrangling, the price feels fair. If you already have trekking experience and want to travel very lean, you could reduce costs by handling more yourself—but then you lose the safety net.
Fitness and altitude: how hard is it, really?
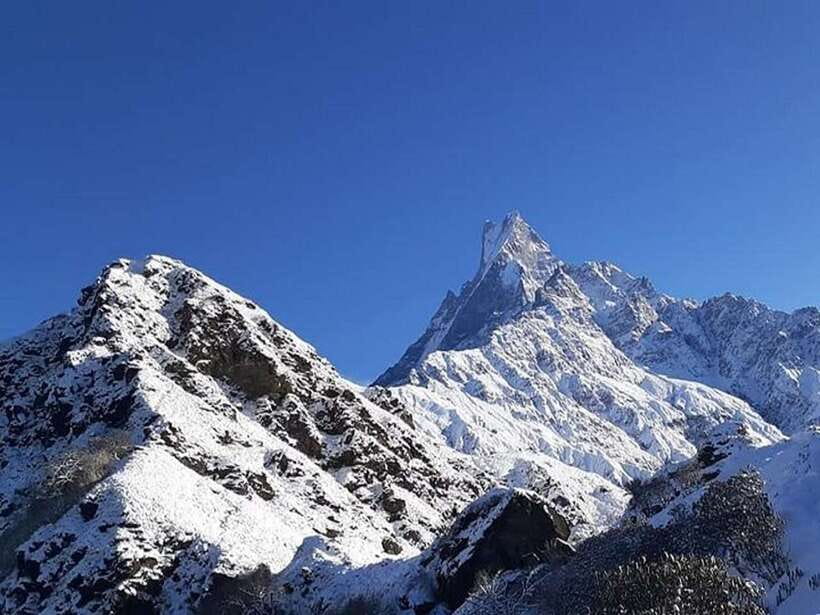
This trek is labeled as physically demanding for some participants, and that tracks with what the route requires: repeated uphill walking, cold mornings, and the need to move steadily even when air feels thinner.
Good news: one first-time multi-day trekker reported finishing despite a knee problem. That doesn’t mean it’s easy, but it suggests the trail can be handled with the right pacing and support.
Altitude reality: you’ll likely want to consider altitude planning seriously. One trekker recommended Diamox and hiking poles. I can’t tell you what to take medically, but I can say this: talk to your doctor before using Diamox or any altitude medication, and make sure your travel insurance covers high-altitude trekking.
Non-medical altitude helpers that you can control:
- Use trekking poles if you have them
- Keep your effort steady on climbs
- Drink water consistently
- Dress in layers so you don’t overheat and then chill
Who this Mardi Himal trek suits best (and who should think twice)
This is a strong match if you want:
- A guided trek with permits handled
- A compact program that still reaches Mardi Himal Base Camp
- Real mountain time through forest paths, villages, and viewpoint stops
- Sunrise and extended viewing time, not just a quick photo stop
You might reconsider if:
- You have limited mobility and need a fully smooth trail
- You’re looking for a completely easy hike with minimal cold exposure
- You dislike basic lodging and prefer fully hotel-style comfort
If you’re a cautious first-timer, you’ll likely do best with the guide and a steady pace. If you’re an experienced hiker, you may find portions manageable faster, but follow the plan rather than trying to outrun altitude.
Should you book this trek from Pokhara?
Yes—if you want a guided route that’s short enough to fit a trip, but serious enough to deliver the kind of mountain views that make you feel like you left the normal tourist track behind.
Book it if:
- You value certified guidance and an organized trek flow
- Sunrise over the Annapurna region and base camp time matter to you
- You want transportation, permits, and lodging handled
Think twice if:
- You want a guaranteed all-inclusive food plan with no budgeting for snacks
- You’re not prepared for a physically demanding climb over the first couple of days
If you do book, pack smart for cold mornings, carry enough cash for optional meals and teas, and plan to hike at a pace that feels sustainable. The mountain experience is best when you arrive at each viewpoint able to enjoy it, not just survive it.
FAQ
Where are the pickup and drop-off locations?
Pickup and drop-off are available at three options in Pokhara: Pokhara Lakeside, Pokhara International Airport (PIA), and Lakeside Rd 6.
What does the price include?
It includes round-trip transportation between your hotel/airport and the trek starting point, required trekking permits and TIMS fees, tea house or lodge accommodation, meals depending on the option selected, a certified English-speaking guide, luggage storage in Pokhara, a first aid kit, and all guide expenses (including insurance).
Are meals fully included during the trek?
Meals are included throughout the trek depending on the option you select. The package also notes that not all meals are included, so you should expect to purchase some meals on the trail when needed.
Do I need a porter?
A porter is optional (hire available for $20 per day). You can hike without one, but a porter can help if you want to reduce the load you carry.
Do I need to submit my passport for permits?
Yes. You’re asked to submit a copy of your passport at least one day before the trek so the team can arrange the necessary Nepal permits.
Is travel insurance required?
Yes. Travel insurance is mandatory for your safety and peace of mind, and emergency rescue services are available if required during the trek.