REVIEW · ARUSHA
7 Days Kilimanjaro trek via Machame route
Book on Viator →Operated by Mountain Warriors Tours and Safaris · Bookable on Viator
Seven days up Kilimanjaro tastes like no other. This Machame route is a favorite for a reason: easy access to the trailhead, steady scenery changes, and a west-side approach that builds into a classic summit night. I especially like how the plan prioritizes acclimatization with smart camp moves, and how the trek is run with professional guides and high-end equipment so you can focus on breathing, not logistics. One consideration: Machame is popular, so you can expect to share camp atmosphere and trail space with other climbers.
The middle of the route has the kind of hiking Kili is famous for—cloud forest first, alpine desert later, then a steep push in the dark. The big day is the summit: you’ll start around midnight with a headlamp, climb steeply to Stella Point, then continue on to Uhuru Peak before descending. If you’re someone who gets overwhelmed by crowds or steep sections that ask for hands-on scrambling at Barranco Wall, plan on a bit more mental grit.
When it comes to value, the price isn’t just paying for footsteps. Your cost covers park and rescue fees, guides, all mountain meals, purified drinking water, camp setup with quality sleeping tents, and airport transfers. The trade-off is simple: climbing gear is not included, and tipping is also on you—so budget for that before you fall in love with the dream.
In This Review
- Key highlights that matter before you go
- Machame Route in Plain English: why this 7-day climb works
- Day 1: Arusha to Machame Gate, then into the cloud forest
- Day 2: uphill sections, Kibo and Mawenzi views, Shira Plateau to camp
- Day 3: acclimatization move that feels smart, even if it’s not gentle
- Day 4: Barranco Wall scramble and the switch into the Karanga Valley mood
- Day 5: Barafu Camp, glacier views, and the early sleep that saves you
- Day 6: summit push from midnight to Uhuru Peak via Stella Point
- Day 7: Mweka Gate, forest walking, and the return to Arusha
- Camps, meals, tents, and purified water: the comfort that keeps you moving
- Price and value: what $2,800 covers (and what you still must plan for)
- Who this trek suits best (and who should reconsider)
- Should you book the 7 Days Kilimanjaro trek via Machame route?
- FAQ
- How long is the Kilimanjaro trek on the Machame route?
- Where does the trek start?
- When do you summit Uhuru Peak?
- Is the tour private?
- What’s included in the price?
- Is park entry included?
- Do I need to bring climbing gear?
- Are meals covered?
- Can I get a full refund if I cancel?
Key highlights that matter before you go
- Machame’s easy start: you drive from Arusha to Machame Gate in about 1.5 hours and get registered quickly before hiking.
- Acclimatization built into the route: you gain altitude and then descend strategically (especially on the Shira Plateau day).
- Barranco Wall is the signature test: about 1.5 hours of scramble early in Day 4, with spots where hands help.
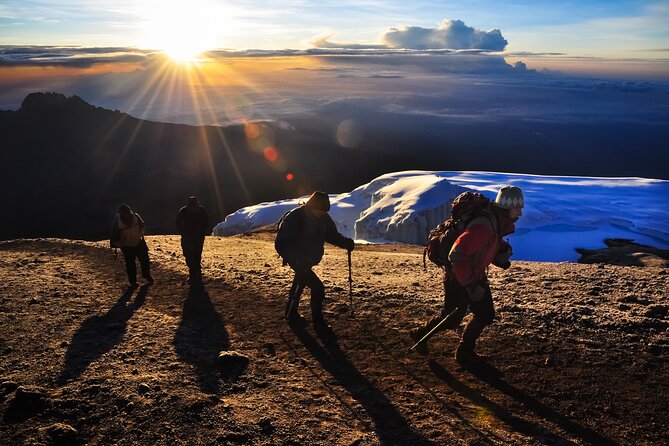
- Summit night is steep first, then steady: the hardest section is the climb to Stella Point; Uhuru feels longer mainly due to altitude.
- Strong team energy: guides like Gasto James are repeatedly described as keeping a positive, steady pace (often called pole pole) and even bringing songs on the summit push.
- No meal stress: quality mess tents with table and chairs plus clean, purified water keep the practical side covered.
Machame Route in Plain English: why this 7-day climb works
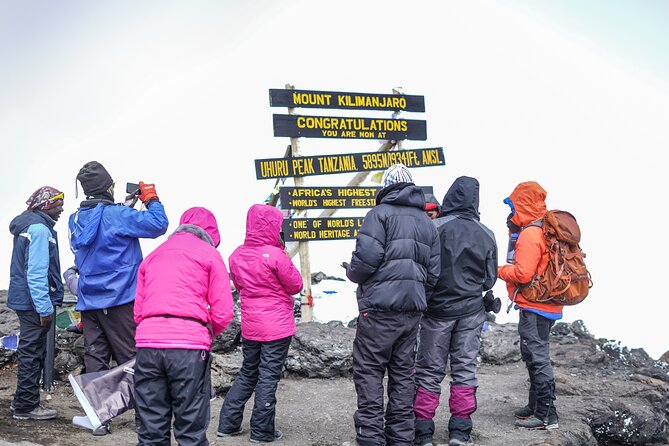
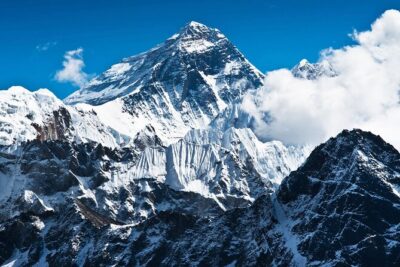
The Machame route is often chosen because it feels like a long hike with personality. You move from moss-covered cloud forest into sparser vegetation, then higher altitude zones with dramatic views of Kibo and Mawenzi.
This trek also gives you a west-side ascent, which shapes the scenery and the sightlines you get along the way. You’re not just collecting stamps—you’re climbing through different ecological bands, so each day has a different “wow” moment.
One more practical point: it’s a camping route that’s popular overall, so expect other climbers around the camps. The good news is that this is still set up as a private activity for your group, meaning your guides and team stay focused on you rather than mixing logistics into a shared group shuffle.
You can also read our reviews of more tours and experiences in Arusha.
Day 1: Arusha to Machame Gate, then into the cloud forest
You leave Arusha around the morning start window (the itinerary describes a 9am departure for the drive). The trip to Machame Gate takes about 1.5 hours through coffee farms and villages, and it’s a gentle warm-up before altitude begins to matter.
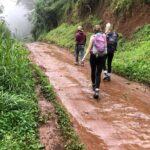
At Machame Gate, you meet your porters, guides, and cooks. This is when the team handles final registration and camp prep, while you wait and get oriented. Then you hike toward Machame Camp through the cloud forest—mossy trees, quiet trails, and that cool feeling of being inside a living, misty ecosystem.
I like Day 1 for two reasons: it’s long enough to get your rhythm, and it doesn’t throw you into “steep and furious” right away. The camp crew goes ahead to prepare, so when you arrive you can spend energy on settling in, not setting up.
Day 2: uphill sections, Kibo and Mawenzi views, Shira Plateau to camp
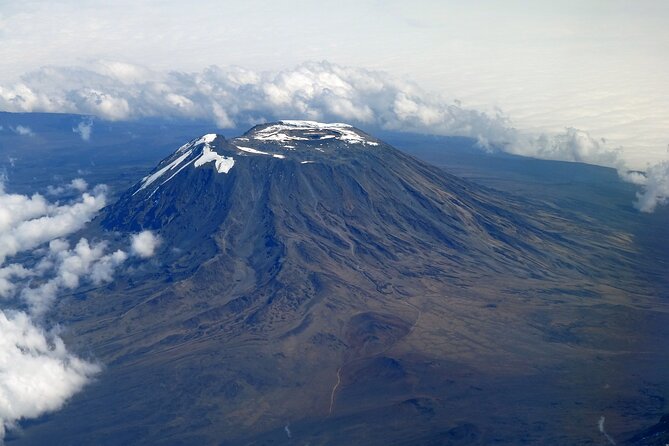
Day 2 has several uphill sections, and that’s the day you’ll feel the altitude’s patience test. Carry plenty of drinking water because it can get hot on a clear day, even when the air feels thin.
This is also a peak-spotting day. You’ll see viewpoints down to the plains and forests below, with Kibo and Mawenzi dominating your horizon. As you gain altitude, the vegetation shrinks and changes into high-altitude plants like Senecio kilimanjari and Lobelia deckenii.
After lunch, you climb onto the Shira Plateau, formed by Kibo’s lava flows filling the Shira crater. Then you continue to Shira Camp to rest. It’s a day where you’ll understand why people say Kilimanjaro is a mountain of transitions—your body feels it even when the trail isn’t technically extreme.
Day 3: acclimatization move that feels smart, even if it’s not gentle
This is the kind of day that looks modest on paper—yet it matters a lot for summit success. The plan ends with only about 110 meters of elevation gain, but you’ll climb up to roughly 4,530 meters and then descend to Barranco Camp.
You start by hiking east on the Shira Plateau, then you reach the junction between the Shira and Lemosho routes. After pushing through barren, windier sections, you pause for lunch and continue toward the highest point of the day.
There’s also an optional detour for faster hikers: Lava Tower, a lava formation about 300 feet out from the mountainside. It’s not required, but it can add extra interest if you’re feeling strong.
I like Day 3 because it’s built around acclimatization logic: gain enough altitude to let your body adapt, then come down to sleep lower. It’s one of the best uses of your limited time on the mountain.
Day 4: Barranco Wall scramble and the switch into the Karanga Valley mood
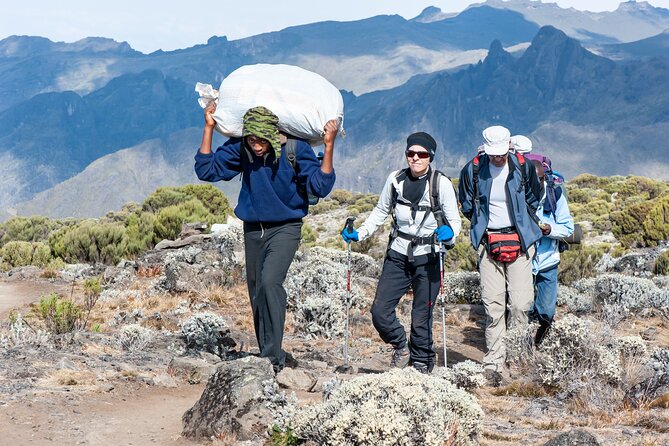
Day 4 starts at Barranco Camp with a hike toward Karanga Valley. The first big moment is the climb up the Barranco Wall, which takes about an hour and a half and can be the hardest section of the day.
In some places, you may need to use your hands to aid the scramble. This is where trekking poles help and where balance and foot placement matter more than speed.
Once you crest the wall, the trail eases into a more level section before a short but steep descent into the green Karanga River Valley. That contrast—effort up, relief down—does a lot for morale.
If your biggest fear is heights or slippery rock, take it seriously on Barranco Wall. Move slowly, follow your guide’s pace, and you’ll be amazed how quickly the tough part passes once you stop thinking about the whole thing at once.
Day 5: Barafu Camp, glacier views, and the early sleep that saves you
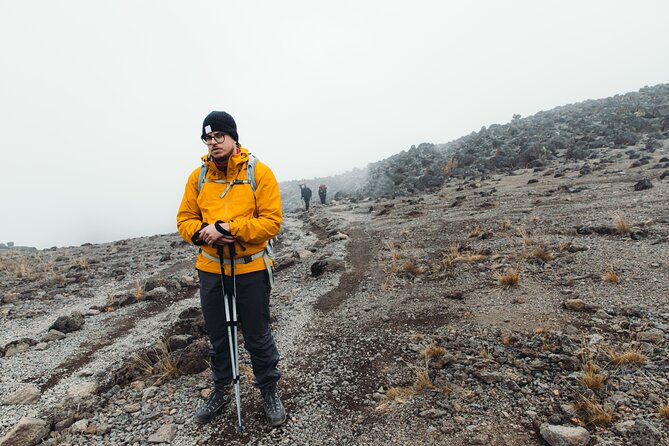
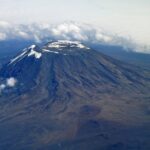
After breakfast you head toward Barafu Camp. Along the way, you’ll see Kibo’s glaciers and get views of the junction connecting the Mweka descent route with the Machame trail.
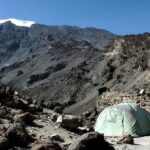
This day includes passing by glaciers like Heim, Kersten, and Decken. The trail here runs through alpine desert with little vegetation, which can feel both stark and oddly beautiful.
When you arrive at Barafu, you’re rewarded with strong views of Kibo and Mawenzi. Then comes the summit-night planning reality: you should try to sleep right after dinner because you’ll wake before midnight for the final ascent.
This is a good day to think practically. If you’re the type who snacks endlessly to feel calm, resist that urge. Save your energy, hydrate steadily, and let your body rest as much as the altitude allows.
Day 6: summit push from midnight to Uhuru Peak via Stella Point
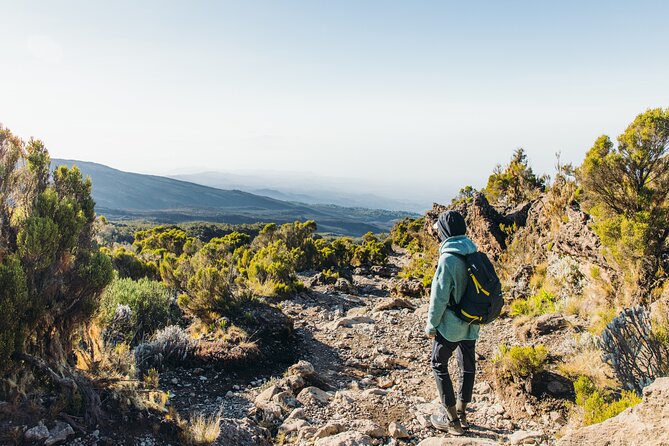
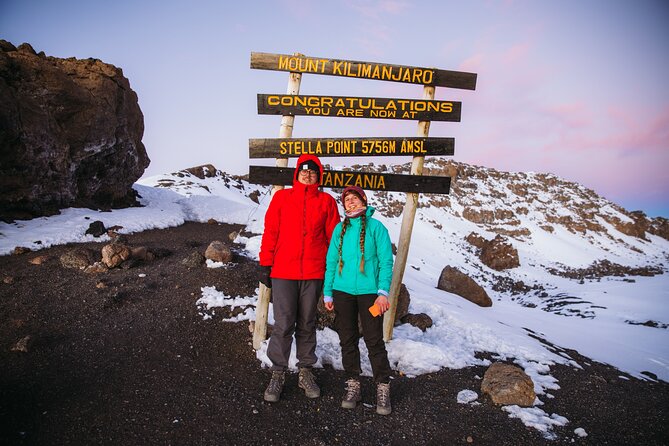
Around midnight, your team starts the hike to Uhuru Peak. You’ll use headlamps for about six hours, and the climb is steep until you reach the crater rim at Stella Point.
From Stella Point to Uhuru Peak, the hiking becomes more gradual. That said, it’s not “easy.” It’s long, tiring, and the altitude makes every step feel like it has a tax attached.
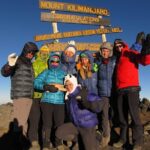
When you finally reach Uhuru, you take photos with your guide and group, then begin your descent to Mweka Camp. On the way down, you’ll get views of the mountain, crater, clouds, and glaciers—often the kind of sights that make the night feel worth it.
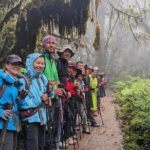
A consistent theme from the best experiences with this team: the guides keep the mood up and the pace steady. Guides such as Gasto James are described as encouraging climbers with pole pole pacing, and some summit-day accounts mention singing during the final push. Even if you’re not a “singing” person, that kind of energy can help you keep moving when your brain wants to quit.
Day 7: Mweka Gate, forest walking, and the return to Arusha
After breakfast you finish the trek with a hike through the forest to Mweka Gate. The trail can be slippery after rain, so you’ll want good traction and careful steps.
Once you reach the lower station of Mweka Gate, vehicles meet you and take you back to Arusha. This final day is a relief for the legs—less about altitude and more about staying stable on uneven ground.
When I think of Kilimanjaro success, Day 7 matters too. It’s where you prove you can safely transition from “summit mode” back to “normal hiking mode” without rushing.
Camps, meals, tents, and purified water: the comfort that keeps you moving
This trek includes quality, waterproof, private mountain sleeping tents. That’s not a luxury detail; it’s a safety and comfort detail. When it’s cold and the weather changes, sleeping setup affects how steady your energy feels the next day.
Meals are all handled while you’re on the mountain. You get breakfast, lunch, and dinner each day of the climb, plus quality mess tents with table and chairs. That matters more than you think. A real place to sit and eat—rather than eating on the move—helps you reset.
You also get clean, purified drinking water. On Kilimanjaro, dehydration is a sneaky problem because you might not feel thirsty the way you do on a beach vacation. Having purified water reduces that mental load.
Price and value: what $2,800 covers (and what you still must plan for)
At $2,800 per person, the key value is what you’re not paying extra for. Your tour includes all park fees and rescue fees, all mountain meals, guides, airport transfers, camp setup with tents, and purified drinking water. It also includes quality mess-tent service so you’re not improvising your whole operation at altitude.
That’s why this price can feel reasonable compared to DIY climbing plans that often fail once you add park fees, guide costs, and rescue coverage. With this kind of package, you’re paying for a full operating system—people, tents, food, and compliance.
Two costs to plan around:
- Climbing gear is not included. You’ll need to rent or bring the right items.
- Tipping is not included. Budget for it ahead of time so it doesn’t become an awkward last-minute expense.
- Visas fee is also not included.
If you’re comparing options, don’t only compare the headline price. Compare what’s included that protects you at altitude: rescue fees, guides, tents, and meals.
Who this trek suits best (and who should reconsider)
This experience is best for people with moderate physical fitness. You’re hiking multiple days with uphill sections, steep scrambles, and a long summit push in the dark. If you train for endurance and can handle slow pacing for hours, you’re in the right lane.
It’s also a great match if you want a strong team feel. The guide style—described as attentive, motivating, and focused on safety—shows up in the way climbers report their experience. Many accounts credit the team for keeping people moving at a steady pole pole pace.
Consider a second look if you:
- dislike steep, hand-assisted scrambling (Barranco Wall)
- get anxious in crowded camp settings (Machame is popular, even if your group is private)
- hate sleeping early on purpose (you’ll wake before midnight for the summit)
Should you book the 7 Days Kilimanjaro trek via Machame route?
I’d say book it if you want a classic Kilimanjaro climb with solid support and a route that makes sense day by day. The Machame itinerary gives you acclimatization built in, varied scenery from cloud forest to alpine desert, and a summit strategy centered on reaching Stella Point and then pushing on to Uhuru.
I’d also book it if comfort is a priority for you. With private tents, mess tents, purified water, and included meals, you’re less likely to lose energy to the small hassles that pile up at altitude.
Before you say yes, do two sanity checks: confirm your gear plan (since climbing gear isn’t included) and make sure you’re comfortable with the summit-night schedule. If that works for you, this is the kind of guided climb where the hardest moments feel manageable—because the team has done it for years and keeps the pace and morale steady.
FAQ
How long is the Kilimanjaro trek on the Machame route?
The trek is listed as about 7 days.
Where does the trek start?
You’ll be picked up in Arusha and driven to Machame Gate at the start of the hike, with park registration there.
When do you summit Uhuru Peak?
The summit is done on Day 6, with the final ascent starting around midnight.
Is the tour private?
Yes. It’s described as a private tour/activity, with only your group participating.
What’s included in the price?
Included are professional mountain guides, all park fees and rescue fees, all meals while on the mountain, quality mess tents with table and chairs, clean purified drinking water, airport transfers, and quality waterproof private mountain sleeping tents.
Is park entry included?
Yes. All park fees and rescue fees are included.
Do I need to bring climbing gear?
Yes. Person climbing gear is not included, so you’ll need to bring or arrange it separately.
Are meals covered?
Yes. Breakfast, lunch, and dinner are included for the days on the mountain.
Can I get a full refund if I cancel?
Free cancellation is available. You can cancel up to 24 hours in advance of the experience for a full refund, but within 24 hours the amount paid is not refunded.