REVIEW · LOMBOK
Trekking Rinjani Volcano To Crater Rim Senaru 2D-1N Private – Syam Trekker
Book on Viator →Operated by Syam Trekker · Bookable on Viator
Rinjani from Senaru is one of Lombok’s best dirt-and-dream getaways. What I like most here is the real crater-rim viewpoint at 2,641m, plus the hands-on team: an experienced English-speaking guide with professional porters who keep things moving and safer on rough, slippery bits. One thing to weigh first: it’s a tough 2D/1N hike with long walking time on Day 2, so you’ll want solid moderate fitness and good footwear.
This private setup starts at the Syam Trekker office area in Senaru, then you work up through tropical forest, stop for tea and lunch along the way, camp at the rim for sunset, and return down to Senaru village by the next day. The vibe is all about efficiency and comfort where it counts: your camping setup is handled, your meals are covered, and you’re not left guessing what happens next. In past trips, guides like Hadi and Yon (and others including Moon, Dean, Sam, Mami, Aldi) have been named as part of what makes the experience feel organized and encouraging.
In This Review
- Key things that make Syam Trekker’s 2D1N Rim Trek worth your time
- Senaru To the Rim: What Makes This 2D1N Trek Different
- Day 1 From 08:00 Forest Hike to the Senaru Crater Rim Sunset
- Night on the Rim: Tents, Toilet Tent, and the Comfort Trade-off
- Day 2 Sunrise and the 5-Hour Descent to Senaru Village (601m)
- Guides and Porters: The Difference Between Hard and Dangerous
- Camping Gear That Actually Helps: What You Get in Your Base Camp
- Food, Water, and the Rhythm of the Trek
- Price and Value: What $237 Includes (and What You Still Need to Plan)
- Weather Rules and Timing: How to Set Yourself Up for Rim Success
- Who This Trek Fits Best (and Who Might Want Another Option)
- Should You Book Syam Trekker’s Rinjani Crater Rim Trek?
- FAQ
- FAQ
- How long is the Rinjani trekking tour (2D-1N)?
- When do we start from Senaru?
- Is this tour private?
- What camping gear is included?
- Are meals and water included?
- Is the Rinjani entrance fee included?
- Do I get an English-speaking guide?
- What fitness level should I have?
- What happens if the weather is bad or I need to cancel?
Key things that make Syam Trekker’s 2D1N Rim Trek worth your time
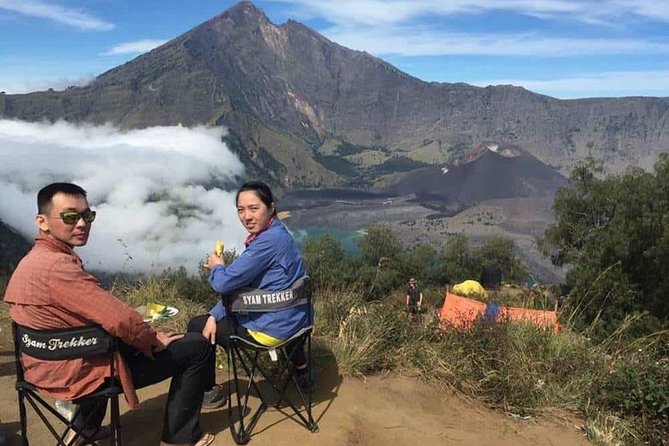
- Crater-rim night at 2,641m with sunset and the chance to see Bali’s Mount Agung in the distance
- Forest walking with structured breaks, including tea at Post 2 and lunch at Pos 3
- Camping gear quality is a selling point, including a 7cm thick sleeping mat, sleeping bag, toilet tent, and even chair/table setup
- Full meal plan on trek days, plus snacks, fruit, and a large bottle of mineral water per person per day
- Safety-focused guidance, and you can pick up real trail tips from an English-speaking leader
Senaru To the Rim: What Makes This 2D1N Trek Different
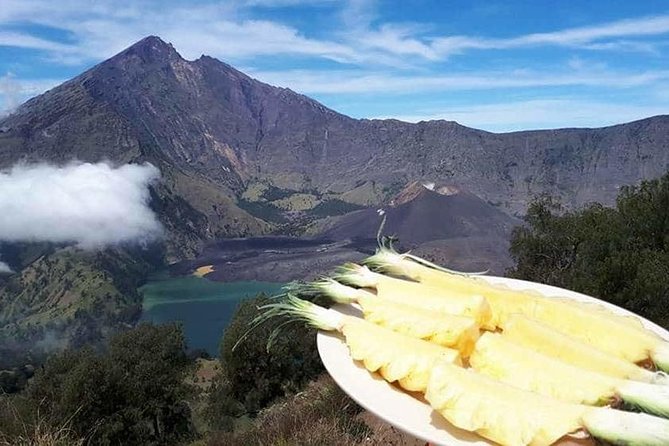
Most Rinjani hikes you’ll find focus on getting you higher. This one focuses on getting you to the right high point for the view—the Senaru crater rim at 2,641m—and then giving you time to enjoy it rather than rushing straight down.
You start in the Rinjani Trek Center Senaru and climb through dense tropical forest with lots of plant life and bird activity. That matters because it changes the feel of the trek. The first hours aren’t just a stair-climb; you’re walking through real jungle conditions, with breaks built in so you can catch your breath and stay steady.
Then, after the rim experience, Day 2 becomes a long descent: about 5 hours down through rainforest to Senaru village at 601m. If you like day-by-day pacing with a clear plan, this schedule is easy to understand and follow.
You can also read our reviews of more tours and experiences in Lombok.
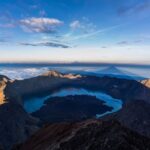
Day 1 From 08:00 Forest Hike to the Senaru Crater Rim Sunset
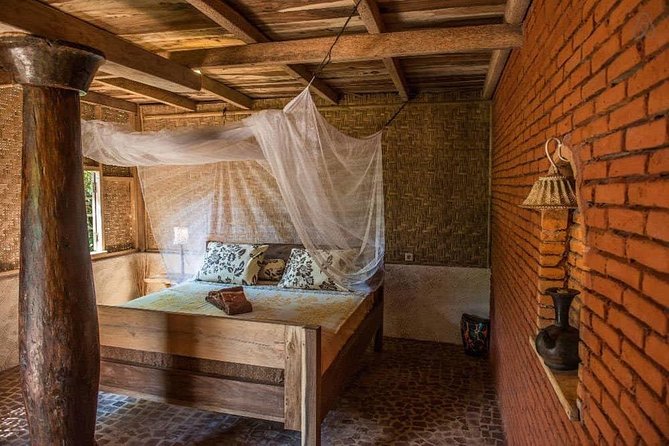
Your day starts with a meet-up at Syam Trekker’s Senaru base, with a listed start time of 7:00am. The walk begins around 08:00am from the trek center, so you’re not stuck waiting too long before the hike actually starts.
From there, Day 1 follows a simple, altitude-building route:
- Forest trekking with flora and birds as you move toward the first stop. This is where you’ll notice how the pace feels when you’re still in a shaded, humid zone.
- Post 2 Montong SATAS shelter (1,500m): you stop for tea and biscuits. It’s a small pause, but it’s also your cue to reset your rhythm.
- Pos 3 Mondokan Lolak (2,000m): after about two hours from Post 2, you break again and have lunch.
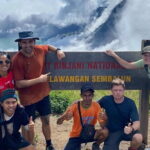
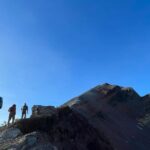
- After lunch, you head up for about two more hours to Senaru crater rim (2,641m).
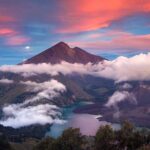
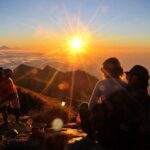
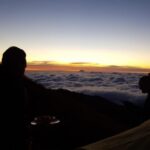
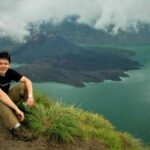
The rim is the payoff. You camp here overnight, then you watch the sky change. The operator’s plan calls out a sunset over Mount Agung in Bali, plus the sight of smoke from a new volcano on the edge of the lake. You don’t have to be a geology nerd to appreciate this—because it’s a dramatic reminder that you’re not just hiking a scenic path. You’re near active processes.
Practical note: rim timing is all about clouds and conditions. Since the trek needs good weather (more on that later), you’ll want a flexible mindset about timing.
Night on the Rim: Tents, Toilet Tent, and the Comfort Trade-off
Camping at altitude is where you feel the difference between a trek that’s “an adventure” and a trek that’s “an experience you can actually sleep through.” In this package, your setup includes a tent, sleeping bag, and a 7cm thick sleeping mat. That thickness matters. Thin mats are the fastest way to turn a great night into a cold, sore experiment.
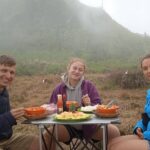
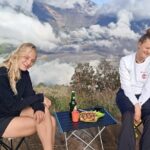
You also get a toilet tent, plus camping extras like a camping chair and table. Those are the small luxuries that keep you functional after the climb, especially when you’re tired and the day’s end arrives quickly.
One more thing: the rim is the most exposed part of the trek route. The plan calls for sunset views and then sunrise on Day 2. Expect the evening to be part scenery and part reality check. If you’re the type who gets cold easily, bring a layered approach (even if the exact temperature isn’t listed, altitude often changes how you feel).
Day 2 Sunrise and the 5-Hour Descent to Senaru Village (601m)
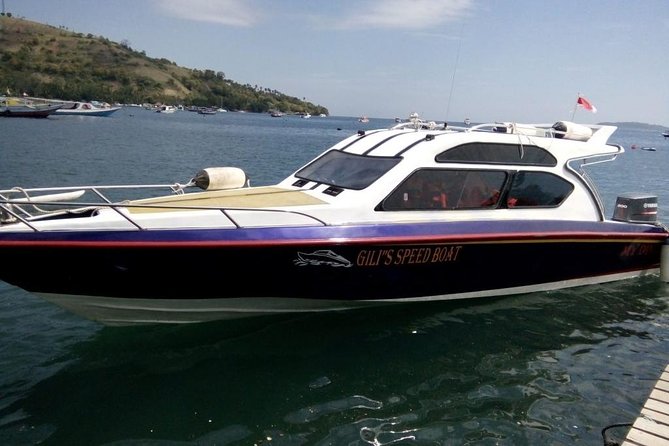
Day 2 starts with breakfast and a beautiful sunrise. That’s one of the easiest ways to justify the early start the night before. You get a final payoff before the long walk begins.
Then you descend. The schedule calls for around five hours downhill through rainforest, with lunch along the way, and finally you end in Senaru village (601m). After that, service ends back at the meeting point.
This is the part of the trek that most tests your legs. Descents can be rough on knees and ankles, especially if the trail gets slippery. The operator’s style is built around having a team that can keep you moving safely, and guide experience matters on this section.
If you want a simple strategy: take your downhill pace seriously. Shorter steps, focus on footing, and don’t treat downhill like it’s just a freebie.
Guides and Porters: The Difference Between Hard and Dangerous
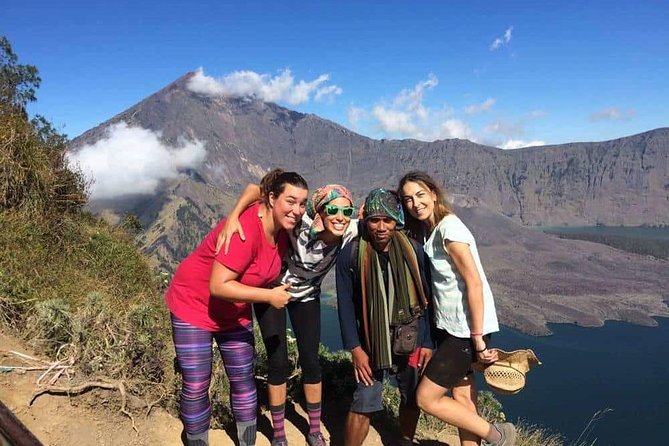
The biggest theme in the trip feedback is that the hike feels hard, but not chaotic. The operator provides an experienced English-speaking guide plus professional porters. That combination matters because porters carry the heavy load and help maintain camp logistics, while the guide handles route choices and safety.
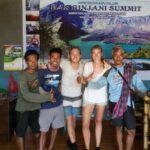
You’ll see names repeatedly in people’s accounts of their leaders. Hadi is praised for explaining things, laughing with the group, and offering motivation when it was needed. Yon, Mami, and Aldi were part of another successful 2D/1N experience with a tough trek and excellent care. Other guide names that come up include Moon, Dean, and Sam. The takeaway for you: you’re not just paying for a GPS track. You’re hiring people who actually manage the day.
In practical terms, that means:
- you get guidance on slippery sections
- you get help when the trail feels relentless
- you get a better sense of what you’re looking at during the walk and at the rim
It also makes the whole thing feel more like a shared plan than a solo challenge.
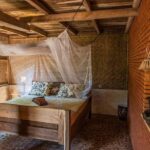
Camping Gear That Actually Helps: What You Get in Your Base Camp
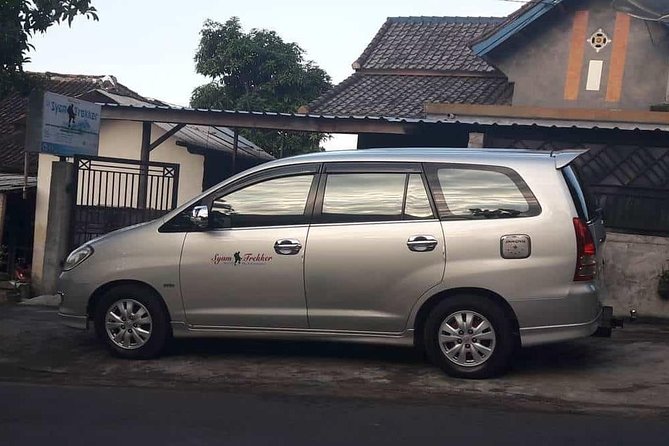
Most trekking companies say they provide camping gear. This one gets more specific about the essentials, and that’s what you should care about before handing over money.
Included camping gear covers:
- Tent
- Sleeping bags
- Sleeping mats (7cm thick)
- Toilet tent
- Pillow
- Camping chair and table
- And the operator’s equipment notes also mention trekking poles as part of what’s available in the camping/tourney gear set
You’ll also get trekking-related supplies designed to reduce your stress. When you don’t have to rent a bunch of different things at the last minute, you lose less time and make fewer mistakes.
If you’re the kind of traveler who hates packing lists, this is where the value shows. Your biggest win is reducing the number of items you must sort out yourself.
Food, Water, and the Rhythm of the Trek
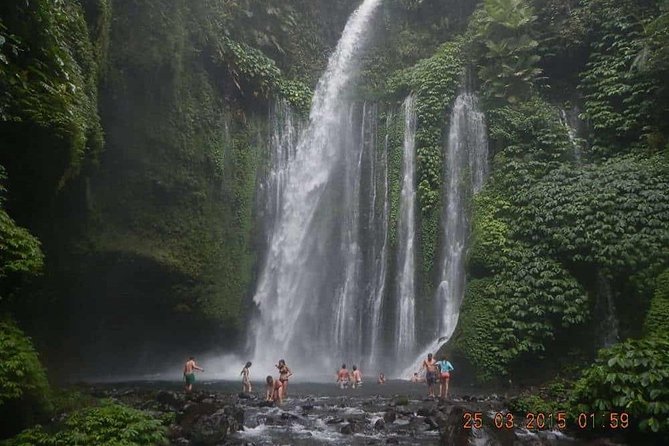
This trek is set up so you’re fed without needing to stop searching for snacks.
You’ll receive:
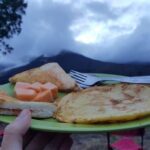
- 3 meals a day during the trek
- snacks and fruits
- a large bottle of mineral water per person per day
On the trail, the itinerary also builds in those feeding moments:
- tea and biscuits at Post 2
- lunch at Pos 3 Mondokan Lolak
- lunch again during the Day 2 descent
This matters because energy management is the silent difference between a “tough hike” and a “tiring hike.” When food timing is consistent, you can keep a steadier pace and avoid the crash that hits when you wait too long to refuel.
Also, if you’re watching costs, note that meals aren’t an add-on here. That makes the total trip easier to budget.
Price and Value: What $237 Includes (and What You Still Need to Plan)
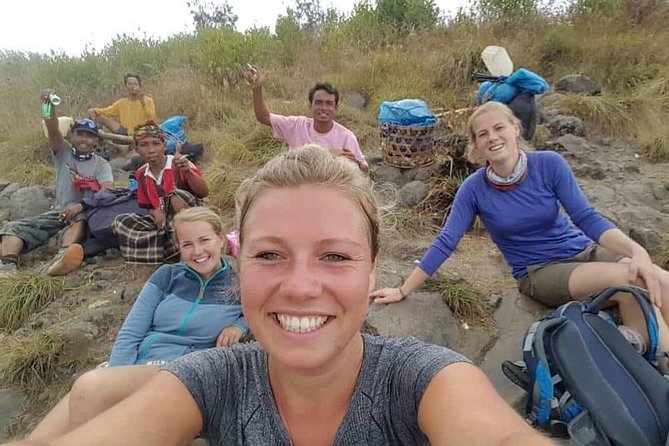
The price is $237.00 per person for this 2-day private trek. On its face, that might sound like “just a hike.” But look at what’s wrapped in:
Included:
- English-speaking guide and professional porters
- camping gear (with specific comfort items like sleeping bags and a 7cm mat)
- entrance fee for the national park
- hiking insurance
- all meals during the trek, plus snacks, fruit, and water
Not included:
- personal expenses
- tipping for guide and porter
So where does the money go? Most of it goes into the things you can’t easily DIY: experienced leadership, camp logistics, park permissions, and a full meal-and-supply plan. If you tried to recreate this independently, you’d likely spend time and effort solving gear, insurance, and staffing.
Is it a bargain compared to a basic group tour? That depends on what you’d pay for guide service and camping setup on your own. But the package is priced like a trek that runs smoothly, with comfort and organization included.
Weather Rules and Timing: How to Set Yourself Up for Rim Success
This experience requires good weather. If it’s canceled due to poor weather, you’ll be offered a different date or a full refund. That’s a big deal, because rim visibility and safety are strongly tied to conditions.
For timing, start matters. The hike begins around 08:00am after the earlier meet time. That’s a practical schedule for jungle trekking and for reaching the rim while there’s still enough daylight for sunset plans.
If you want a simple approach: confirm your gear the day before, keep your day flexible, and don’t plan tight connections right after the trek ends.
Who This Trek Fits Best (and Who Might Want Another Option)
This hike is listed for travelers with moderate physical fitness. That’s a good sign if you’re not an athlete but you’re not brand-new to walking either.
It’s a strong fit if you:
- want a private group rather than a crowded hike
- care about camp comfort, especially a thicker sleeping mat and sleeping bag
- like structured days: tea stop, lunch stop, rim camp, sunrise, then a clear return
- enjoy guides who explain what you’re seeing and help you manage effort
It might feel like too much if you have knee issues on long downhill days, or if you’re unsure you can handle multi-hour walking twice. This route includes a long Day 2 descent, and the company’s own plan highlights the need for good weather and safe guidance.
Should You Book Syam Trekker’s Rinjani Crater Rim Trek?
If you want a Rinjani experience that feels organized, well-fed, and properly set up for camping, I think this is a smart choice. The rim is the headline, and the sleep setup is the secret weapon. Having a guide like Hadi, plus porters, is exactly how you turn a hard trek into a trip you remember for the views instead of the discomfort.
Book it if:
- you want the Senaru crater rim moment
- you value included meals and camping gear
- you prefer a private experience with English support and real trail attention
Hold off if:
- you’re not comfortable with a demanding hike (especially the downhill on Day 2)
- your travel schedule can’t handle weather-related date changes
FAQ
FAQ
How long is the Rinjani trekking tour (2D-1N)?
It runs for about 2 days. The plan includes one night camping at the Senaru crater rim and ends back at the meeting point on Day 2.
When do we start from Senaru?
The start time is listed as 7:00am at Syam Trekker’s meeting point. The actual trek from the Rinjani Trek Center Senaru starts around 08:00am.
Is this tour private?
Yes. It’s listed as a private tour/activity, so only your group participates.
What camping gear is included?
The tour includes a tent, sleeping bags, sleeping mats (7cm thick), toilet tents, pillows, and camping chair and table. Trekking poles are also mentioned in the equipment notes.
Are meals and water included?
Yes. You get 3 meals a day, plus snacks and fruits, and a large bottle of mineral water per person per day.
Is the Rinjani entrance fee included?
Yes. The Rinjani entrance fee is included.
Do I get an English-speaking guide?
Yes. The tour includes an experienced English speaking guide and professional porters.
What fitness level should I have?
You should have moderate physical fitness level. The trek includes multiple hours of hiking each day.
What happens if the weather is bad or I need to cancel?
The trek requires good weather. If it’s canceled due to poor weather, you’ll be offered a different date or a full refund. There’s free cancellation up to 24 hours in advance for a full refund.