REVIEW · LOMBOK
3 days 2 night trekking Rinjani to Summit and lake
Book on Viator →Operated by Rinjani Trek Adventure · Bookable on Viator
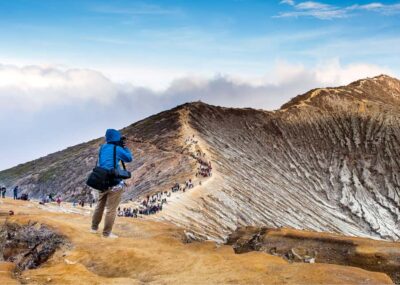
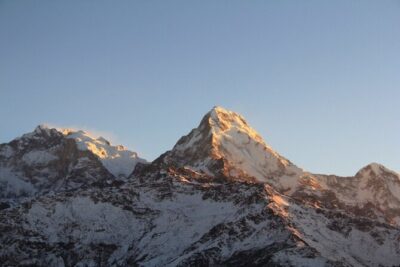
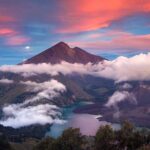
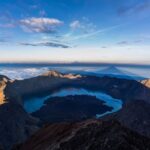
A volcanic sunrise is worth the early alarm. This 3D/2N trek around Mount Rinjani trades comfy travel for real time on the trail, with summit views, the crater-rim camps, and a push to the summit lake and hot spring on Day 2. I like that the pace is clearly mapped (pos checks, lunch stops, and camp timing), and I also like that you get steady porter support so you are not lugging everything through the dark.
The main drawback is obvious: this is physically demanding, especially the pre-dawn summit start and the walking on volcanic ground. If you have only average fitness, you’ll likely feel every step.
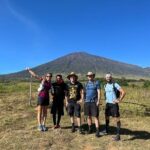
On top of that, it’s a small-group trek (max 6), which usually means less chaos in line for photos and a bit more personal attention when weather and footing get tricky.
In This Review
- Key Highlights You’ll Care About
- Day-by-Day Route: From Sembalun to Summit, Lake, and Back
- Arrival and briefing: meet in Senaru, then get organized
- Day 1 (walking to Sembalun crater rim): steady, not random
- Day 2 (summit sunrise + lake + hot spring + Senaru crater rim camp): the night climb day
- Day 3 (sunrise at Senaru crater rim + long descent to Senaru gate): finish strong, not rushed
- Price and Logistics: What You Pay vs. What You Must Budget
- What the Porters and Gear Actually Mean for You
- Food on Trek: More Than Calories
- Guides, Team Size, and the Human Side of Safety
- Timing and Conditions: The Sunrise Push on Day 2
- Who Should Book This Trek (and Who Should Think Twice)
- Should You Book This Rinjani 3D/2N Summit and Lake Trek?
- FAQ
- What time do I meet for the trek?
- Where does the trek start and end?
- How many people are in a group?
- What is included in the price?
- What is not included?
- When do you start the summit trek for sunrise?
- Do you visit the lake and hot spring?
- What fitness level do I need?
Key Highlights You’ll Care About
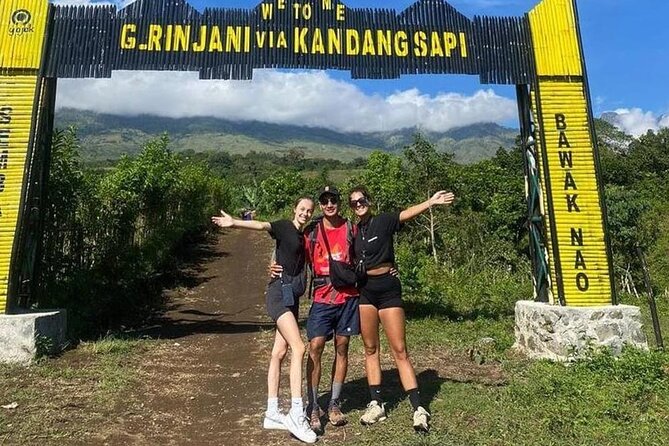
- Summit sunrise timing: Day 2 starts around 2:30am for sunrise from the top.
- Crater rim camping: Two night stays—first at Sembalun crater rim, then at Senaru crater rim.
- Lake and hot spring visit: Done during Day 2 after the sunrise descent.
- English-speaking local guide: Clear leadership on the climb and down the craters.
- Porters plus camp setup: You get tents, sleeping gear, and toilet tent, with porters carrying food/trek kit.
- Small group size: Maximum 6 travelers, which helps the whole operation run smoother.
Day-by-Day Route: From Sembalun to Summit, Lake, and Back
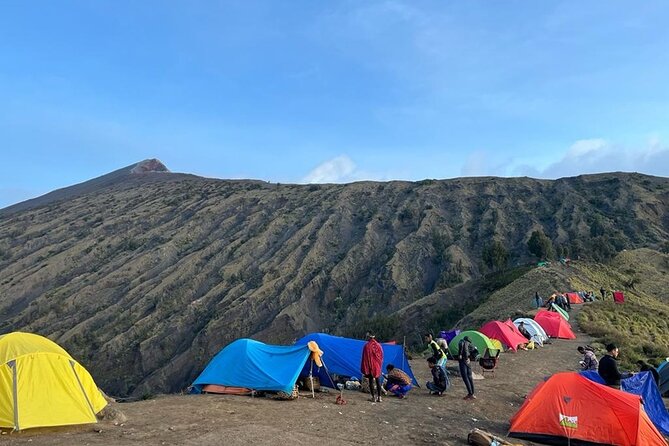
This trek is designed around three big movement days, with overnight camps on crater rims so you can spend more time where the views live. You start in the north Lombok area around Senaru and Sembalun, and you finish back around the Senaru-side meeting point.
You can also read our reviews of more tours and experiences in Lombok.
Arrival and briefing: meet in Senaru, then get organized
On Day 1, your group meets at the company office or your accommodation in Senaru village. You get a trekking briefing about the route and general trekking flow. If you’re the type who likes knowing what’s coming, this helps you mentally prep for the early-night summit push.
Day 1 (walking to Sembalun crater rim): steady, not random
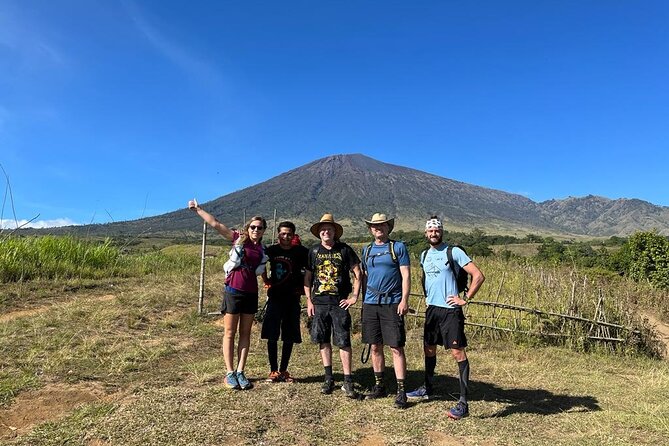
You’ll drive about 45 minutes to Sembalun village, then register at the Rinjani office. After that, you drive again to the Sembalun gate area and start walking with your team.
From the gate, the hike is broken into clear checkpoints:
- Walk to Pos 1 (about 2 hours), then a short rest (~15 minutes).
- Continue to Pos 2 (about 45 minutes), which is your lunch time.
- Continue to Pos 3 (about 1 hour).
- After Pos 3, you continue to the camp site on Sembalun crater rim for your first night.
What’s good about this Day 1 structure is that it builds slowly. You get a rhythm: walk, rest, eat, then push again. Also, camp on the crater rim means you’re sleeping in the zone you came for, not trekking all day just to “reach somewhere.”
Day 2 (summit sunrise + lake + hot spring + Senaru crater rim camp): the night climb day
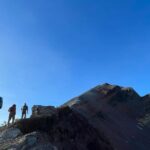
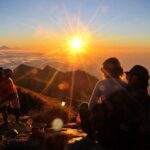
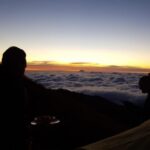
This is the day you remember long after Lombok sun fades. You start the summit trek at 2:30am so you can catch sunrise from the top. The sunrise portion is about 3 hours walking—which sounds simple until you’re in the dark with cold air, steep grades, and volcanic steps that don’t forgive sloppy footing.
Then comes the descent:
- After sunrise, you walk down about 2 hours.
- Next, you go down toward the lake and hot spring area.
- After the lake/hot spring stop, you walk back up to the second camp site at Senaru crater rim for your second night.
The value here isn’t just ticking boxes. The route sets up a full crater-day: high altitude effort, then time to recover and reset lower down, then one more climb to camp. It’s a classic big-mountain rhythm.
Day 3 (sunrise at Senaru crater rim + long descent to Senaru gate): finish strong, not rushed
You wake up at 6:00am to catch sunrise again, then start the descent to Senaru gate. The walk down is around 5 hours, and it includes lunch time along the way.
You’ll finish around 1:00pm on normal time, and the service ends back at the meeting point.
If you’re wondering whether Day 3 is “just downhill,” it’s partly that. But crater descents can still be tough on knees, and volcanic trails can be slippery. Plan to move slow and safe, not fast and heroic.
Price and Logistics: What You Pay vs. What You Must Budget
The price is $245 per person for the 3 days / 2 nights trek. That’s the trekking package cost, and it includes the core human help plus your overnight camp setup.
Here’s what’s included:
- English-speaking local guide
- Porters who carry your food and trekking equipment
- Food and water during the trek
- Fruit and soft drinks
- Tent, sleeping bag, mattress, and toilet tent
Here’s what’s not included:
- Transport to Senaru on arrival day: IDR 500,000 per person
- Accommodation before trekking: IDR 250,000 per person
- Rinjani entrance fee: IDR 600,000 per person
So how does it feel for value? The best part is that you’re not paying extra for the basics that make the trek manageable. Many treks on islands like Lombok nickel-and-dime you for things that are actually essential. Here, your camp gear and porter support are part of the deal, which saves you hassle and weight on your pack.
The only “gotcha” is that entrance fees and pre-trek transport/accommodation can add up. If you’re budgeting from overseas, confirm those amounts early so you don’t get surprised mid-trip planning.
What the Porters and Gear Actually Mean for You
Porters aren’t just a nice-to-have on Rinjani—they change how the trek feels. This trek includes porter support for carrying your food and trekking equipment, and that usually means you can keep your personal load reasonable.
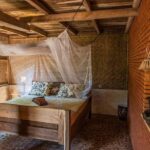
You also get the camp setup:
- Tent
- Sleeping bag
- Mattress
- Toilet tent
That removes the common problem where people show up with the wrong sleeping gear and then suffer all night. You still need to bring your own personal trekking items, but the core sleep system is handled.
One practical note from experience with organized treks like this: bring the right footwear and socks, and keep your essentials in a pack you can reach easily during short breaks. When you’re up early and moving in the dark, convenience matters.
Food on Trek: More Than Calories
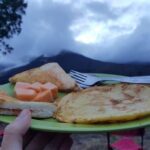
This trek includes food and water during the trek, plus fruit and soft drinks. It also includes camp cooking support from the porter team, and multiple guide-and-porter stories point to this being a strong part of the trip.
The reason this matters is simple: on a summit route, you need steady energy without spending brain power figuring out meals. After a night start and a long day, having food ready at camp and at checkpoint times keeps you from making bad decisions when you’re tired.
If you tend to under-eat on hikes, don’t do that here. Follow the planned meal times and drink water even when you feel too cold or too focused to notice thirst.
Guides, Team Size, and the Human Side of Safety
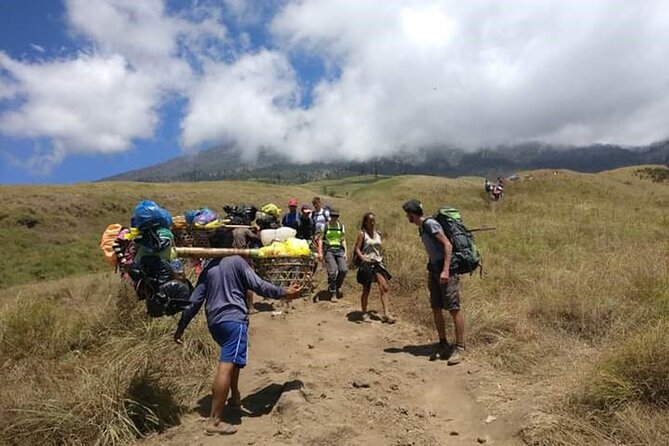
Small groups (max 6 travelers) are a quiet win. You get less waiting, fewer people stepping on each other’s footing, and a better chance to get help when you’re struggling.
You’ll have an English-speaking local guide, and the names that pop up in the strongest feedback include Fahri and Ipan (also seen as Ipan/Irpan/Ivan spelling variations), with additional mentions of guides such as Adi and Risky. Different guides, same idea: organization, flexibility, and attention when it gets rough.
What you should take from that, practically:
- Ask questions during briefing while you still have daylight.
- Tell your guide if anything feels off (pace, breathing, foot pain).
- Use the checkpoint rests. Don’t skip them because you feel “fine.” That’s how small issues turn into big ones at night.
Volcanic trekking has a rhythm, but it also has variables—cloud cover, wind, and slipperier steps after rain. A good guide helps you stay calm and move correctly.
Timing and Conditions: The Sunrise Push on Day 2
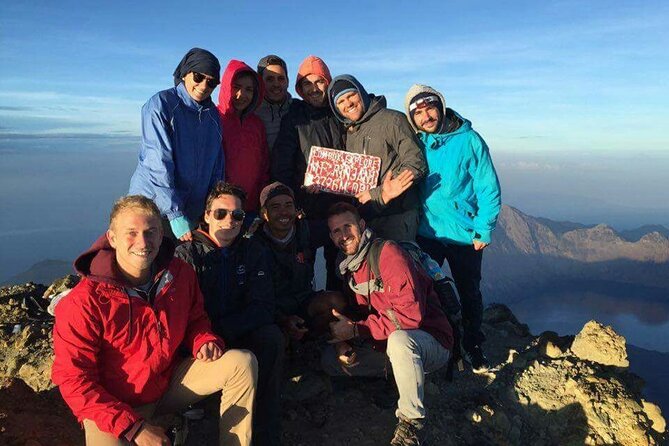
The most “wow” moment is also the most demanding. You start the summit climb at about 2:30am to reach sunrise. That means you’re hiking in darkness for a long stretch, with only headlamps and the trail line to trust.
A good trekking mindset helps:
- Keep your steps steady. Don’t sprint.
- Slow breathing is better than fast panic breaths.
- If the weather shifts, keep following your guide’s instructions.
Also, this trek requires good weather. If conditions are poor, you’ll be offered a different date or a full refund. That’s a fair approach for a route like Rinjani, where safety depends on more than motivation.
Who Should Book This Trek (and Who Should Think Twice)
This trek is clearly for people with strong physical fitness. It’s not just the summit. It’s the total load of three days: Day 1 to the crater rim, Day 2 sunrise + lake/hot spring + climb to the second rim, Day 3 long descent.
You’ll love it if you:
- Want a real mountain experience, not a “walk and snack” day.
- Enjoy early mornings and can handle cold, wind, and tired legs.
- Appreciate small-group guidance and a team that handles camp logistics.
You might want to think twice if you:
- Have knee issues or struggle with steep descents.
- Don’t handle night hiking well.
- Hate long hikes that require patience more than speed.
Should You Book This Rinjani 3D/2N Summit and Lake Trek?
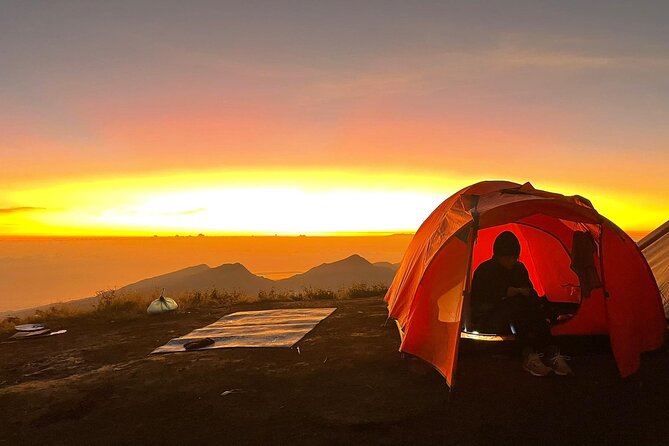
If your goal is a classic Mount Rinjani summit + crater rim experience with sunrise at the top and time at the lake/hot spring, this trek is a strong fit. The package is built to reduce friction: English-speaking guiding, porter support, and camp gear are included, and the group size keeps things manageable.
Book it if you’re ready for effort and you want organized, not chaotic, trekking. The names mentioned in feedback—like Fahri and Ipan—signal you’re likely to get a guide and team that know how to keep the trip moving and your safety front-and-center.
Don’t book it if you’re only casually active. This is one of those trips where your legs do the talking, and the timeline doesn’t flex much. If you want a lower-intensity experience, save this one for a time when you can train and show up ready.
FAQ
What time do I meet for the trek?
You meet at 7:00 am at the Rinjani Trek Adventure office in Senaru.
Where does the trek start and end?
It starts at Rinjani Trek Adventure | Mt Rinjani Tour Company in Senaru, and it ends back at the meeting point.
How many people are in a group?
The trek has a maximum of 6 travelers.
What is included in the price?
Included are an English-speaking local guide, porters for food and trekking equipment, food and water, fruit and soft drinks, plus camp items like a tent, sleeping bag, mattress, and toilet tent.
What is not included?
Not included are transport to Senaru on arrival day (IDR 500,000 per person), accommodation before trekking (IDR 250,000 per person), and the Mt Rinjani entrance fee (IDR 600,000 per person).
When do you start the summit trek for sunrise?
You start the summit trek at around 2:30 am to catch sunrise.
Do you visit the lake and hot spring?
Yes. Day 2 includes time to go down to the lake and hot spring after the summit sunrise and descent.
What fitness level do I need?
The trip is designed for travelers with strong physical fitness level.