REVIEW · POKHARA
Kathmandu: 9-Day Annapurna Circuit Trek via Thorong La Pass
Book on GetYourGuide →Operated by MTA Trekking Pvt. Ltd. · Bookable on GetYourGuide
Thorong La tests your lungs and rewards your eyes. This 9-day Annapurna Circuit via Thorong La Pass threads big Himalayan scenery with everyday village life, from Bhote villages and pine forests to Tibetan-style settlements. I like how the trek mixes height with real pauses to adjust, especially with an acclimatization day in Manang. I also really appreciate the human side: guides like Parkash and Sishir are the kind who check on you often, help you pace, and coordinate well with local people. One thing to think about first is that Thorong La is a serious climb at 5,416m, so you’ll want the right fitness and high-altitude insurance.
You’ll start with a long but gentle ride from Kathmandu toward the trailheads, then walk each day to gradually feel the altitude. I love the way Upper Pisang feels like a viewpoint town, with mountain views that keep pulling your head up from the trail. Your biggest drawback is cold nights and basic tea house comfort—plan for serious temperature drops and simple lodging, not a spa hotel.
Guides and small group support make a big difference on a route like this. In guides I’ve seen firsthand on similar treks, names like Ramit, Ghanshyam, and Chakra come up for good reason: they keep the day organized, encourage steady breathing, and stay flexible when you need extra time. The one consideration that can surprise people is that you’re walking long hours on most days, so even a shorter day still adds up when you’re above 3,000m.
In This Review
- Key Points Before You Go
- Crossing Thorong La Pass (5,416m) Without Losing Your Sense of Humor
- Day 1: Kathmandu To Besisahar And Dharapani, A Scenic Start (And A Real Kickoff)
- Day 2: Dharapani To Chame, Your First Real Trek Rhythm
- Day 3: Chame To Upper Pisang, A Village With Big Views
- Day 4: Upper Pisang To Manang, Tilicho Peak Shows Up
- Day 5: Acclimatization In Manang (4,050m) That Actually Matters
- Day 6: Manang To Yak Kharka, A Shorter Step So You Don’t Pay Later
- Day 7: Yak Kharka To Thorong Phedi, The Base Camp For The Pass
- Day 8: Thorong Phedi To Muktinath via Thorong La, The Sunrise-First Payoff
- Day 9: Back To Pokhara, Ending On Softer Ground
- What Included Services Actually Mean For Your Experience
- Tea Houses, Food, And The Cold Reality You Should Plan For
- Best Season Timing: Spring And Autumn Are The Easy Wins
- Who This Trek Fits Best (And Who Should Rethink It)
- Should You Book This Annapurna Circuit Trek via Thorong La Pass?
- FAQ
- What is the highest point on this trek?
- How long is the trek overall?
- What kind of accommodation do you get during the trek?
- Are meals included?
- How early do you start on Thorong La Pass day?
- Are permits and paperwork included?
- What languages will the guide speak?
- Is a porter included?
Key Points Before You Go
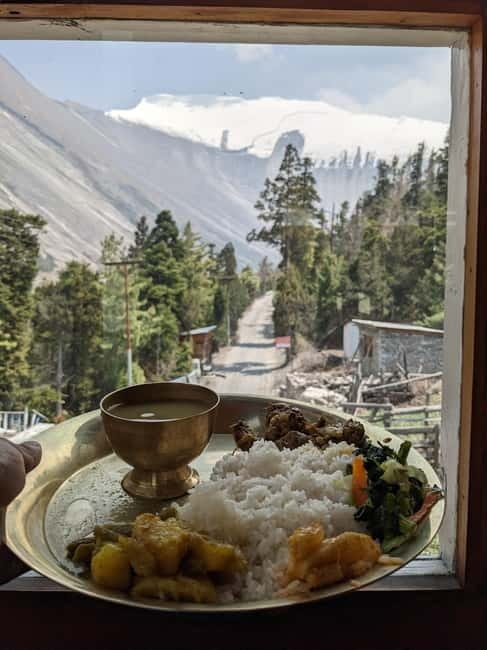
- Thorong La Pass at 5,416m: the day you earn your photo memory and your bragging rights
- Built-in acclimatization: Manang at 4,050m helps you handle the climb smarter
- Tea house trekking: basic lodging and meals, with a big emphasis on warm layers and a proper sleeping bag
- Culture stops that feel real: Tibetan villages, local hospitality, and the pilgrimage mood in Muktinath
- Flexible optional hikes: Gangapurna glacier lake/icefalls near Manang, plus Tatopani hot springs after the pass day
- Your guide matters: English/Hindi support, plus strong coordination skills from guides like Parkash and Sishir
Crossing Thorong La Pass (5,416m) Without Losing Your Sense of Humor
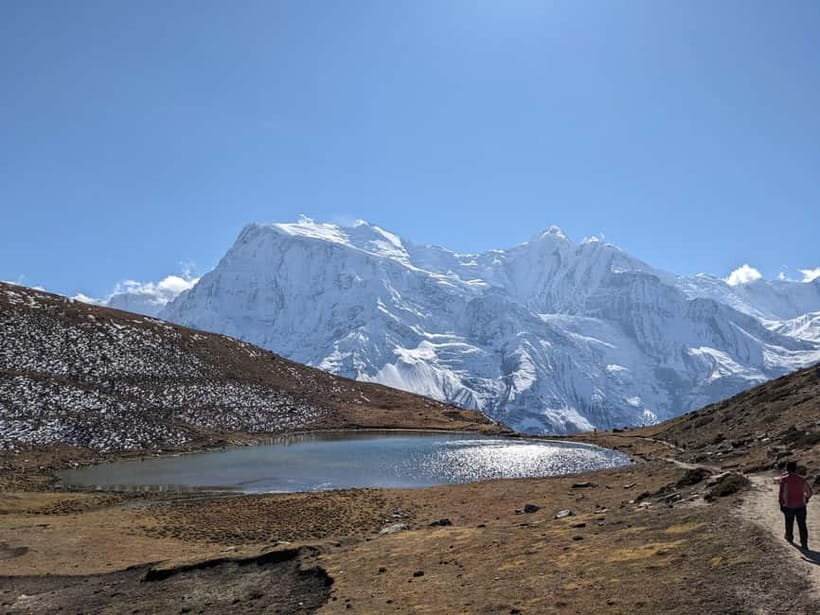
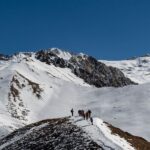
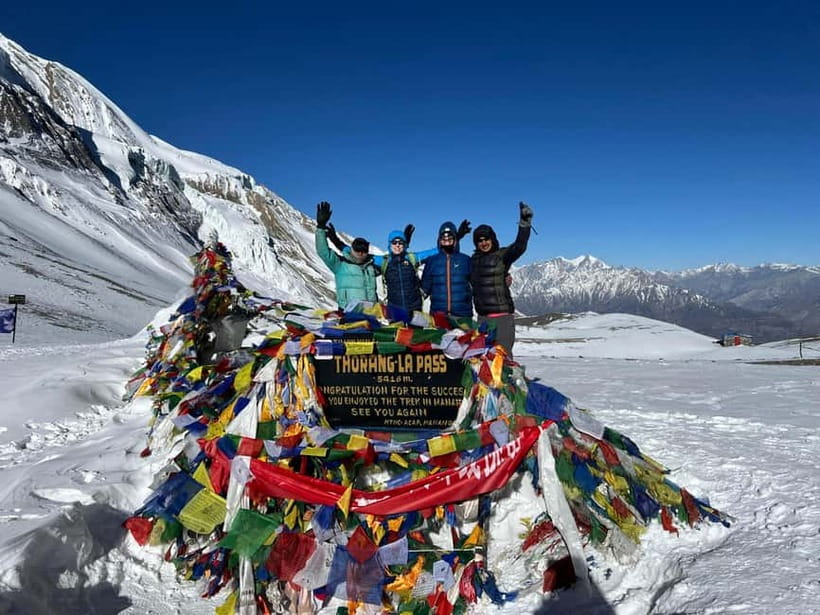
Thorong La Pass is the headline of this trek, and it earns its reputation. The pass sits at 5,416m, which means you’ll feel altitude fast, even if the trail is only a few hours long on paper. On the big day, you start around 4:00 AM so you can cross before winds pick up, which is smart planning in a place where weather can switch moods quickly.
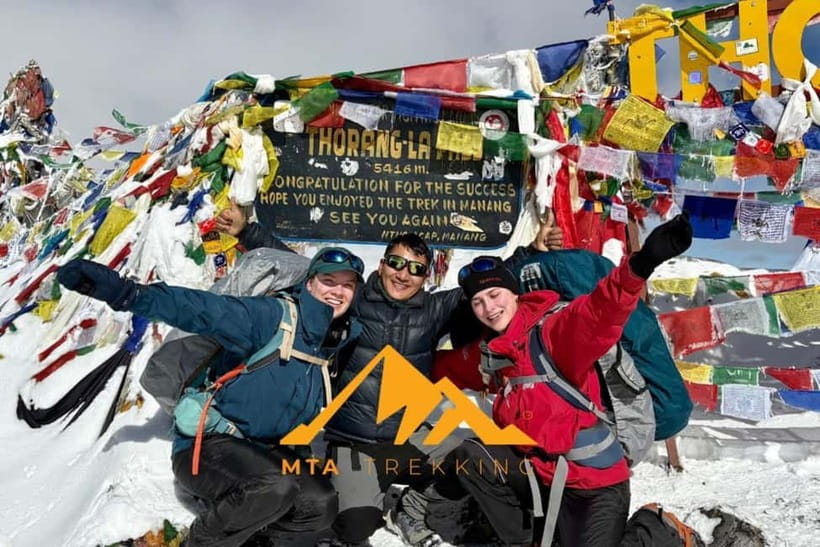
The climb is tough going up, and coming down can feel even longer. That’s not just fear talk. At high altitude, legs get tired, breathing stays heavy, and time can feel weird. The reward is wide-open Himalayan panorama views with prayer flags marking the pass—those flags have a way of making the moment feel bigger than your own exhaustion.
If you’re worried you’ll be alone in your struggle, don’t be. A good guide will help you manage pacing, breaks, and hydration. In this route, I’ve seen guides like Sishir and Parkash focus on check-ins and practical encouragement, including offering help with carrying some gear on the hardest day. That kind of support isn’t fluff; it can be the difference between powering through safely and burning out early.
You can also read our reviews of more tours and experiences in Pokhara.
Day 1: Kathmandu To Besisahar And Dharapani, A Scenic Start (And A Real Kickoff)
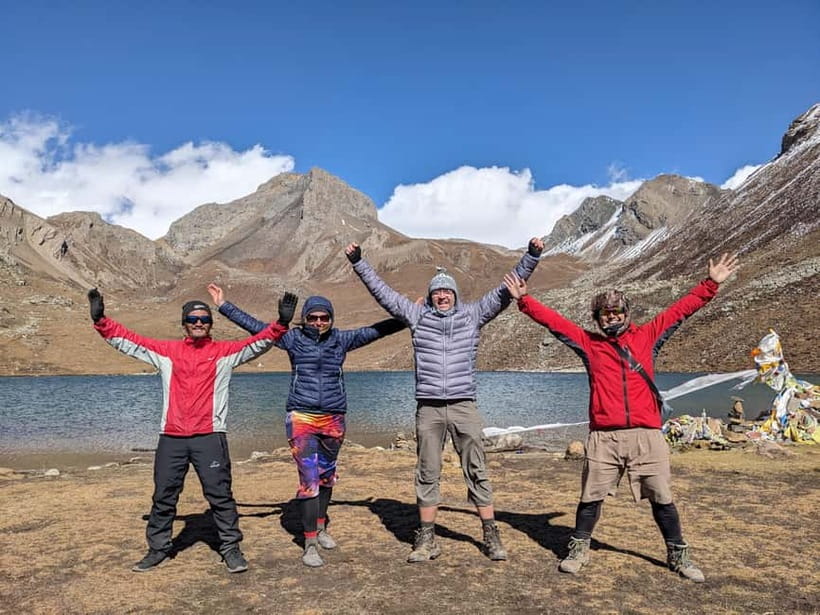
Your trekking story starts with a long drive that keeps things moving without rushing you. You’ll get picked up early from your hotel, then travel by bus to Besisahar and switch to a shared jeep to reach Dharapani. The route is about 175 km total and takes about 7–8 hours, which is plenty, but it’s the kind of day that lets you settle into Nepal’s countryside rhythm.
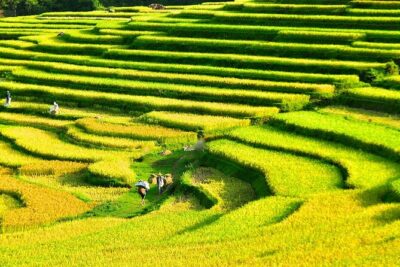
You’re looking at terraced fields, rolling valleys, and villages with Himalayan peaks showing up in the distance. It’s a gentle start, and it’s also a good chance to double-check gear before you’re committed to trekking each day. The overnight is in a cozy teahouse, so you can focus on rest rather than travel stress.
Practical note: in a day like this, your biggest job is hydration and not arriving stiff. Even if your legs aren’t trekking yet, long sitting time makes the first walking day feel harder. I’d treat Day 1 like a warm-up: drink water, eat normally, and aim for an early sleep.
Day 2: Dharapani To Chame, Your First Real Trek Rhythm
Day 2 is where the trek becomes a trek. You walk about 13 km in roughly 6 hours, starting around 2,670m and finishing in Chame. The trail takes you through Bhote villages and stretches of pine and oak forests, plus open fields that give you breaks in scenery.
This day is valuable because it teaches your body how to work steadily. You’ll get used to the rhythm of altitude, how your breath changes on uphill sections, and how to keep your pace without turning every step into a sprint.
Chame is a classic trekking stop, and the tea house stay matters because you’ll be doing it again and again. Expect basic lodging and simple meals, but also a reliable routine: eat, rest, and prepare your layers for the next climb. You don’t need fancy comfort; you need predictable comfort.
Day 3: Chame To Upper Pisang, A Village With Big Views
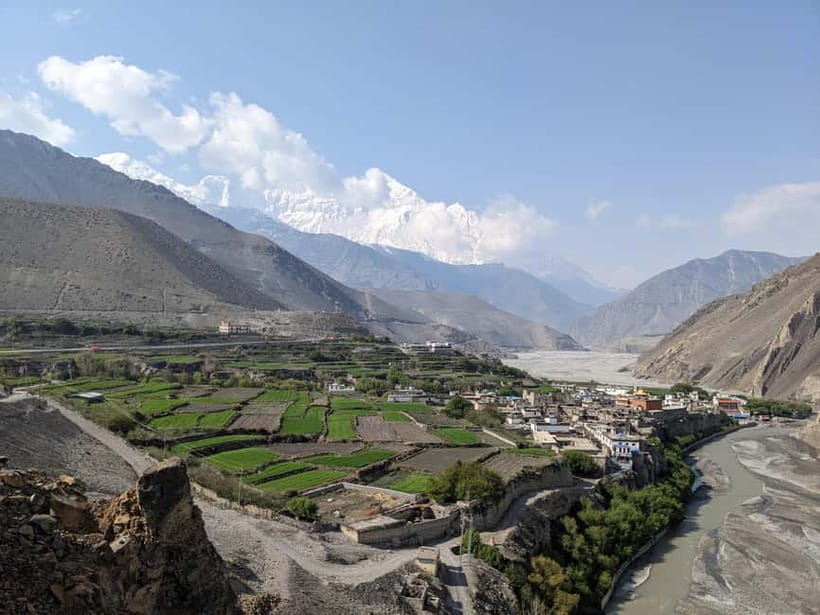
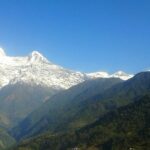
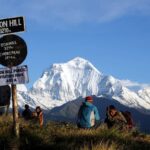
By Day 3 you’re walking roughly 15 km in about 5–6 hours, rising to around 3,200m. You’ll climb steadily to Upper Pisang through the Bhratang Valley, and the views start getting louder. On clear moments, you can catch Lamjung Himal and surrounding peaks, and the high valleys make every turn feel like a new scene.
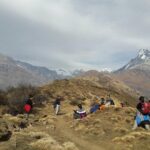
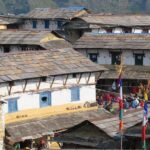
Upper Pisang is special because it’s not only a place to sleep. It’s a viewpoint village. You can spend time exploring, meeting local people, and soaking up the culture that’s woven into daily life—shops, guesthouses, prayer wheels, and the normal hum of a mountain community.
One drawback to keep in mind: as you gain altitude, cold and sun both become issues. You’ll want sunglasses, a sun hat, and sunscreen, even when you feel chilly. That mix—dry cold air plus bright sun—can trick you into under-dressing.
Day 4: Upper Pisang To Manang, Tilicho Peak Shows Up
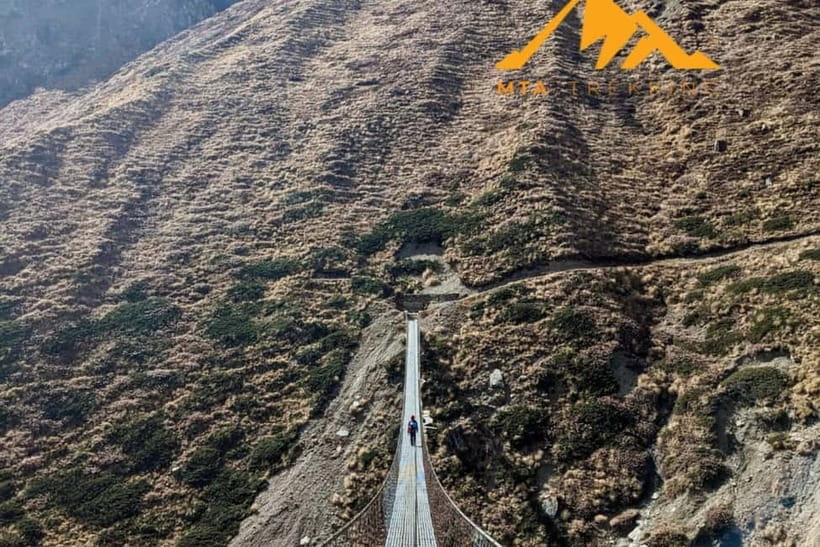
Day 4 runs about 5–6 hours over roughly 16 km, and you finish around 3,540m in Manang. The trail continues through forests and valleys, then opens up into wide views that make your effort feel worth it.
This is a day for focus and patience. Tilicho Peak, Annapurna III, and Annapurna IV are part of the visual payoff you’re working toward. Manang itself is where the trek starts to shift from “nice hike” into “high-altitude trekking.”
Arriving in Manang is also the start of smarter altitude strategy. You rest at a teahouse and let your body adjust rather than pushing higher immediately. It’s the kind of decision that protects your energy for the pass day later.
Day 5: Acclimatization In Manang (4,050m) That Actually Matters
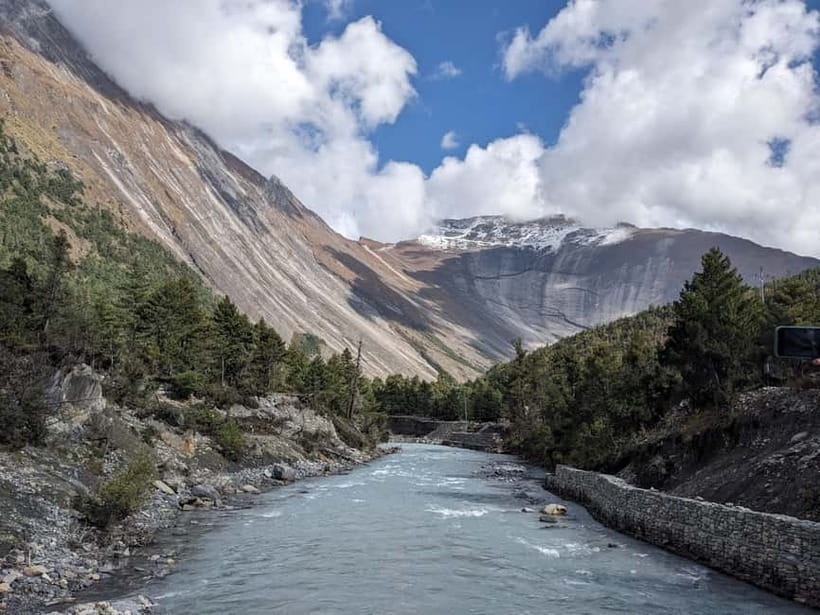
Day 5 is built for acclimatization at around 4,050m. This is the day you’ll feel grateful for later. Your optional hike depends on your energy, but the idea stays the same: move your body a little while giving your system time to adapt.
An optional hike can include Gangapurna Glacier Lake or nearby icefalls, if conditions and your comfort level allow. Even when you don’t go far, the point is to get familiar with the altitude and the way the air feels. You’ll also notice how your breathing changes while still staying active.
If you’re new to high altitude, this day is the most important “learning moment” on the trek. Guides on this route are tuned to acclimatization—one reason first-time trekkers feel more confident is because a good guide helps you choose rest vs. effort. You’re not just walking for miles here; you’re training your body to climb safely.
Day 6: Manang To Yak Kharka, A Shorter Step So You Don’t Pay Later
Day 6 is shorter on purpose: about 7 km in around 4 hours to Yak Kharka at roughly 4,050m. You’re still high, but the reduced distance gives you a chance to adjust without draining yourself.
You’ll walk through alpine pastures with sweeping mountain views. This kind of open terrain can make you feel good—until you remember it’s still high and the weather can turn. Keep moving, but keep it calm. A steady pace beats a dramatic pace on this route.
The tea house stop in Yak Kharka is also a practical win. You can unwind and get a real night’s rest before climbing higher toward Thorong Phedi.
Day 7: Yak Kharka To Thorong Phedi, The Base Camp For The Pass
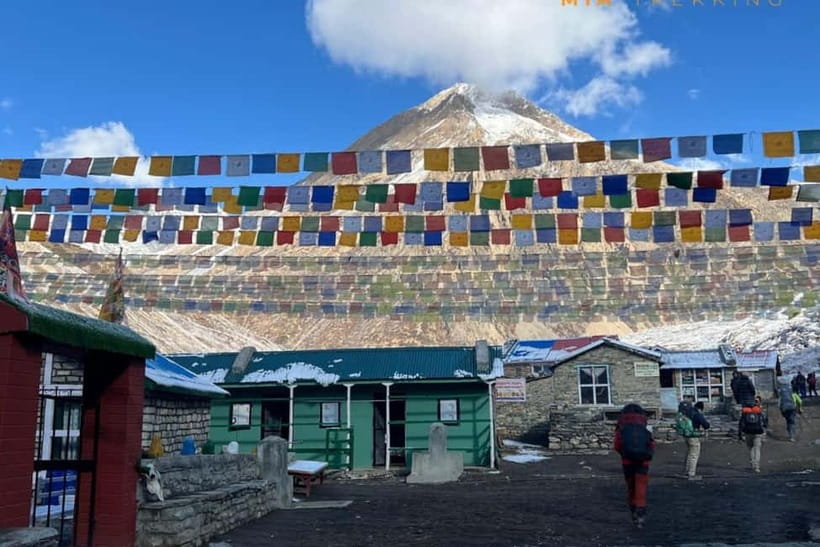
On Day 7 you climb toward your launching point for Thorong La. The trek is about 6 km in roughly 4–5 hours, rising to around 4,450m. The route includes rocky sections and suspension bridges, which add variety and keep your legs paying attention.
You’ll reach Thorong Phedi, the base camp area for Thorong La Pass. This day is less about pushing for speed and more about settling in—eat well, prepare layers for early morning, and set up your sleeping and trekking routine.
I like Thorong Phedi as a mental checkpoint. You’ve done the hard work of getting here. Now you focus on the next day’s rhythm: early start, careful ascent, and steady descent strategy.
Day 8: Thorong Phedi To Muktinath via Thorong La, The Sunrise-First Payoff
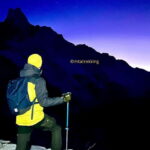
Day 8 is the big one: 7–8 hours of trekking total, with the highest crossing at 5,416m. You start around 4:00 AM to cross Thorong La Pass before winds pick up. The early departure isn’t just a scheduling trick; it’s a safety-minded way to reduce harsh wind exposure.
The pass crossing is challenging, but it’s also where the trek becomes unforgettable. Prayer flags, huge panoramas, and the feeling of moving from one world to another are the emotional highlights. Even if your body complains the whole way, the top of the pass gives you a moment where effort clicks into meaning.
Then you descend steadily toward Muktinath, arriving around 12–1 PM. After the pass, that downhill can feel long because your legs are already tired. Still, the pace eases and you get to shift your energy from climbing to recovery.
Muktinath itself is a pilgrimage site for Hindus and Buddhists, so the atmosphere is different from typical village stops. You’ll enjoy lunch and then stay overnight.
Optional idea: Tatopani hot springs can be added after your pass day to relax sore muscles. It’s not built into every schedule, but the option is there if you feel wrecked in a very normal way.
One more practical note: after the pass day, you may need a taxi transfer for an optional hot springs add-on, and that taxi cost is not included. If you’re trying to save time and energy, that option can be worth considering.
Day 9: Back To Pokhara, Ending On Softer Ground
Day 9 is a return day, not a trekking day. You’ll drive from Muktinath to Pokhara by bus for about 5–6 hours (roughly 110 km). You trade thin air for warmer comfort and get that psychological switch from “survive this trail” into “I made it.”
In Pokhara, you’ll have a tourist-standard luxury hotel night at Hotel Orchid, plus a farewell dinner in Lakeside with traditional Nepali cuisine. This is a nice payoff because you get a comfortable bed and a meal that feels like closure.
I’d use this final day to do two things: hydrate and reflect. When you’ve trekked for nearly a week at altitude, sleep can be great medicine, but only if you actually let yourself rest.
What Included Services Actually Mean For Your Experience
A trek like this can be hard to plan if you’re doing it alone. Here, the structure is meant to remove a lot of hassle.
You’ll have authorized, English-speaking guidance throughout the trek, with a porter option available at additional cost. Guide services include full insurance coverage for staff, and you also get help with all required permits and paperwork, including TIMS fees and government taxes. That matters because trekking in Nepal isn’t just a trail problem; it’s also a compliance problem.
Meals during the trek are included for Full Package bookings, which helps you focus on eating right at the right times instead of negotiating meals in a dozen different places. Accommodation is mostly tea house/lodge style for 8 nights, plus one night at a Pokhara hotel.
One more quiet benefit: luggage storage is provided. That means you can travel lighter mentally, then retrieve what you need at the next stage.
Tea Houses, Food, And The Cold Reality You Should Plan For
Tea house trekking is simple by design. Your stays are basic, your meals are dependable, and you’ll likely see repetition in what’s on offer. That doesn’t make food bad—it just means you should expect a familiar rhythm rather than gourmet surprises.
The cold is the part that can catch people. Several experiences emphasize how chilly it gets, especially at altitude. Bring a proper sleeping bag, and treat layers like they’re part of your survival kit, not just packing list items.
If you run warm on day hikes but get cold easily at night, plan for both. You can wear layers during the day, then add warmth at tea house time when the sun drops and the temperature falls quickly.
Best Season Timing: Spring And Autumn Are The Easy Wins
This trek runs best in seasons with clear skies. Spring (March–May) and autumn (Sept–Nov) are the best windows for visibility and trekking comfort.
- Spring can be warmer and has flowers along the route.
- Autumn is often your best visibility and mild temperatures.
Winter (Dec–Feb) is cold, sometimes snowy, and trail closures are possible. Monsoon season (June–Aug) brings heavy rain and slippery trails, so you should avoid trekking then.
If you’re planning your year, pick your season first. The same itinerary can feel very different depending on clouds, wind, and trail conditions.
Who This Trek Fits Best (And Who Should Rethink It)
This is a serious high-altitude trek. It’s not only about walking distance; it’s about the combination of long days, altitude up to 5,416m, and basic lodging in remote areas.
It’s best for people with good fitness and prior trekking experience. That’s also why acclimatization days and guide support matter so much.
This route is not suitable for children under 7, pregnant women, people with altitude sickness, and people with high blood pressure. If you have any doubt about medical clearance, talk to a professional before you commit.
Should You Book This Annapurna Circuit Trek via Thorong La Pass?
If you want a route with a clear payoff—big pass crossing, varied terrain, Tibetan-style villages, and a pilgrimage finale—this is a strong choice. I’d book it if you’re prepared for cold nights, you can handle long walking days, and you’re taking altitude seriously with the built-in acclimatization day in Manang.
You should think twice if you’re easily deterred by high altitude or if basic tea house comfort would make you miserable. Also, plan for a proper sleeping bag and the right layers, because cold is not a small detail on this trek.
Finally, don’t underestimate the value of a good guide. Seeing guides like Parkash and Sishir focus on pacing, check-ins, and local coordination convinced me that “support” on a high pass day is more than nice-to-have. If you want a safer, smoother experience with less guesswork, this is the kind of trek that benefits from organized guidance.
FAQ
What is the highest point on this trek?
Thorong La Pass is the highest point, at 5,416 meters above sea level.
How long is the trek overall?
The total duration is 9 days.
What kind of accommodation do you get during the trek?
You stay in tea house or lodge accommodations during the trek for 8 nights, plus 1 night at a tourist-standard luxury hotel in Pokhara (Hotel Orchid).
Are meals included?
For Full Package bookings, breakfast, lunch, and dinner are included during the trek.
How early do you start on Thorong La Pass day?
You start around 4:00 AM to cross Thorong La Pass before the winds pick up.
Are permits and paperwork included?
Yes. The trek includes required trekking permits, paperwork, TIMS fees, and applicable government taxes.
What languages will the guide speak?
The live tour guide is available in English and Hindi.
Is a porter included?
Porter availability is mentioned, but it’s at an additional cost.