REVIEW · POKHARA
Ghorepani Poon Hill Trekking
Book on Viator →Operated by Adventure Bound · Bookable on Viator
Poon Hill starts with an early alarm. This short trek from Pokhara into the Annapurna region is all about big mountain views you can only reach on foot, plus the kind of day-by-day guidance that makes the logistics feel simple. I like that you move through terrace gardens, rhododendron forests, and village paths while still getting a clear payoff at the viewpoints.
All-in inclusions are a big deal here: meals, overnight lodge stays, permits, and the guide’s costs are covered, so you’re not constantly doing mental math on the trail. I also really like the private guide + flexible pacing vibe—people in the trip reports name guides like Raman, Santosh, Suresh, and Niraj, and the common thread is patient pacing and practical help.
One thing to consider: the lodges can be basic, and in colder months you’ll want warm layers (even the reviews call out simple rooms without heating). If you’re very sensitive to cold, plan your clothing like it matters—because on a sunrise morning, it does.
In This Review
- Key points that matter before you lace up
- The real draw: why a 4-day Poon Hill trek feels worth your time
- Your first transfer days: Pokhara to Birethanti and the steep start
- Day 1 in practical terms: what to expect on the ground
- Day 2 to Ghorepani: from Ulleri to rhododendron and oak woods
- How a good guide changes Day 2 (and why it shows up in the reviews)
- Day 3: the Poon Hill sunrise you actually wake up for
- Sunrise reality check
- Day 3 in practical terms: don’t burn your energy
- Day 4: downhill to Ghandruk and the end-of-trek return to Pokhara
- What’s included (and why it’s a smart way to do a short trek)
- Price and value: what $600 buys you in the real world
- Guides, pace, and the human side of the trek
- Season notes: rhododendron in spring, cold mornings year-round
- Who should book this Ghorepani Poon Hill trek
- Should you book this Poon Hill trekking experience?
- FAQ
- How long is the Ghorepani Poon Hill trekking experience?
- Where does the trek start from?
- Is transportation included at the start and end of the trek?
- What meals and lodging are included?
- Is a guide included, and do they speak English?
- What should I pay for myself?
- Do I need any special fitness level?
Key points that matter before you lace up
- Private guide, not a cattle-car trek: your group has its own guide and you set your pace.
- Meals + lodge nights included: easier planning for a 4-day itinerary.
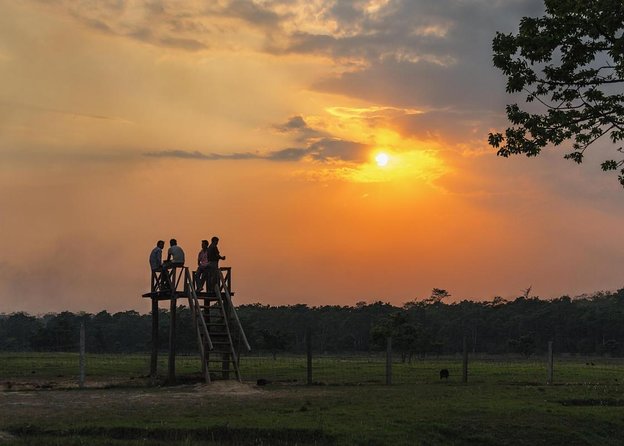
- Sunrise at Poon Hill is the headline: the view spans multiple named peaks, not just one postcard spot.
- Rhododendron and oak woodlands: especially memorable in spring, when the trail turns colorful.
- Downhill via Ghandruk: you finish in a popular village area and then ride back toward Pokhara.
- Bring warm layers: lodge comfort is simple, and early mornings can feel cold.
The real draw: why a 4-day Poon Hill trek feels worth your time
This is a classic “short trek, big payoff” in Nepal’s Annapurna region. You’re not here for technical climbing or glacier drama. You’re here for the slow climb through villages and forest paths, then the payoff: sunrise views from Poon Hill and panoramic mountain sightlines that stretch across several ranges.
The main value for you is time. You get a meaningful trekking experience—terraced hills, rhododendron and oak woodland sections, and stone stair climbs—without needing a full week-plus commitment. And because the trek is designed around lodge nights and included meals, you’re spending your energy walking, not figuring out where to eat and sleep.
Also, starting from Pokhara and using local transport options keeps the beginning and end of your trip from feeling like a separate project.
You can also read our reviews of more tours and experiences in Pokhara.
Your first transfer days: Pokhara to Birethanti and the steep start
Your trek begins with a taxi ride from Pokhara to Birethanti, which is about 1.5 hours away. The drive follows the Modi Khola route, passing local villages and green hills. This matters more than it sounds: it gives you a gentle “welcome” to the region before the trail turns steep.
Day 1 then warms up your legs in a very typical Nepal way: you pass through Hile and reach Tikhedhunga, where the trail kicks into a staircase-style ascent. That stone stair climb is the first test of the trip. If you’re new to trekking, don’t fight it by going fast. Go slow. Short steps win here.
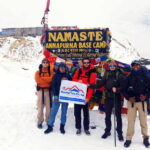
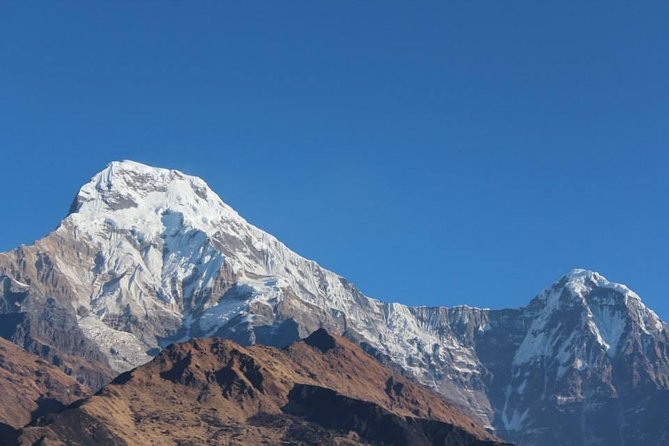
By the end of the day, you’re trekking into the Ghorepani area, with the early payoff of seeing peaks like Hiunchuli and Annapurna south from the first viewpoints along the way. Even if clouds roll in, you’re building the rhythm you’ll need for the early morning push later.
Day 1 in practical terms: what to expect on the ground
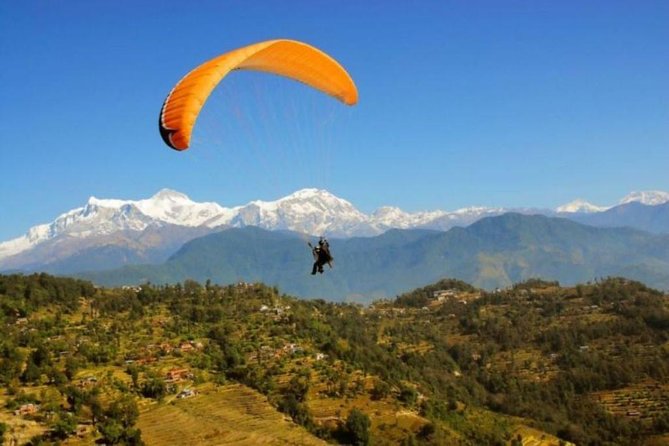
On day 1, you’re mostly dealing with elevation gain and frequent changes in footing—trail stairs, village paths, and the steady rhythm of a guided ascent. Because this route uses lodges, you’ll find a place to eat and recover each night, which is a huge comfort factor for a shorter trek.
One small “know before you go” point: the trekking season you travel in affects what you see. The information you’re given for the route highlights springtime conditions—when forests and hillsides can glow with rhododendrons and you might spot birds and wildlife. If you’re traveling outside spring, you may trade that color for cleaner sightlines.
Day 2 to Ghorepani: from Ulleri to rhododendron and oak woods
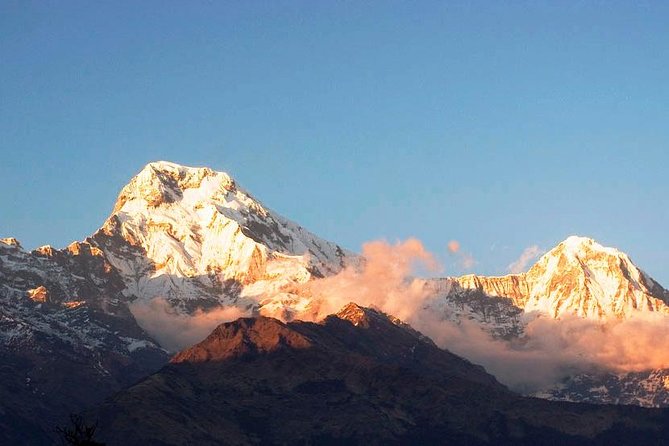
Day 2 starts with leaving Ulleri behind, then moving toward Ghorepani. The walk takes about 4–5 hours in the day described, and the big theme is forest hiking. You pass through places such as Banthanti, known for rhododendron and oak woodlands, and then Nanggethanti along the Bhrungdi Khola area.
This is the “walking in scenery” day. You’re not just ticking off distance—you’re moving through sections that can feel alive, especially in spring when rhododendrons bloom and wild birds (and other animals) show up along the way.
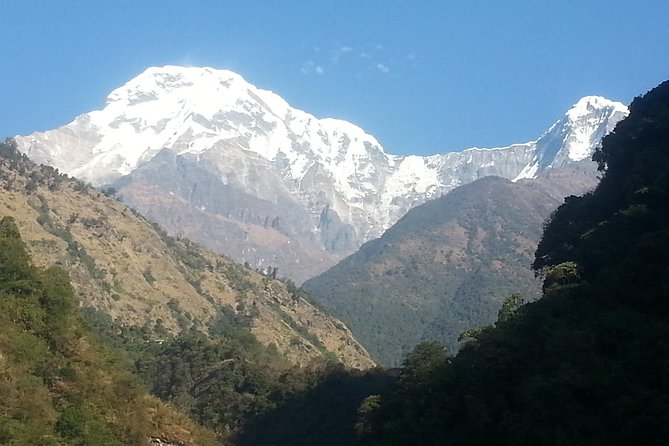
By the time you arrive at Ghorepani, the reward is a view that includes Dhaulagiri, Annapurna South, and Hiunchuli. That matters because it sets the stage for Poon Hill sunrise: you’re already in the right zone, and the mountains start to feel less like a distant idea and more like something you can reach.
How a good guide changes Day 2 (and why it shows up in the reviews)
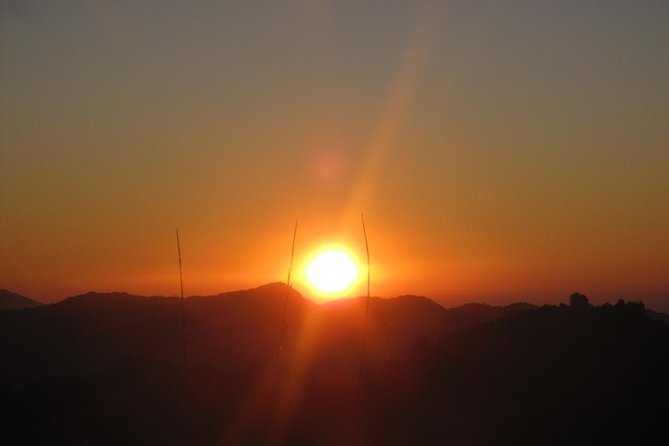
One thing I’d pay attention to in any Poon Hill trek is pacing. These trails can feel tougher than expected because of stair sections and altitude. In the trip reports you provided, guide names show up repeatedly—Raman, Santosh, Suresh, Niraj, Raj, and Arjyal Santosh—and the pattern is consistent: guides help you keep a comfortable pace rather than rushing the group.
That’s what you want for a moderate trek. It’s not just friendliness. It’s reducing the “I’m behind” stress and letting you enjoy the forest sections where you might otherwise be too busy catching your breath to notice anything.
Day 3: the Poon Hill sunrise you actually wake up for
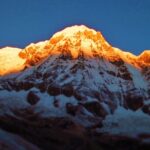
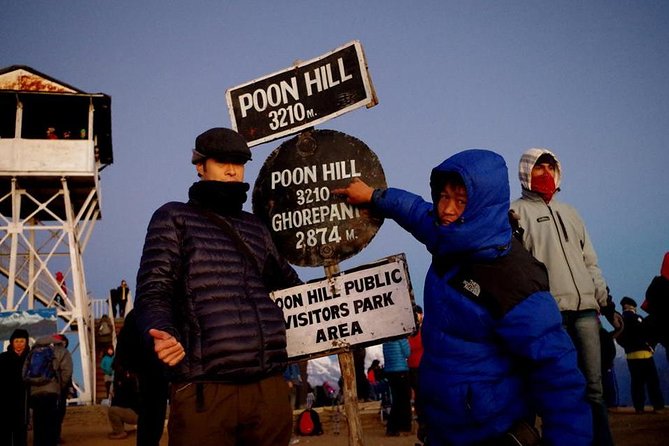
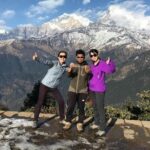
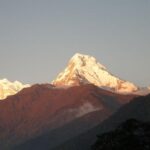
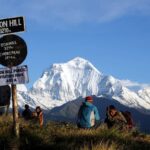
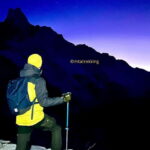
Day 3 is the headline day. You wake early and head to Poon Hill to catch one of the best sunrises on this route. The whole idea is simple: you’re climbing in the dark so you can see the mountains light up as the sun hits them.
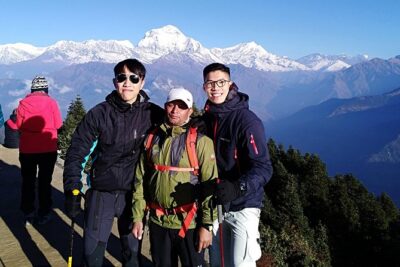
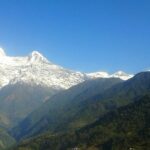
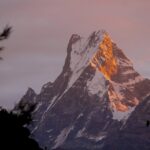
What you’re aiming for at Poon Hill is a broad panorama. The peaks named in your trek description include Annapurna, Bahari Shikhar, Hiuchuli, Nilgiri, Dhaulagiri, Manaslu, Machhapuchhre, and more. That list matters because Poon Hill isn’t just one angle—it’s a sweeping viewpoint where multiple peaks can show up in the same field of view.
After sunrise, you return to the Ghorepani lodge area for breakfast, then start descending toward Tadapani. The day shifts from “climb for the view” to “walk for the fun part,” meaning you’re moving along trails again with less urgency, and you’ll still get mountain glimpses depending on cloud cover.
Sunrise reality check
If you’ve never done sunrise treks, here’s your gentle heads-up: it’s cold, and you’ll feel it more at the start than later. The reviews you shared specifically mention that lodges may be without heating, so pack warm layers even if daytime looks mild.
Day 3 in practical terms: don’t burn your energy
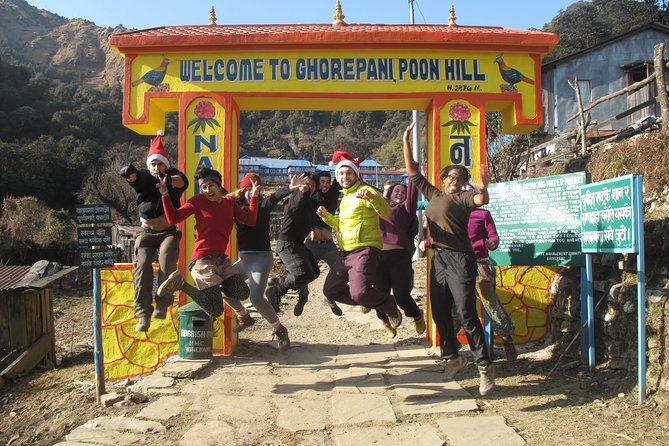
The biggest mistake people make on day 3 is overthinking. You don’t need to sprint to Poon Hill. The value is in timing and comfort: staying warm enough to enjoy the view and having enough energy to walk back down.
If clouds roll in, you’ll still be doing a worthwhile trek. The mountains often reward patience here, and the day includes good recovery time afterward at breakfast before your descent.
Day 4: downhill to Ghandruk and the end-of-trek return to Pokhara
Day 4 is the home stretch. You start with a last breakfast on the hill, then descend toward Ghandruk. The route described focuses on rhododendron and oak woodland again, and it highlights wildflowers that can make the downhill feel less like a chore and more like a slow, pretty walk.
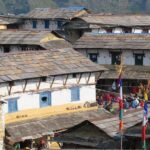
Ghandruk is presented as a popular village destination, with local people and attractive houses, and that distinct sense of village life returning to the trip. It’s a good way to end: you’re not jumping straight from mountain mornings into a city rush.
Once you reach Ghandruk, you’re picked up by sharing jeep/bus back toward Pokhara. This last ride is part of the convenience of booking a package—otherwise, getting from a trek endpoint back to a comfortable base can turn into a frustrating scavenger hunt.
What’s included (and why it’s a smart way to do a short trek)
This tour is positioned as all-inclusive, and the details show up in the kind of peace-of-mind you want on a short trek.
Included:
- Accommodation as per the itinerary
- Taxi to the trek start point (Birethanti) from Pokhara
- Local taxes and necessary permits
- 3 meals a day during the trek (breakfast, lunch, dinner)
- Professional English-speaking trekking guide trained by the Ministry of tourism
- Guide expenses (food, accommodation, salary, insurance, equipment)
- Sharing jeep/bus from Ghandruk back to Pokhara
- All taxes, fees, handling charges
Not included:
- Alcoholic drinks (purchase on the trail)
- Personal expenses like bottled water, mobile/camera charging, hot shower, snacks/deserts/sweets
- Tips for your trekking guide (expected)
Here’s what that means for you in real life: you can pack around walking and warmth, not around budgeting every meal stop and permit day. On a 4-day trek, that simplification has value.
Price and value: what $600 buys you in the real world
At $600 per person for roughly 4 days, you’re paying for more than “a route.” You’re paying for:
- a guide’s time and expertise (plus insurance and equipment costs),
- lodge nights and meals (which can be the biggest hidden cost if you self-organize),
- permits and local taxes,
- and the transportation links between Pokhara and the trek.
If you’ve ever tried to piece together short trekking logistics, you know the hassle can cost you time even if it saves money. For many people, especially first-timers, paying for the included structure is worth it. You get a predictable experience with fewer unknowns.
If you’re the kind of traveler who enjoys DIY planning, you could likely find cheaper options. But for a moderate trek where you want comfort and clarity, this price looks more like “pay to reduce friction” than “pay for luxury.”
Guides, pace, and the human side of the trek
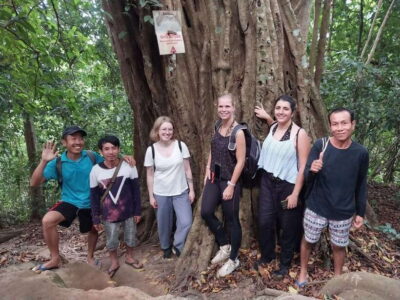
Your trek is guided, and the best part is the flexibility in how you walk. The reviews you provided mention guides like Raman and Santosh adjusting to pace, involving travelers with small evening games, and offering mountain context. That isn’t fluff. It can make the hours between viewpoints feel lighter.
Also, guide names appear across different experiences: Suresh is described as patient for first-time trekkers; Raj Silwal is noted for being funny and helpful with culture and nature info; Niraj is highlighted for English-speaking guidance even when language might be a barrier.
For you, the takeaway is simple: choose a trek where you’ll feel comfortable speaking up if you need breaks. This format is built for that.
Season notes: rhododendron in spring, cold mornings year-round
The information you shared specifically points to spring conditions: rhododendron blooms and more birds and animals on the trail. If you travel in spring, expect the hills to look more colorful.
For cold, rely on what the trek experience itself signals: lodges can be simple and may not have heating. Multiple trip reports call out the need for warm clothes. So pack layers you can actually wear at dawn.
Who should book this Ghorepani Poon Hill trek
This trek is a strong fit if:
- you want a moderate walking challenge without technical hiking,
- you like the idea of sunrise views and multiple peak panoramas,
- you want the route supported by an English-speaking guide,
- you prefer a package that includes meals, permits, and lodge stays.
It’s less ideal if:
- you hate early mornings and cold waits,
- you require heated accommodation and high comfort,
- you want a totally DIY adventure with no structure at all.
Should you book this Poon Hill trekking experience?
If you’re short on time and want your Nepal mountains fix without a week-long commitment, I think this is a smart choice. The value comes from the included meals, lodge nights, permits, and transport, plus the fact that your guide can keep you walking at a comfortable pace. You’ll work a bit, but you won’t be scrambling for basics.
My final advice: pack warm layers for sunrise, keep your effort steady on the stair climbs, and show up ready to enjoy the village-forest rhythm—not just the viewpoint. If you do that, you’ll leave with sore legs and a grin that lasts longer than the trek.
FAQ
How long is the Ghorepani Poon Hill trekking experience?
It’s listed as about 4 days.
Where does the trek start from?
You travel from Pokhara to Birethanti by taxi, and the trekking starts from there.
Is transportation included at the start and end of the trek?
Yes. There’s a taxi from Pokhara to the trek start point (Birethanti), and a sharing jeep/bus from the trek end point (Ghandruk) back to Pokhara.
What meals and lodging are included?
You get accommodation as per the itinerary and 3 meals per day during the trek (breakfast, lunch, and dinner).
Is a guide included, and do they speak English?
Yes. The trek includes a professional English-speaking trekking guide trained by the Ministry of tourism.
What should I pay for myself?
Alcoholic drinks and personal expenses like bottled water, mobile/camera charge, hot shower, and extra snacks or sweets are not included. Tips for the trekking guide are expected.
Do I need any special fitness level?
The trek is described as suitable for travelers with moderate physical fitness. If you have dietary requirements, you should advise the provider at booking.