REVIEW · POKHARA
4 Days Mardi Himal Base Camp Trek from Pokhara
Book on Viator →Operated by My Dream Adventure (MDA) · Bookable on Viator
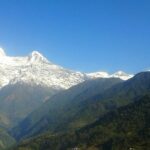
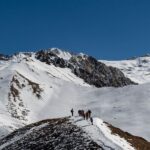
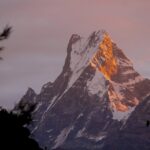
Mardi Himal hits hard in the best way. This 4-day trek from Pokhara is built around jaw-dropping views of the Annapurna massif and Machapuchare, without the same heavy crowds you see on some nearby routes.
What I like most is the range of scenery in just a few days, from forested paths up to high alpine country, and the cultural stops with Gurung and Magar villages along the way. The route also gets you the big-picture views while still walking through real Nepal, not just viewpoints.
One consideration: expect early wake-ups and altitude. Day 3 starts very early (including a pre-dawn hike to a viewpoint), so if you want a slow, sleep-in kind of trip, this might feel intense even though it’s rated for moderate fitness.
In This Review
- Quick hits: what makes this Mardi Himal trek a smart choice
- From Pokhara to Forest Camp: getting your legs under you
- Day 2 to Mardi Himal High Camp at 4,000 m
- The early-morning push to base camp and the 4,500 m viewpoint
- Coming down to Low Camp: managing legs and altitude
- Final descent to Siding Village and back to Pokhara lakeside
- Guides and guest-house stays: comfort that doesn’t spoil the trek
- Permits, TIMS, and the private group approach that helps you move right
- Price and value: why $290 makes sense for a 4-day guided trek
- Who this Mardi Himal trek suits best (and who should rethink it)
- Should you book this 4-day Mardi Himal Base Camp trek?
- FAQ
- How long is the Mardi Himal Base Camp trek?
- What part of the route reaches 4,000 meters?
- Is hotel pickup and drop-off included?
- Are trekking permits included?
- Where do you stay during the trek?
- Is the trek private?
- How do you get back to Pokhara at the end?
- What is the refund policy if I cancel?
Quick hits: what makes this Mardi Himal trek a smart choice
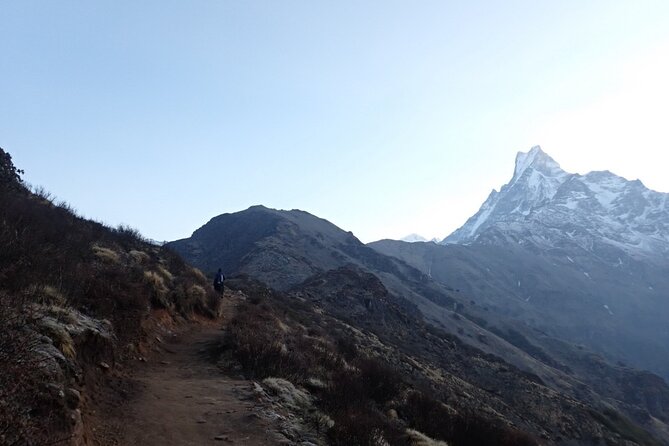
- Machapuchare (Fishtail Mountain) + Annapurna views: the vistas are the main event, and they show up repeatedly.
- Forest Camp to High Camp at 4,000 m: you gain altitude fast enough to feel the change, but the itinerary still keeps moving step-by-step.
- A 4:00 am start on Day 3: that early push sets you up for the best sightlines and the base camp experience.
- English-speaking guides named in past trips: Prakash, Surya, Bikram, Biru, and Krishna show up in feedback for being friendly and helpful.
- Guest house stays: you get simple lodging included, so you’re not scrambling each night.
- Private trek for your group: only your group participates, with shared-vehicle transfers from Pokhara.
From Pokhara to Forest Camp: getting your legs under you
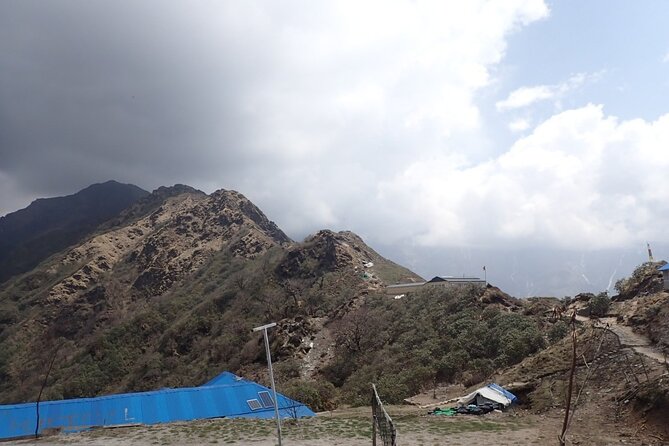
Day 1 is all about easing into the trek. You leave Pokhara around 8:00 am and start with a 1.5-hour drive to Kande, then you move on toward Forest Camp (about 2,500 m / 8,200 ft). This is a good setup day: your body learns the rhythm while the scenery already starts delivering.
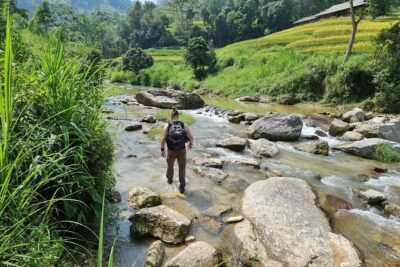
I like how the trek introduces you to the Annapurna region gradually. You’ll pass through fields and dense forest areas before the trail starts feeling more serious. This is where you’ll notice the change in temperature and air as you gain elevation, but you’re not stuck working hard right away.
A practical note: because you’re driving first and then hiking, you’ll want to drink water early and not treat Day 1 like a casual stroll. Forest Camp is your first overnight base, and the terrain around it helps you transition from city to mountains without jumping straight into the steepest sections.
You can also read our reviews of more tours and experiences in Pokhara.
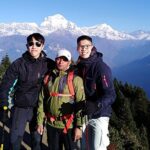
Day 2 to Mardi Himal High Camp at 4,000 m

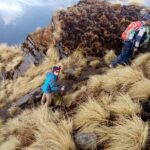
Day 2 is your first real altitude day. You go from Forest Camp to Mardi Himal High Camp at 4,000 m (about 13,120 ft). The trek is listed around 5 hours, with the day described as moving through dense jungle areas where you might see wildlife.
Here’s what that means for you on the ground. Jungle trails tend to be slower than you expect. Even if the walk time sounds “manageable,” humidity, footing, and shade can make it feel like more work. The upside is that you’re not just climbing bare ridges; you’re walking through a living zone with plants and birds, which makes the day feel fuller than a simple uphill slog.
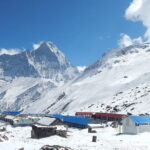
High Camp is also where the air starts to change noticeably. Even if you feel okay, don’t turn Day 2 into a speed contest. Save your energy for Day 3’s early start and viewpoint hike, because that’s when the route really cashes in the altitude effort.
If you’re prone to getting restless before a big day, I’d treat Day 2 as a “go steady” day. It pays off later.
The early-morning push to base camp and the 4,500 m viewpoint
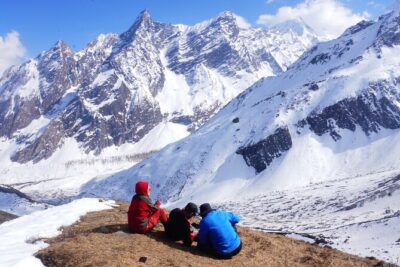
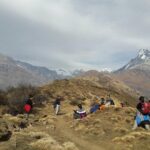
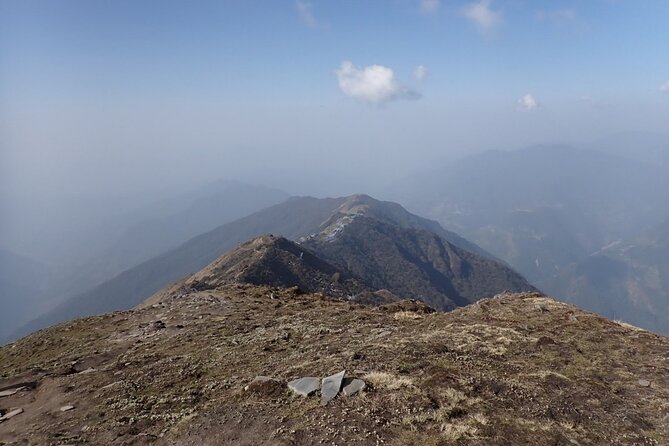
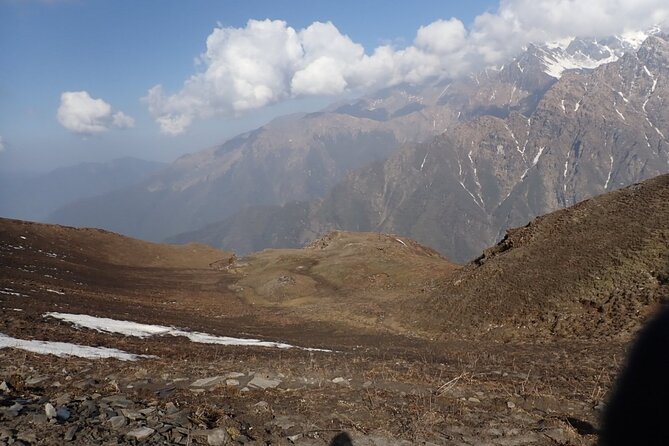
Day 3 is the headline. You wake up around 4:00 am and start hiking toward a viewpoint at 4,500 m, with the Fishtail Mountain and the Annapurna range described as simply wonderful. Then you continue to Mardi Himal Base Camp, and later you return for belongings and keep descending toward Low Camp (about 3,000 m / 9,840 ft).
That 4:00 am detail matters. This is one of those itineraries where the timing is the product. The early start is designed to put you at the best angle for views, and it gives you a better chance of clear sightlines before clouds build or visibility fades. It also means you’ll likely eat lightly and move quickly—so don’t plan a huge breakfast habit the night before.
You’ll spend quality time at base camp, which is what you came for. In a short trek like this, that pause is important: it’s where you actually take in the scale. Then you start working the descent rhythm, which can feel easier on paper and harder in legs because you’re carrying the day’s altitude in your body.
Also note the itinerary logic: after base camp time, you’ll descend back through the high area for belongings and then continue onward to Low Camp. That means Day 3 is not just one climb. It’s a full “go up, go out, then come down” day.
Coming down to Low Camp: managing legs and altitude
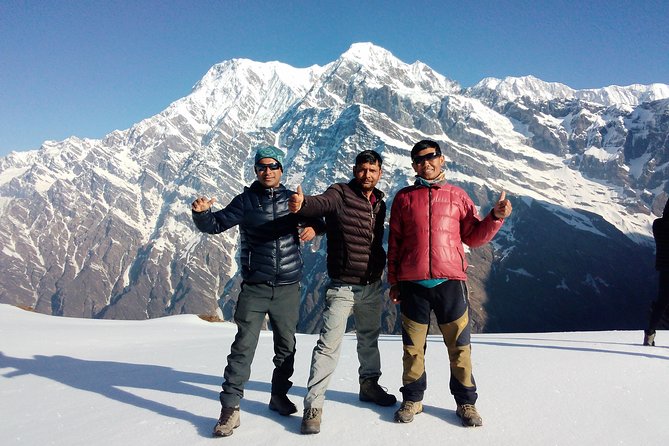
After base camp time, the route shifts into descent. You reach Low Camp at about 3,000 m, and the trekking time on this part of the route is described in the range of a few hours plus time for viewpoint and base camp moments.
Descent is where trekking skills start to matter. Your knees will know what you did, even if you don’t. If you’re the type who loves to talk and move fast, try slowing down on the rocky or uneven sections. A steady pace protects your joints and makes the last day feel easier.
Low Camp is also your reset point. Your body is still at elevation, and even though you’re going down, you shouldn’t treat the rest of the trek like a victory lap. Drink water, keep moving at a comfortable pace, and focus on rhythm rather than distance.
This is also a good day to think about what you’ll do the next morning. Since Day 4 starts with another descent all the way down toward Siding Village, the best preparation you can do is conserve energy on Day 3 and not overpush during the base camp bonus time.
Final descent to Siding Village and back to Pokhara lakeside
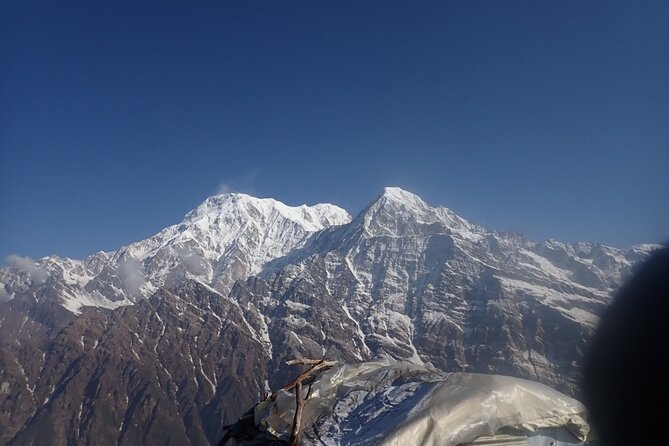
Day 4 is your reward for getting through the mountain day. You start at Low Camp and descend to Siding Village (about 1,800 m / 5,905 ft) in roughly 4 hours, then you take a jeep back to Pokhara (about 800 m / 2,624 ft). This is the part where you feel the altitude drop in a very real way.
Siding Village is where your trek becomes life again: simpler paths, easier walking, and the sense that you’re returning to settled Nepal. The jeep transfer from there is included, so you’re not stuck bargaining for transport or trying to coordinate rides after a few days on trails.
Once you’re back in Pokhara, you’ll likely want a meal that actually tastes like a celebration and not just fuel. The good news: this itinerary is structured so you finish the trekking on Day 4 and can spend time in Pokhara without dragging the whole experience longer than necessary.
Guides and guest-house stays: comfort that doesn’t spoil the trek
This trek includes an experienced English-speaking trekking guide, plus guest house accommodation each night. You’re not sleeping outside or doing full self-supported camping, which is one reason this route fits more people than the longer, more rugged treks.
The most consistent theme in feedback is the guide approach. Names like Prakash, Surya, Bikram, Biru, and Krishna show up, and the common thread is friendly, helpful coordination. That’s not just “nice.” On a trek, it affects everything: pace, small decisions on the trail, and how smoothly you handle early starts and transitions between camps.
It also includes trekking permits and TIMS, plus hotel pickup and drop-off in Pokhara and a round-trip transfer by sharing jeep. For many hikers, this is where value lives. You spend less time on paperwork and more time walking.
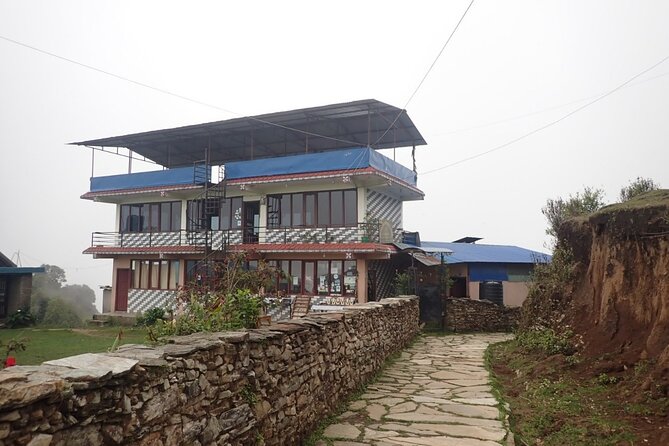
Do keep expectations realistic, though. Guest houses in trekking regions are simple. You’ll get a bed and basic comfort, but it’s still mountain travel.
Permits, TIMS, and the private group approach that helps you move right
You get trekking permit and TIMS included. That matters because it reduces the hassle of sorting official requirements right before you start walking. It also signals that the operator is set up for this route rather than cobbling together logistics last minute.
The trek is described as a private trek, meaning only your group participates. That usually makes the experience feel less chaotic. You’re more likely to keep a consistent pace, ask questions without feeling rushed, and manage early starts in a way that fits your group.
There’s also mention of group discounts. In practice, that means if you have a few people booking together, you may get a better overall rate than if you travel completely solo.
One more detail: you’ll receive a mobile ticket. That may sound small, but in travel terms it’s the kind of convenience that reduces stress once you’re already in motion.
Price and value: why $290 makes sense for a 4-day guided trek
The price is listed as $290 per person for roughly 4 days. On paper, that’s not “cheap,” but value comes from what’s bundled: guide support, permits (including TIMS), guest house accommodation, and pickup/drop-off plus jeep transfers.
Many independent trekking setups end up costing about the same once you pay for guiding, permits, and transport anyway. Here, you get a planned structure that covers the big moving parts: getting out of Pokhara, handling camp-to-camp walking, and returning to the city on Day 4.
What you should watch for is not the price itself, but what’s not included: personal expenses and optional gratitude. Also, trekking terms like this are often easiest when you plan for your own snacks, water, and day-to-day needs. The itinerary handles the core trek mechanics; you cover personal extras.
If you want less planning and a cleaner timeline—especially with early starts—this pricing looks fair.
Who this Mardi Himal trek suits best (and who should rethink it)
This trek is aimed at people with moderate physical fitness. That’s a useful filter. It suggests the route is demanding enough to matter, but not designed for only hardcore athletes.
It fits particularly well if you:
- want big Annapurna views in a short amount of time
- like a mix of forest and alpine terrain
- prefer guided coordination over DIY navigation
- are traveling as a family group and want smoother logistics (feedback includes families doing this trek)
You might want to rethink if:
- you strongly dislike early mornings (Day 3 is a clear example)
- you’re new to altitude hikes and would feel anxious about moving from about 4,000 m up to a 4,500 m viewpoint early in the day
- you prefer a gentler, longer itinerary that builds acclimatization more gradually
The good news is that the trek’s structure is clear, so you can judge honestly before you book.
Should you book this 4-day Mardi Himal Base Camp trek?
I’d book it if your priority is views without the big trek marathon feeling. This plan is short, guided, and structured around the moments you actually remember: Machapuchare, Annapurna range views, and base camp time, wrapped in forest-to-high-country trekking.
I’d also book it if you want your trip to feel run-clean. Pickup/drop-off, permits, guest houses, and an English-speaking guide remove a lot of travel friction. The consistent praise for guides like Prakash, Surya, Bikram, Biru, and Krishna points to a real focus on kindness and coordination, not just checking boxes.
Skip the idea if you want a relaxed pace with late mornings. This route asks you to start early, and altitude adds a layer of effort even on “moderate” treks.
If you’re on the fence, ask yourself one question: do you want the short, intense highlight of Mardi Himal over a longer acclimatization adventure? If yes, this is a solid match.
FAQ
How long is the Mardi Himal Base Camp trek?
It’s listed as about 4 days.
What part of the route reaches 4,000 meters?
Mardi Himal High Camp is at 4,000 m (about 13,120 ft).
Is hotel pickup and drop-off included?
Yes. Hotel pickup and drop-off in Pokhara are included.
Are trekking permits included?
Yes. The trekking permit and TIMS are included.
Where do you stay during the trek?
Accommodation is included in guest houses.
Is the trek private?
Yes. It’s described as a private tour/activity, and only your group participates.
How do you get back to Pokhara at the end?
After descending to Siding Village, you take a jeep to Pokhara, and the trek ends there.
What is the refund policy if I cancel?
You can cancel up to 3 days in advance of the experience for a full refund. If you cancel less than 3 full days before the start time, the amount paid is not refunded.