REVIEW · INDONESIA
Mount Rinjani Trekking 2D/1N Summit Sunrise & Sunset Views
Book on GetYourGuide →Operated by Mount Rinjani Hike · Bookable on GetYourGuide
A volcano at 2:30am makes a statement. This 2-day Rinjani push is all about summit sunrise plus the big, open views from the crater rim. You’ll feel every step of the climb, but the payoff is the kind of mountain quiet you don’t get anywhere else.
Two things I really like: first, the camp setup on the crater rim, so you’re already in prime-view territory when the light changes. Second, the way guides and porters handle the heavy stuff, so you can focus on steady movement and not juggling gear in the dark.
One drawback to plan for: it’s a challenging trek with early wake-ups, loose rocky sections, and cold summit conditions. If you have heart issues, vertigo, or low fitness, this isn’t a match.
In This Review
- Key points to know before you go
- Price and what you actually get for $200
- Where the Sembalun route earns its keep
- Day 1: the long hike up to the crater rim camp
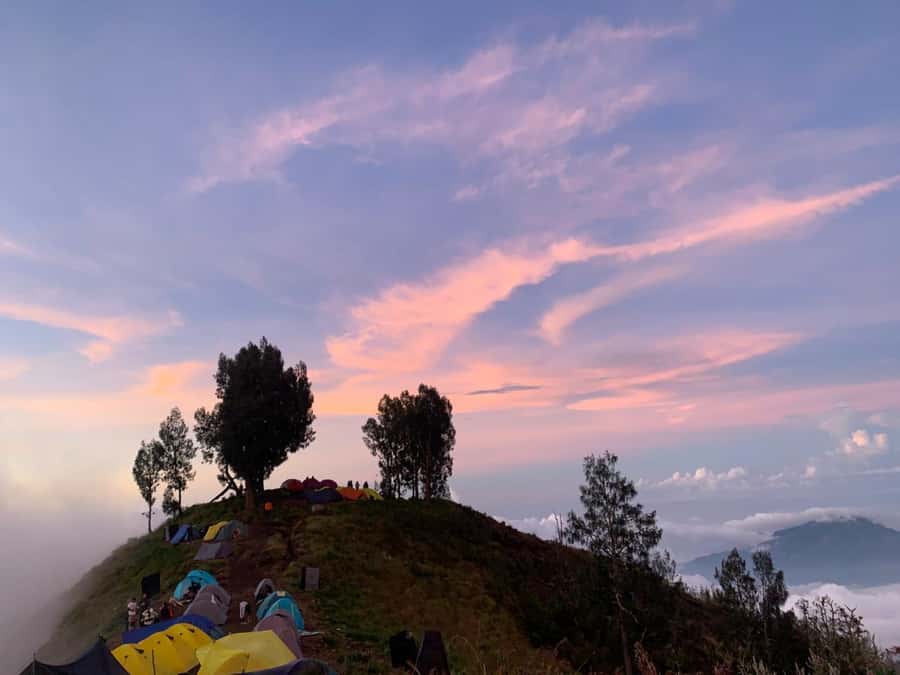
- The night at the rim: what camping feels like at altitude
- Day 2: the 2:00am wake-up and the rocky summit push
- Descent and how the day changes after sunrise
- Views: Segara Anak, summit light, and the Senaru sunset note
- Guides and porters: why this trek feels well-run
- Food, water, and the small comforts that keep you going
- What to bring (and what to skip)
- Who should book this trek (and who should not)
- Should you book this Mount Rinjani 2D/1N sunrise trek?
- FAQ
- How long is the Mount Rinjani trek?
- Which route does this trek use?
- Where do you sleep during the trek?
- What time do you start the summit hike on the second day?
- Is transportation included after the trek?
- How much water and food are included?
- Is the guide English speaking?
Key points to know before you go
- Crater rim camping: You sleep where the views start working immediately, not after a long walk the next day.
- 2:00am start for sunrise: Expect a very early breakfast and a summit push on rocky, loose footing.
- Porters handle the camp: Tents, sleeping gear, and cooking needs are carried for you, plus you still get warm meals.
- Senaru sunset angle: The best sunset is from the Senaru crater rim, which adds a different kind of peak-to-sunset story.
- Meals and water are built in: You’re provided food three times daily and 3 liters of mineral water per person per day.
- Weather can affect summit access: If conditions close the summit, you may need to adjust expectations on the ground.
Price and what you actually get for $200
At about $200 per person for 2 days, this trek can feel like a bargain or a lot, depending on what you’re comparing it to. The real value comes from the full package: an English-speaking guide, professional porters, tents and sleeping gear, 3 meals a day, and a set amount of mineral water each day.
A lot of Rinjani trekking costs spike when you factor in basics you still have to bring or rent. Here, the essentials for sleeping and eating are included (tent, sleeping bag, sleeping mat, toilet tent and toilet paper), plus transportation after the trek to Bangsal harbor or Mataram.
What’s not included matters too. Trekking shoes and warm clothes are on you, and extra snacks are not provided beyond included fruit like pineapple and banana and the included meals. Tips for your guide and porters are also extra.
You can also read our reviews of more tours and experiences in Indonesia.
Where the Sembalun route earns its keep
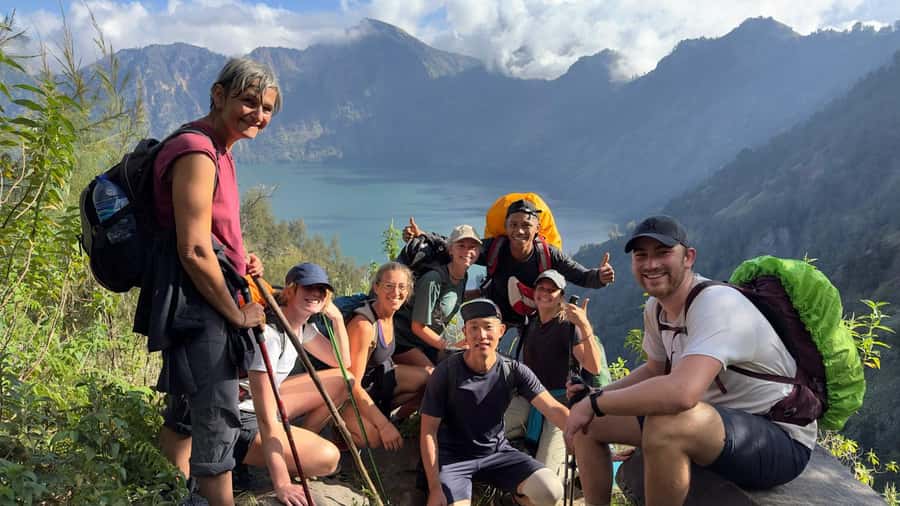
This trek runs via the Sembalun route, and that choice changes the vibe of your day. You get long stretches of hiking that build steadily, and you arrive at the crater rim late afternoon with camp already being prepared.
That matters because it turns the first day from just suffering into active recovery with payoff. You’ll stop for lunch in the middle of the hike, then keep going until you reach the crater rim when the team is ready to set up.
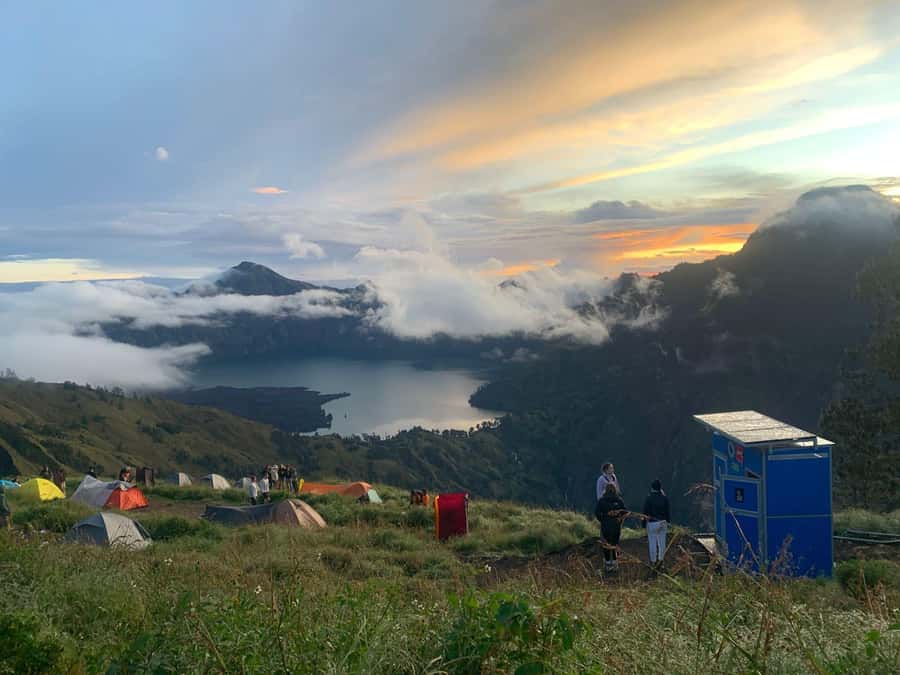
From there, your evening becomes part of the experience, not downtime. You can watch the light shift from the crater rim, eat dinner, and sleep close to the Segara Anak area rather than trekking away from it.
Day 1: the long hike up to the crater rim camp
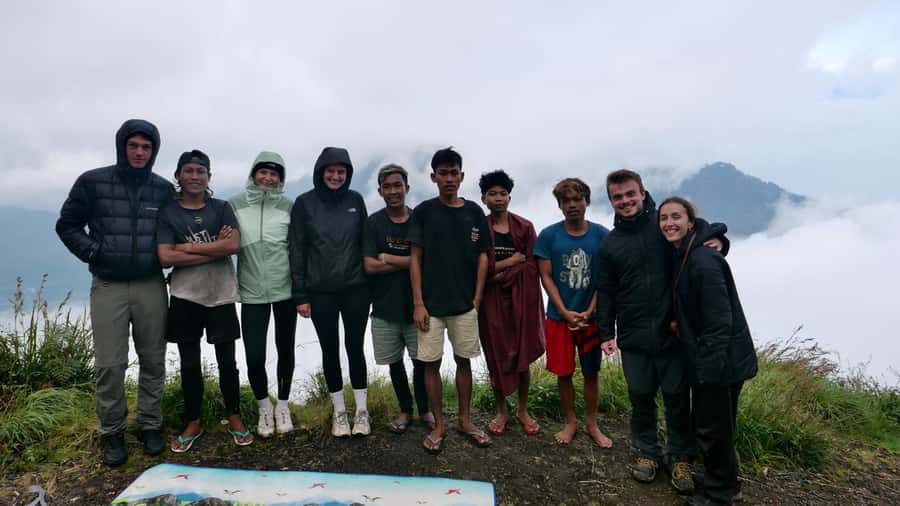
Day 1 begins with breakfast and coffee or tea, then a drive of about 1 hour to Sembalun. After that, it’s an all-day hike, with lunch in the middle, and a late-afternoon arrival at the crater rim.
The good part here is timing. Getting to camp before darkness means you can actually see what you climbed and where you’ll be tomorrow. Porters are already setting up tents when you arrive, so you’re not spending your first night stressed about logistics.
Dinner is included and your guide will handle a meal prepared during the trek. Reviews consistently highlight that this kind of organization makes a difference when your legs are tired and you just want something hot and real.
The main thing to understand: Day 1 is a full hiking day, not a warm-up. If you start underpowered, you’ll feel it by afternoon, so go easy the first hours and save energy for the sunrise push.
The night at the rim: what camping feels like at altitude
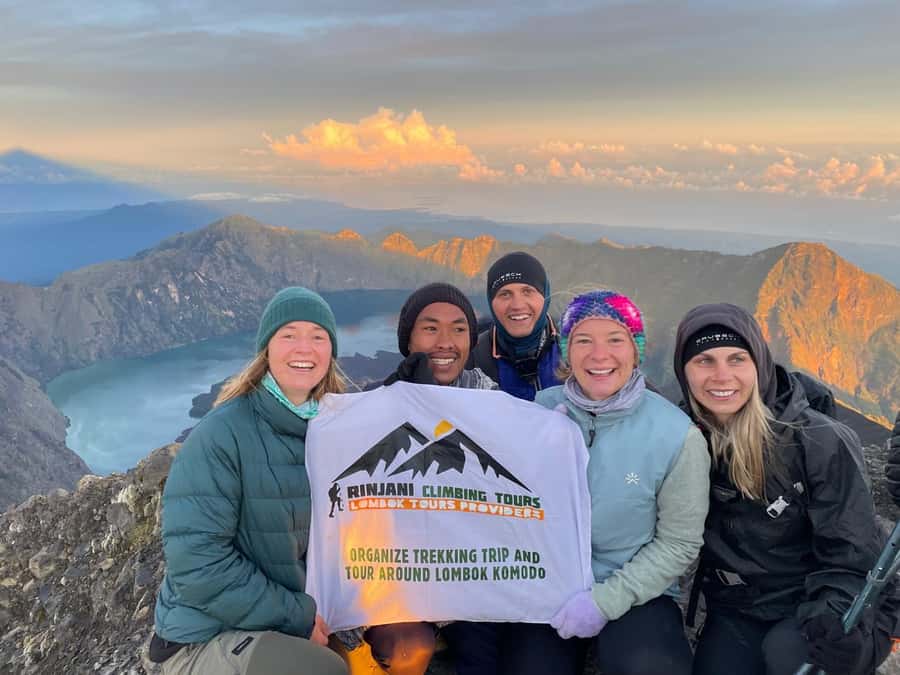
You sleep at the crater rim, not at a hotel. Your kit is provided: tent, sleeping bag, and a sleeping mat, plus toilet paper and a toilet tent.
Cold is part of the deal, and the plan is clear about that. Bring warm clothing, and don’t assume you’ll feel fine just because the hike got you warm during the day.
I also like that the trek includes “storage in the office” for the backpack you don’t need. That’s practical. You can travel lighter on the mountain without the constant problem of where to stash bigger bags.
In terms of comfort, your experience will depend on how well you prepare. If you arrive with the wrong layers or no rain gear, the crater rim can be less forgiving than you expect.
Day 2: the 2:00am wake-up and the rocky summit push
Day 2 starts early for sunrise. You’ll wake around 2:00am for a quick breakfast and then hike starting about 2:30am.
You’ll reach the toughest part around 5:00am. This section is described as a rocky accent to the summit, with loose, gravel-like footing. The important reassurance is that you’re not in danger of falling off the mountain, but it is still strenuous because your feet keep slipping and you have to keep balance.
You reach the summit just before sunrise and stay on the peak for about 20–30 minutes. That time window is brief, and you’ll feel the temptation to rush. Try not to. This is where patience pays off: the sky changes fast, and photos will look better if you stand still and let the light roll in.
Reviews also mention people successfully summiting when conditions were manageable, and others note weather can close the summit. So treat this as a sunrise experience first, summit achievement second—your guide will manage what’s possible.
Descent and how the day changes after sunrise
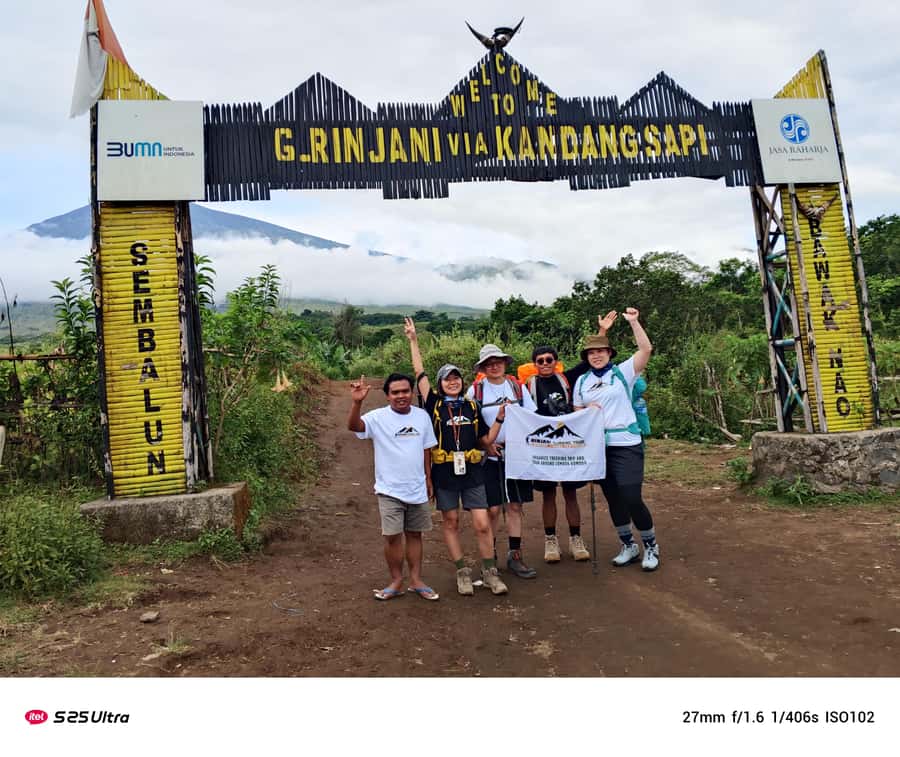
After the summit, you return to the crater rim for a big breakfast. Then you start descending the mountain.
The direction of descent depends on where you’re heading next. If you travel to Sembalun, the descent is described as mildly steep. If you travel to Senaru, most of the day is through thick rainforest.
That’s a big difference in how you’ll feel on your legs. A mildly steep descent can still be tough, but rainforest walking often brings a different kind of slow discomfort—wet footing, darker conditions, and more attention to your footing and pace.
You stop mid-day for lunch, then continue after lunch until you reach the bottom. Once you’re down, you’re driven back to the port or airport area.
If you plan another adventure after the trek, you can be brought back to a homestay in Senaru.
Views: Segara Anak, summit light, and the Senaru sunset note
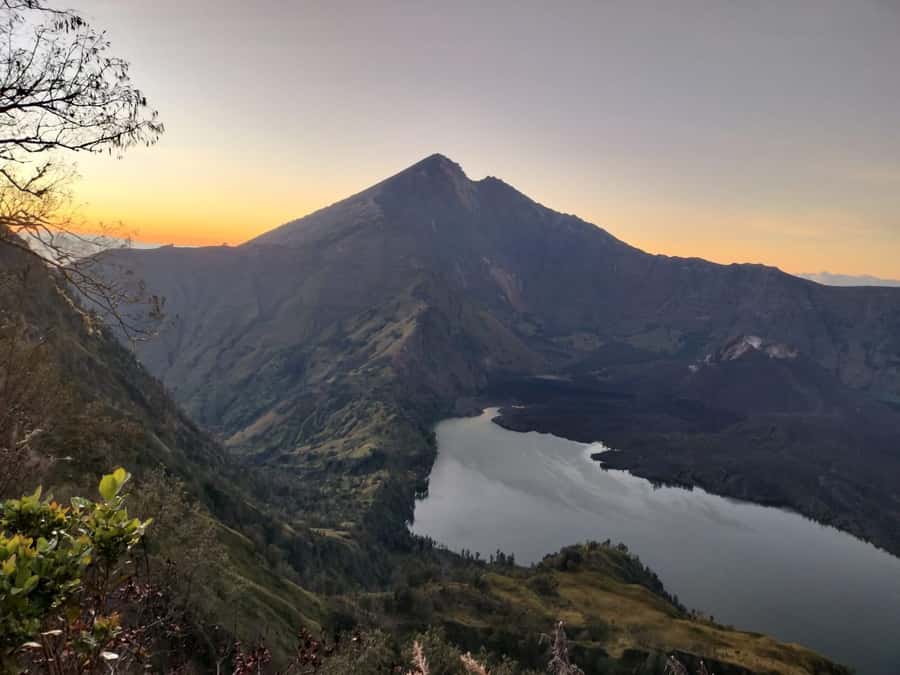
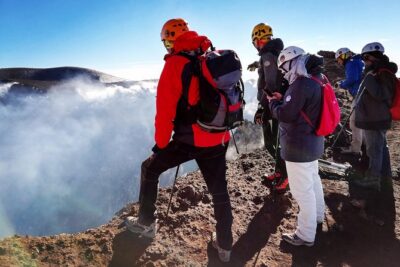
The views are the whole point of Rinjani, and this trek targets them in different ways. You’ll marvel at the Segara Anak Lake and the surrounding area from the mountain, and the experience is built around the best vantage points at the rim and on the peak.
One highlight callout is the best sunset from the Senaru crater rim. That means your trip has a built-in arc: summit sunrise moments on the peak and a second round of light play that’s more about warm colors and angles rather than the sharp early-morning glow.
If you care about photos, the timing here is why people love this trek. You’re not just seeing views at one time of day. You get the early sky at the summit and later light from higher ground.
Guides and porters: why this trek feels well-run
This is where the reviews get consistent. People praise the crew for being attentive, efficient, and supportive—exactly what you want when you’re tired and visibility is limited.
Different guide names show up in feedback, including Jack and August, Nun, Peaky, and Ajis. Another name you might see is Wahdi, and one review notes early communication issues where the tour direction was reversed without being explained right away. In that case, the guide eventually explained why and worked with the group to adjust parts of the plan.
That tells you something important: you’ll be hiking in changing conditions, and the best outcome is a guide who can manage logistics without panicking. The overall pattern here is that the guiding team stays engaged, and the porters keep things flowing—bringing you water, tea, and coffee during the trek.
I also appreciate that porters carry cooking utensils and camping equipment. It’s not just about comfort. It also means fewer items to manage, less clutter, and more consistent pacing.
Food, water, and the small comforts that keep you going
You get 3 liters of mineral water per day/person, plus tea and coffee. Food is included three times a day, and there’s also fruit like pineapple and banana.
This matters more than it sounds. On a hard climb, you don’t need gourmet meals; you need calories, warm food, and hydration at the right time. Multiple reviews mention the meals are good, with only small complaints like breakfast portions could be bigger—so if you know you eat a lot early, bring extra snacks.
Also, you’re allowed to bring personal snacks, but extra food is not included. A few well-packed snacks can save morale during the long stretches.
What to bring (and what to skip)
From the requirements and practical tips, your pack should focus on cold management, foot comfort, and staying dry.
Bring warm clothing, a hat, sunscreen, a camera, rain gear, and hiking shoes. The trek guidance explicitly recommends trekking shoes and preparation for cold conditions at the summit.
Snacks are worth planning for, and at least one review recommends walking boots and a flash light. Even if the exact gear list doesn’t spell out a headlamp, early-morning hiking plus 2:00am wake-up is a good clue: you’ll want reliable light and a backup plan.
One more practical note: GoPro isn’t included. That’s fine, but it means don’t count on having a camera mount or gear support—bring your own setup if you want to film.
Skip smoking and don’t litter. You’ll be walking through sensitive natural areas, and the rules are clear.
Who should book this trek (and who should not)
This trek is challenging. It’s listed as not suitable for people with heart problems, vertigo, or low fitness. That’s not just a legal box-tick. The summit push at night involves loose rocky footing and early hours.
If you’re the kind of traveler who likes physical effort and wants your day to feel like a real challenge, this fits well. The high review rating supports that the people who love it tend to love it hard: intense hiking, strong team support, and dramatic views.
If you’re new to hiking, don’t assume “managing” means easy. Reviews emphasize that it’s intense, and your success depends on training and proper equipment. Give yourself a realistic chance by starting with footwork practice and building endurance before you go.
Should you book this Mount Rinjani 2D/1N sunrise trek?
I’d book it if you want a serious volcano experience with strong logistics: crater-rim camping, a sunrise summit window, and a team that handles portering and camp needs. The built-in meals, 3 liters of mineral water per day, and provided tents and sleeping gear help keep your costs and stress under control.
I’d think twice if your fitness is low, you get vertigo, or you’re not comfortable with cold early mornings and rocky loose footing. Also, keep expectations flexible: weather can affect whether the summit is reached.
If you’re prepared—warm layers, proper footwear, rain gear, and a few snacks—you’ll get exactly what this trek promises: hard work, big views, and the kind of sunrise moment you’ll remember long after the trail dust is off your boots.
FAQ
How long is the Mount Rinjani trek?
The trek runs for 2 days (2D/1N).
Which route does this trek use?
It goes to the summit via the Sembalun route.
Where do you sleep during the trek?
You sleep at the crater rim on Day 1.
What time do you start the summit hike on the second day?
You wake around 2:00am for a quick breakfast, and you start hiking around 2:30am.
Is transportation included after the trek?
Yes. You’ll be transported to Bangsal harbor or Mataram after the trek.
How much water and food are included?
Food is included 3 times a day, and you receive 3 liters of mineral water per person per day during the trek.
Is the guide English speaking?
Yes. The tour includes a live guide who speaks English and Indonesian.