REVIEW · INDONESIA
Mount Rinjani Trekking 2D-1N Summit
Book on GetYourGuide →Operated by Cakrawala Rinjani Trekking · Bookable on GetYourGuide
Cold headlamps, then big sunrise. This Mount Rinjani 2D-1N summit trek is the kind of hike that feels like a mini mission: steady mountain walking by day, and a very early push to the top for panoramic views. I love how the route builds in stages, from open meadows to the Sembalun crater rim camp, so you’re not thrown into the summit grind with zero setup. I also like the way you get a proper sunrise moment at elevation, plus the group moves with an experienced, safety-focused guide. One drawback to plan around: the hike is genuinely challenging (climb and descent), so you’ll want to be in decent shape and ready for cold, dark starts.
The $143 price makes this trek feel more like a well-run package than a barebones hike. You get guides, porters, lots of food support, water, and even basic cold-weather gear like gloves and a headlamp. The trade-off is simple: you still need your own good hiking shoes, rain gear, and sunscreen, because the mountain weather doesn’t care what’s on a checklist.
In This Review
- Key Highlights You’ll Feel From Day One
- Route Overview: Sembalun to Crater Rim to 3,726 m
- Day 1: Sembalun Meadows to Pos 1, Pos 2, and Pos 3
- Crater Rim Camp: Where Sunrise and Sunset Actually Happen
- Night Routine: The 2:00 am Wake-Up Plan
- Summit at 3,726 m: Sunrise Views Over Lombok, Bali, Tambora
- The Descent Back to Camp and Then Sembalun
- Price and Value: What $143 Covers (and What It Doesn’t)
- Gear, Headlamps, and the Safety Stuff You Should Trust
- What You Should Bring for a Cold, Early, Active Trek
- Who Should Book This Rinjani Summit Trek (and Who Should Skip)
- Should You Book This Mount Rinjani 2D-1N Summit Trek?
- FAQ
- Where does this trek start and finish?
- How long is the trekking each day?
- Is the National Park permit included in the price?
- What’s included in the tour price?
- What should I bring?
- Who isn’t suitable for this trek?
Key Highlights You’ll Feel From Day One
- Sembalun start with scenic early walking: open meadow climbs that make the first hours easier mentally.
- Crater rim camping near 2,639 m: you’re positioned to catch sunrise and sunset from camp.
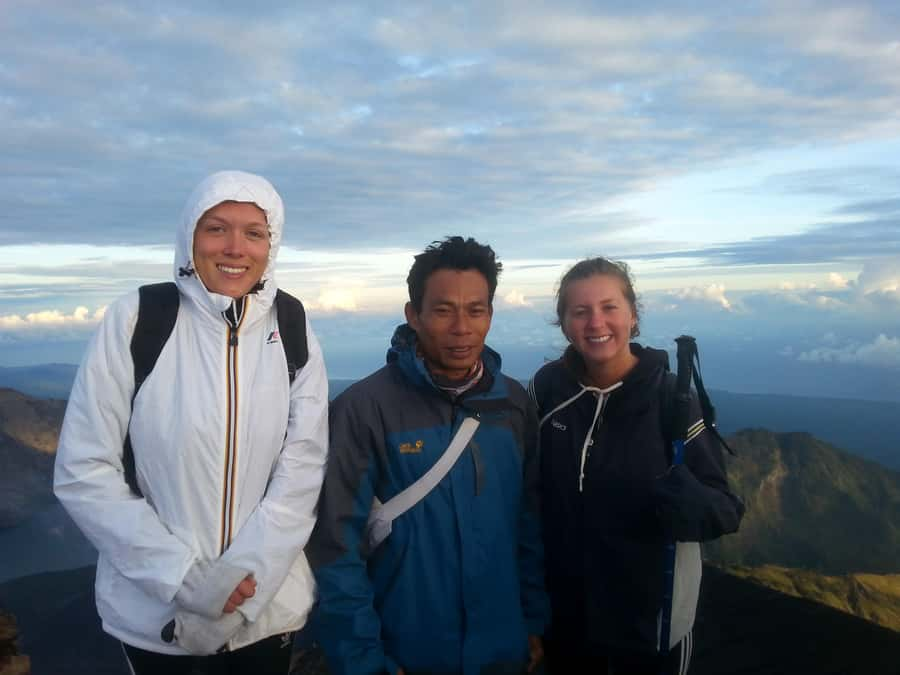
- 2:00 am wake-up and 3:00 am summit push: dark start, then sunrise at 3,726 m around 6:00.
- Panoramas that include multiple islands and volcanoes: Lombok, Bali, Tambora, Sumbawa, plus Segara Anak Lake.
- Guide-led pace with safety focus: the group stops when you need it, and you’re kept moving safely.
Route Overview: Sembalun to Crater Rim to 3,726 m
This trek is built around one main idea: hit the summit early enough for sunrise, then get you back down safely before your legs give up. You start in Sembalun, then work upward through several staging points before sleeping on the crater rim. The next morning is the summit climb in the dark, timed so the sunrise appears right as you top out.
The heights matter because they shape how you’ll feel. Day 1 climbs gradually enough that you can settle into rhythm—first through the meadows, then up through the numbered positions. Day 2 compresses effort into a short window: you wake at 2:00 am, begin at 3:00 am, and aim to reach the summit (3,726 m) by around 6:00. It’s a classic “slow day, hard morning” format.
You can also read our reviews of more tours and experiences in Indonesia.
Day 1: Sembalun Meadows to Pos 1, Pos 2, and Pos 3
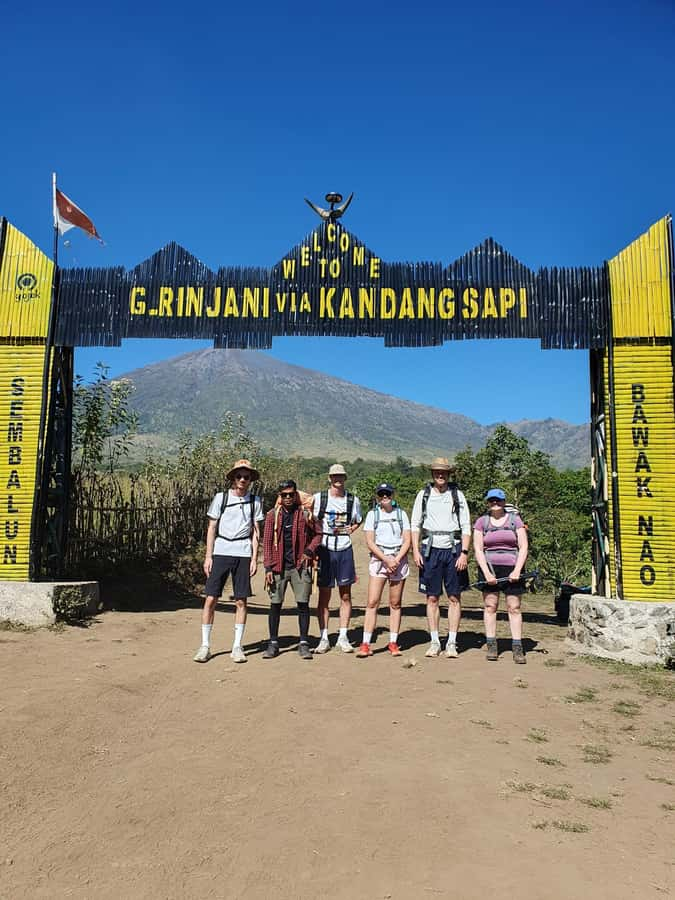
You’ll be picked up from your hotel at 7:00 am and driven to the Sembalun start point, with trekking starting around 8:00 am. The first stretch is a gentle climb through open meadow. I like this because it helps you find your pace before the trail gets steep and the air changes.
After about two hours, you reach Pos 1 (1,300 m). From there, it’s roughly 40 minutes to Pos 2 (1,500 m), where lunch is served. This isn’t just a break—it’s an altitude “checkpoint” that keeps the day structured, and it’s where you’ll likely refill energy for the final climb toward the crater rim.
Next comes Pos 3 (1,800 m), followed by rest and then the push to the crater rim. Plan for the tone shift here: the climb toward the rim includes a prolonged steep section. The itinerary lists about 3 hours for the move up to the Sembalun crater rim (2,639 m), so you’ll feel the difference between “hiking” and “climbing” as the day closes.
Crater Rim Camp: Where Sunrise and Sunset Actually Happen
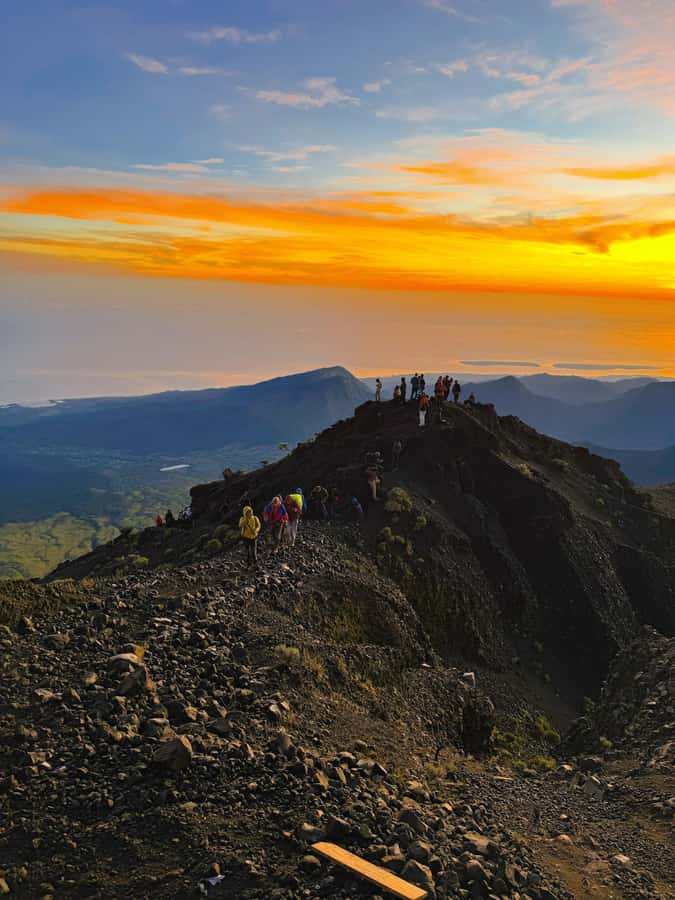
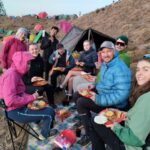
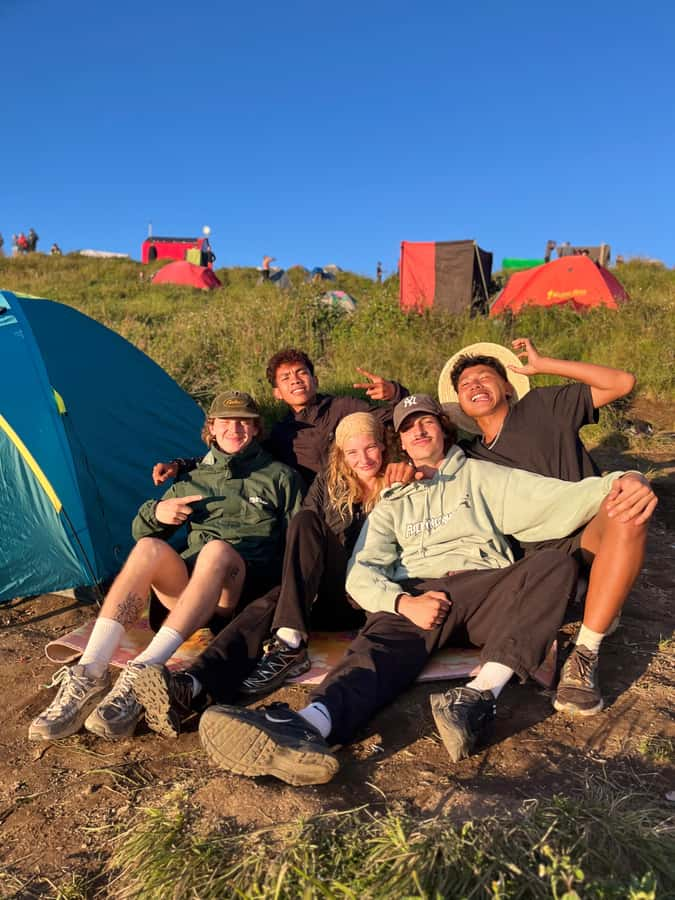
You’ll camp overnight on the crater rim, which is one of the best parts of doing this trek in a 2D-1N format. From this altitude, the views you get before sleep (and right after waking) feel like they belong to a bigger adventure than just a two-day hike.
You can enjoy sunset and sunrise from camp, which is more valuable than it sounds. When you’re climbing a volcano, the summit is the headline, but the rim gives you the emotional payoff: that “we’re really here” feeling before the dark summit push.
Practical note: camp at the crater rim also means cold air. Bring warm clothing because the itinerary expects a night of waiting and early rising, not a relaxed campsite evening.
Night Routine: The 2:00 am Wake-Up Plan
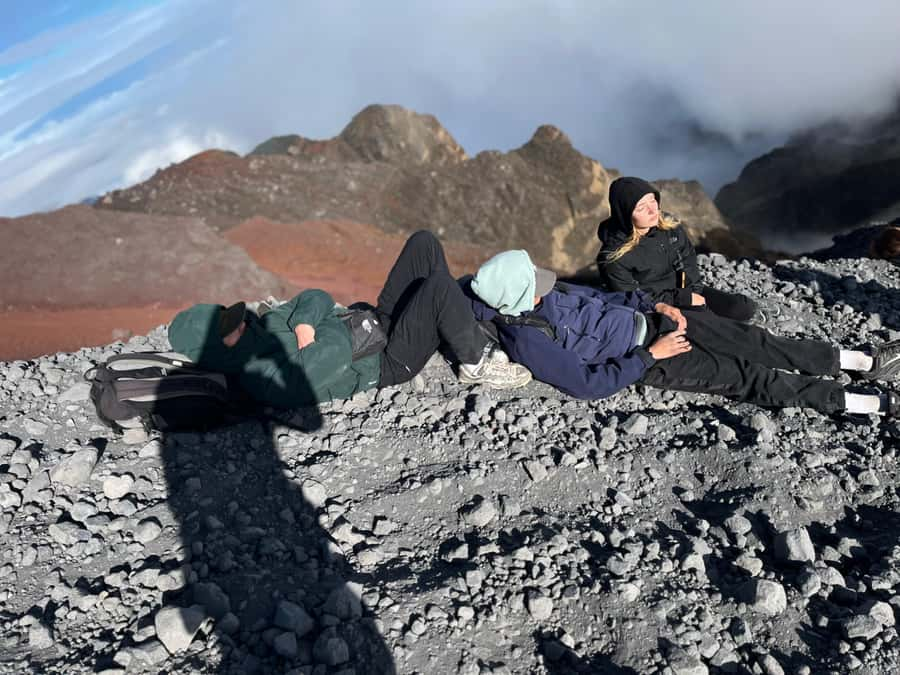
Day 2 starts with a 2:00 am wake-up, hot drink, and a light breakfast. You then begin the summit attempt at 3:00 am, while it’s still dark. This schedule is designed for one thing: reach the summit close to sunrise, listed around 6:00 am.
This is where your gear choices matter. Even if your body feels okay while hiking, the temperature drop at night and early morning can make you feel stiff. Your warm layers and gloves help you keep moving without constantly stopping to warm up.
Also, the early start affects your energy. You don’t want a heavy stomach, and you don’t want to go into the dark hours under-fueled. The trek includes breakfast, but you should still carry your own snacks if you know you hike better with a little extra bite.
Summit at 3,726 m: Sunrise Views Over Lombok, Bali, Tambora
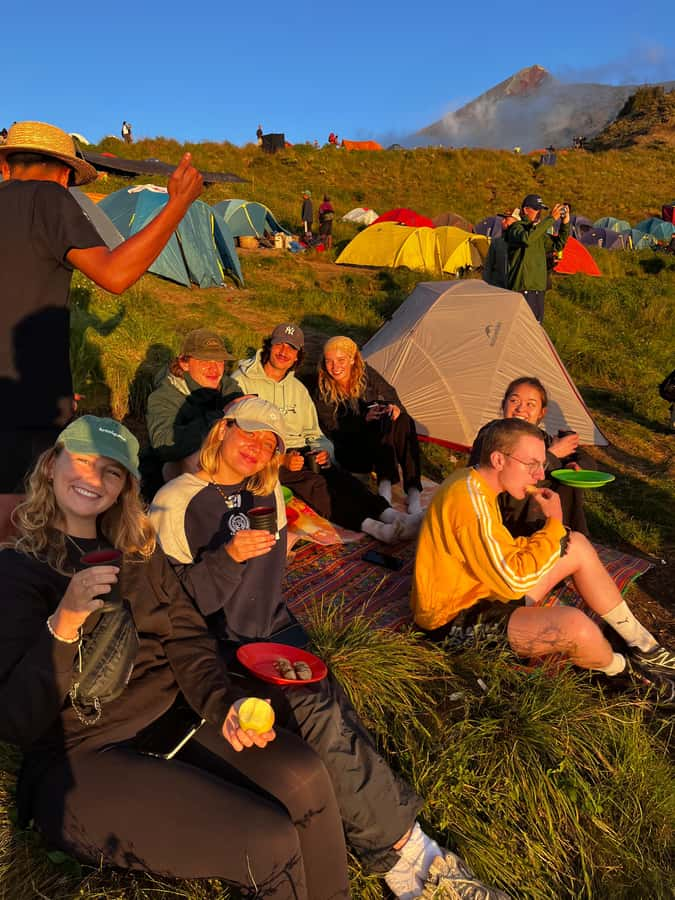
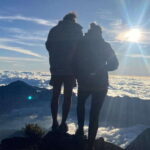
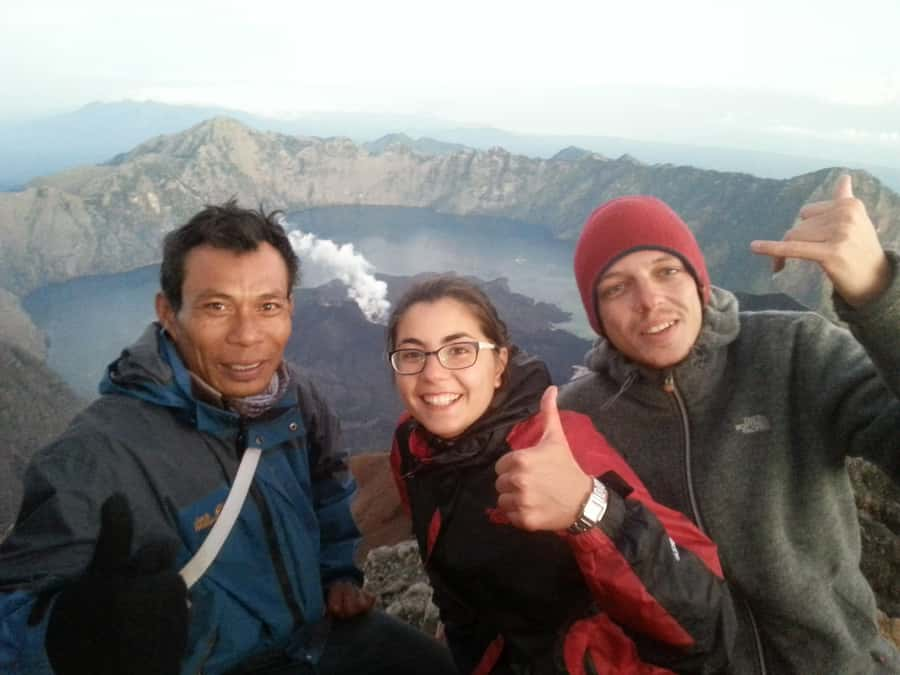
The summit moment is scheduled and timed well: around 6:00 am, you reach 3,726 m. This is when you get a beautiful sunrise and panoramic views including Lombok island, Mount Bali, Mount Tambora, Sumbawa, and Segara Anak Lake.
What makes these views special is the range. It’s not just one direction, one peak, one lake. You’re effectively looking out across multiple volcanic and island landmarks, which makes the top feel like a true “high vantage point” rather than a single dramatic photo spot.
The trek doesn’t linger on the summit forever. After topping out, you’ll begin descending back toward camp. I like this structure because it keeps the focus on enjoying the sunrise without turning the day into hours of standing still in cold air.
The Descent Back to Camp and Then Sembalun
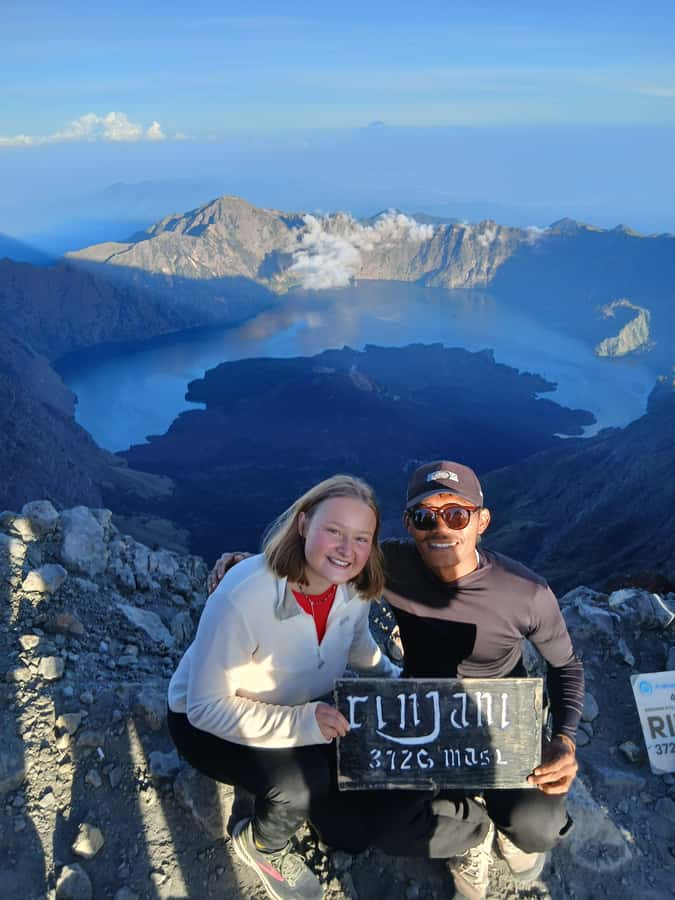
After the summit, it’s about 2 hours trekking down to camp site 2, where you have breakfast. This breakfast matters because it’s a recovery reset before the final long descent to Sembalun.
Then you continue descending to Sembalun village, taking about 5 hours to reach the end of the trek. The downhill is often where people suffer, even if the climb feels manageable. Your knees and calves do the talking, and good shoes and trekking poles (not listed, so use what you bring personally) can make a big difference.
One more practical point: don’t rush the last stretch just to feel done. A controlled descent keeps you steady and safer, especially after the summit effort when your energy is already spent.
Price and Value: What $143 Covers (and What It Doesn’t)
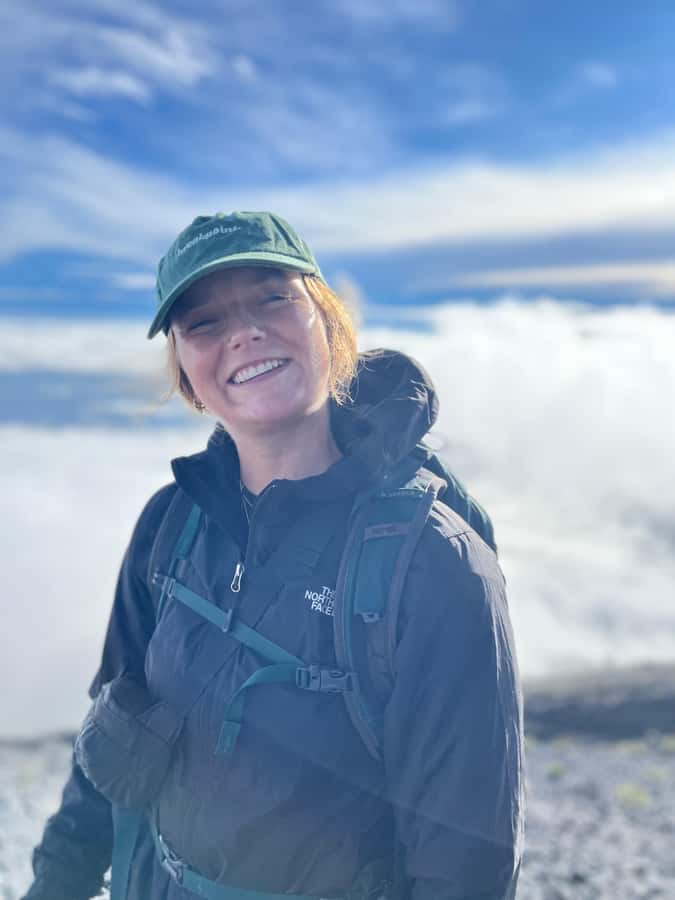
At $143 per person, the value is strongest if you compare it to what you’d otherwise need to arrange yourself. This package includes:
- An experienced trekking guide
- Porter support for carrying equipment
- Transport after the trek to Bangsal Harbour, Mataram, and Senggigi
- Pick-up from your hotel in Senaru to the start point
- Meals: lunch, breakfast, and dinner (listed 3 times)
- Water: 3 liters per day per person
- Fruits plus cookies/chocolate
- Headlamp and gloves
- Trekking insurance
- Luggage storage available at Cakrawala Rinjani office
What’s not included is important to know up front: the National Park permit (listed as IDR 200k per day, or 400k for 2 days). Also, hotel room and pickup transport are not included unless you’re using the hotel pickup described in the trek details.
So is $143 “cheap”? For a guided summit trek with porters and multi-meal coverage, it’s fair. For a do-it-yourself hike without logistics, it’s not trying to be cheap. It’s paying for the organization you don’t want to handle at the start of a volcano trek.
Gear, Headlamps, and the Safety Stuff You Should Trust
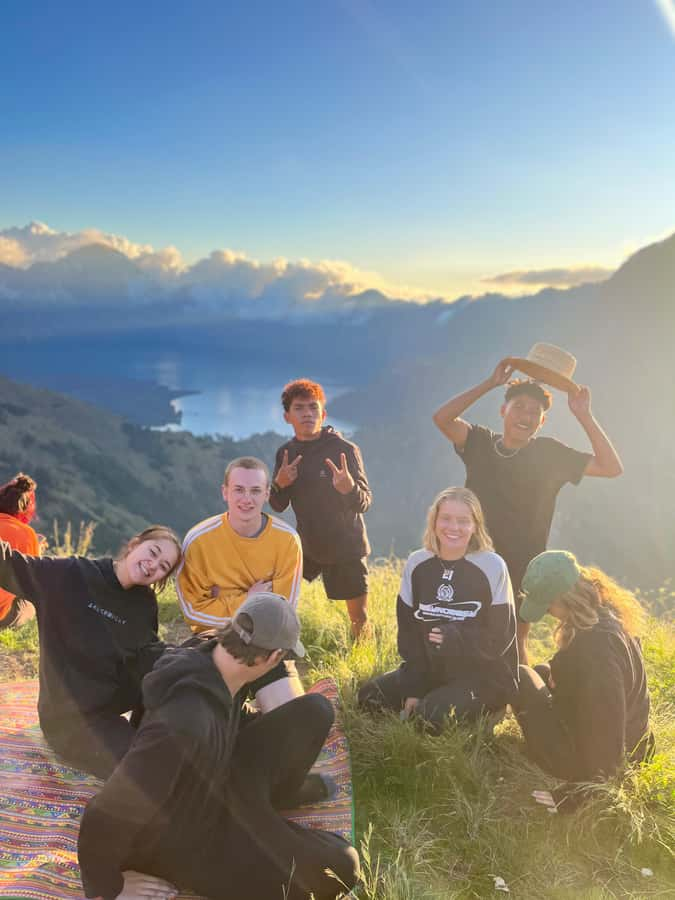
You’ll receive headlamp and gloves, plus the trek runs with trekking insurance and an experienced guide. The guides are a major reason this program works. In the feedback, people appreciated that the team was both fun and very experienced, and that they adjust the pace so everyone feels safe while still moving efficiently.
There is one equipment caution: the headlamps are useful, but one note was that the front lamps could be better for summit visibility. If you know you’re picky about lighting, you might consider bringing your own small backup light even if a headlamp is included. That simple move can prevent the “limited visibility” feeling during the dark summit hours.
The other safety takeaway from the feedback is pace and attention. This is not a race-style itinerary. The group takes time when needed, and the guide makes sure you’re okay rather than pushing just for a timetable.
What You Should Bring for a Cold, Early, Active Trek
This is a trek where what you bring matters as much as what’s included. The essentials listed include:
- Warm clothing
- Hiking shoes
- Rain gear
- Sunscreen
- Camera
- Snacks
- Water (the trek provides 3 liters/day, but having extras can help)
- Garbage bag
I’d also add one mindset: treat day 2 like a cold-weather hike, even if Lombok feels warm during the day. The 2:00 am wake-up and 3:00 am start mean you’ll be outside in darkness and colder air longer than you expect.
If you’re carrying camera gear, secure it so it stays dry. And keep your most-needed items accessible, because during a dark start you don’t want to keep stopping to unpack.
Who Should Book This Rinjani Summit Trek (and Who Should Skip)
This program is described as good for trekkers with solid experience and good level conditions. That lines up with how the itinerary is paced: a climb on day 1 up to the crater rim, then a summit push in the early morning with a cold-dark start, followed by a long descent.
Not suitable for:
- Children under 12 years
- Pregnant women
- People with back problems
- People with heart problems
So who is it perfect for? If you want a volcano summit within a short trip window, enjoy structured itineraries, and can handle steep stretches and early mornings, this is a strong fit. If you prefer gentle hikes or want a summit without the grind, you’ll probably feel this too intense.
Should You Book This Mount Rinjani 2D-1N Summit Trek?
I’d book it if your top priority is a true sunrise summit experience with solid logistics handled for you. The package includes porters, meals, water, trekking insurance, and transport to Bangsal Harbour, Mataram, and Senggigi—so you’re not piecing together a dozen moving parts while planning a volcano climb.
I’d think twice if you’re sensitive to cold, you hate steep descents, or you’re expecting a comfortable, casual walk. Even with a guide and group pacing, the climb is challenging and the descent can be tough.
Bottom line: if you’re a capable trekker who wants a focused, two-day route to the top of Mount Rinjani, this is a good value way to do it—just come prepared and respect the mountain’s early-morning reality.
FAQ
Where does this trek start and finish?
The trek starts with pickup from your hotel area (Senaru) and then meets at the Welcome to Lombok briefing point. It ends back at the meeting point after returning to Sembalun and completing the trek.
How long is the trekking each day?
Day 1 walking is about 7 hours total, ending with camping on the crater rim. Day 2 includes a summit push (starting around 3:00 am) and a return descent to Sembalun village, taking about 5 hours.
Is the National Park permit included in the price?
No. The permit is not included. The info provided lists IDR 200k per day, or IDR 400k for 2 days.
What’s included in the tour price?
Included items are the trekking guide, porter for equipment, meals (lunch, breakfast, dinner 3 times), water (3 liters per day per person), fruits plus cookies/chocolate, headlamp and gloves, trekking insurance, luggage storage at the Cakrawala Rinjani office, and transport after the trek to Bangsal Harbour, Mataram, and Senggigi.
What should I bring?
Bring warm clothing, hiking shoes, rain gear, sunscreen, snacks, a camera if you want one, and a garbage bag. Even with provided water, bringing your own small extras can help.
Who isn’t suitable for this trek?
It’s not suitable for children under 12, pregnant women, people with back problems, or people with heart problems.