REVIEW · SEMBALUN
Sembalun/Senaru: Mt. Rinjani Summit 2-Day Trekking Tour
Book on GetYourGuide →Operated by uji trekking · Bookable on GetYourGuide
Mt. Rinjani starts with the climb and ends with the view. This 2-day summit trek takes you from Sembalun or Senaru up through key “POS” rest points to a crater rim campsite, then back down without you having to manage the details. Along the way you get the kind of panoramas people dream about when they picture Lombok.
What I love most is the way this route layers viewpoints: savanna-style scenery on the way in, sunset and Lake Segara Anak from the crater rim area on Day 1, then sunrise from the summit on Day 2. Second, I really like how much the team handles for you. You travel with a trekking guide, plus porters who carry cooking and camping gear, so you can focus on pacing and staying steady in the sand and gravel.
The main drawback to plan for is effort and conditions. The final summit push starts very early in the dark, the ground can be dusty and tiring, and you’ll want a flashlight/headlamp (not included) plus gloves and long pants. Also, there’s an extra national park entrance fee you should budget for.
In This Review
- Key things to know before you go
- Why this Sembalun/Senaru 2-day plan hits so well
- Day 1: The POS points climb and the crater rim night
- A note on pace and weather
- Day 1 sunset over Segara Anak and a campsite with big skies
- Day 2: 1:30 a.m. wake-up and the summit push to 3,726 m
- Coming back down to breakfast
- Porters, tents, and meals: this trek runs on teamwork
- What you pay for (and what will cost extra)
- The national park fee
- Your own hiking and safety gear
- Gear checklist you’ll be glad you packed
- Weather, altitude sickness, and fitness: the real decision point
- Who should book this Mt. Rinjani summit trek
- Should you book the Sembalun/Senaru 2-day Mt. Rinjani summit tour?
- FAQ
- Do I need to buy the national park entrance fee separately?
- What’s included in the trekking camp setup?
- Is a flashlight/headlamp provided for the summit hike?
- How much walking is involved on the summit day?
- Where do pickups and drop-offs happen?
- Is this tour suitable for people with altitude sickness or pregnancy?
Key things to know before you go
- Crater rim night (Sembalun Crater Rim at 2,639 m): you sleep high and get sunset over the volcano and lake.
- Early summit start: wake around 1:30 a.m., then trek to the top (3,726 m) before sunrise.
- Meals and camping gear are part of the package: tents, sleeping bags, mattresses, and even toilet setup are included.
- Porters handle the heavy stuff: cooking and camping equipment ride with them.
- You still need your own hiking essentials: flashlight/headlamp, shoes, long pants, gloves, and rain gear are not included.
- National park entrance fee is extra: plan for IDR 200,000 per day per person.
Why this Sembalun/Senaru 2-day plan hits so well
Mt. Rinjani is one of those hikes where the logistics matter, because the experience is built around timing. You’re not just walking until you’re tired. You’re climbing to specific viewpoints: a crater rim night for sunset and stars, then a summit push for sunrise. If you get the timing wrong, you miss what makes the whole trek feel special.
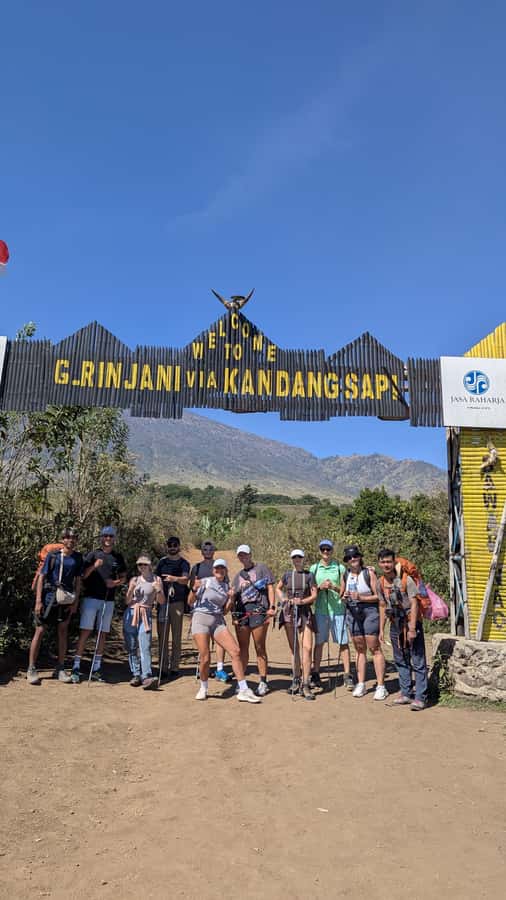
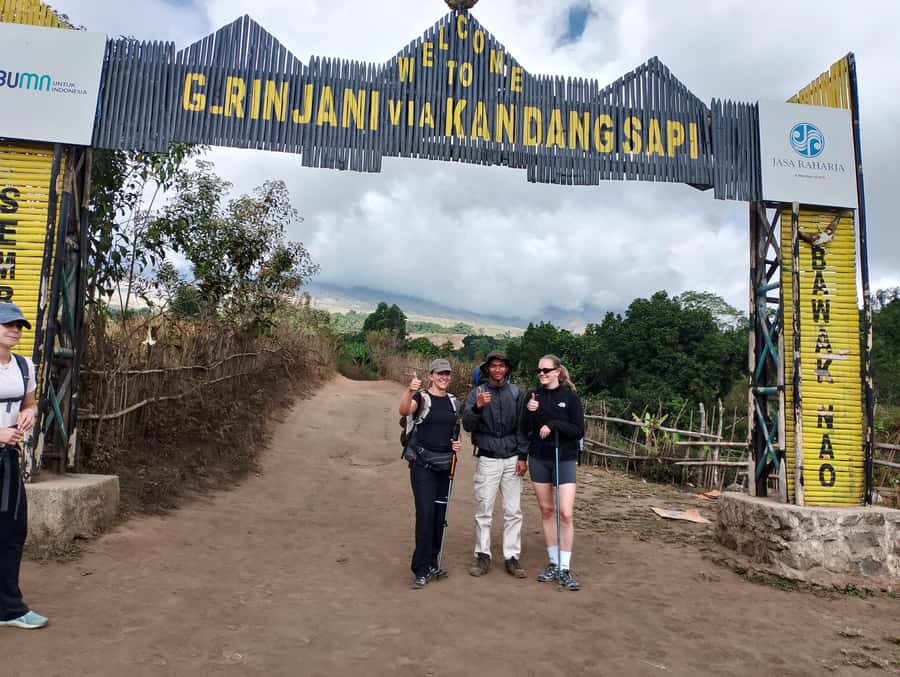
Starting from Sembalun or Senaru is also a practical choice. You’re driven about an hour to the trailhead area near Sembalun Village, then you get right into the rhythm of the route. That helps you avoid that first-day feeling of wandering around, figuring out where to begin, and burning energy on setup.
One more thing I appreciate: the itinerary is built around structured rest points, not just vague “keep hiking.” You stop at POS points at 1,300 m, 1,500 m, and 1,800 m, then you rest longer at POS-3. That means you can pace yourself and avoid the classic mistake of going too hard too soon.
Day 1: The POS points climb and the crater rim night
Day 1 has a clear progression, and it’s designed to help you acclimatize a bit while you rise through the ranges. You’ll be picked up from your hotel in Senaru or Sembalun, eat breakfast before the drive, then register at the Rinjani Information Center (RIC) once you arrive.
From there, you begin trekking to POS-1 (1,300 m) and then continue to POS-2 (1,500 m). Expect short breaks along the way. After POS-2, you reach POS-3 (1,800 m), where the plan includes a longer rest—about 2 hours—paired with lunch and a hot drink like tea, coffee, hot chocolate, or lemon tea. That hot drink detail matters more than it sounds. It can help you reset when you’re tired and breathing hard.
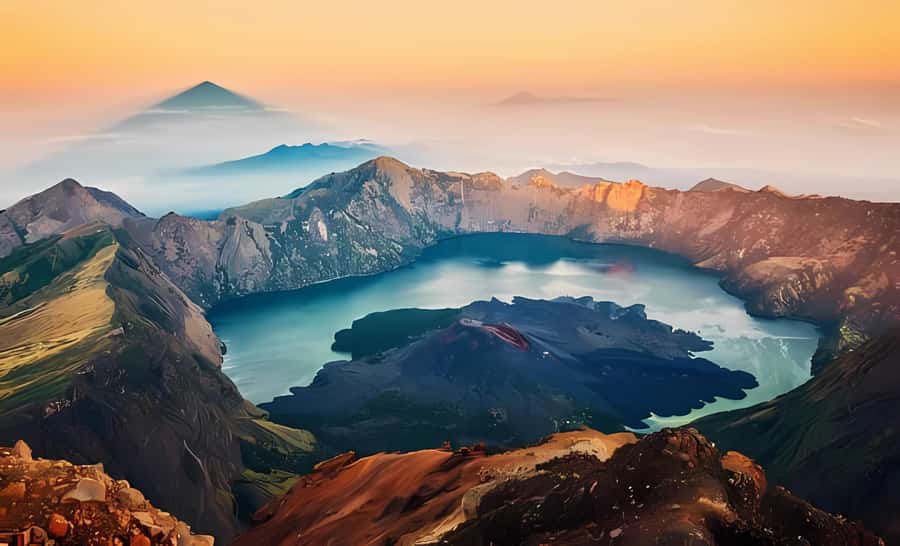
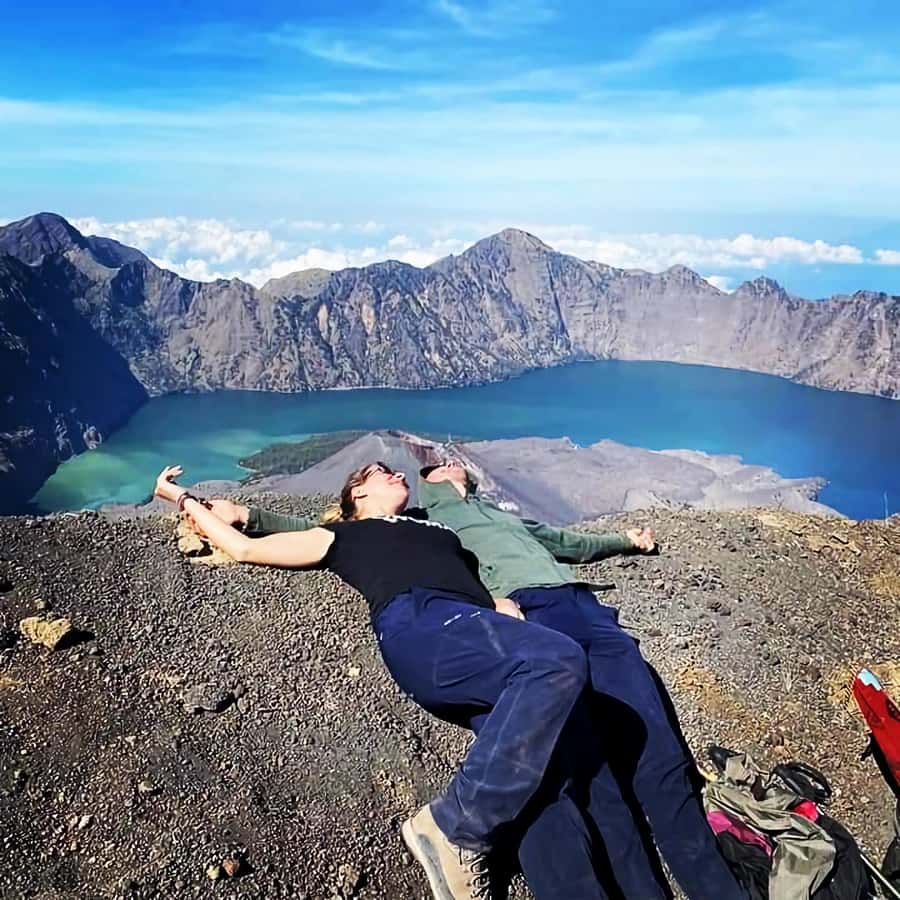
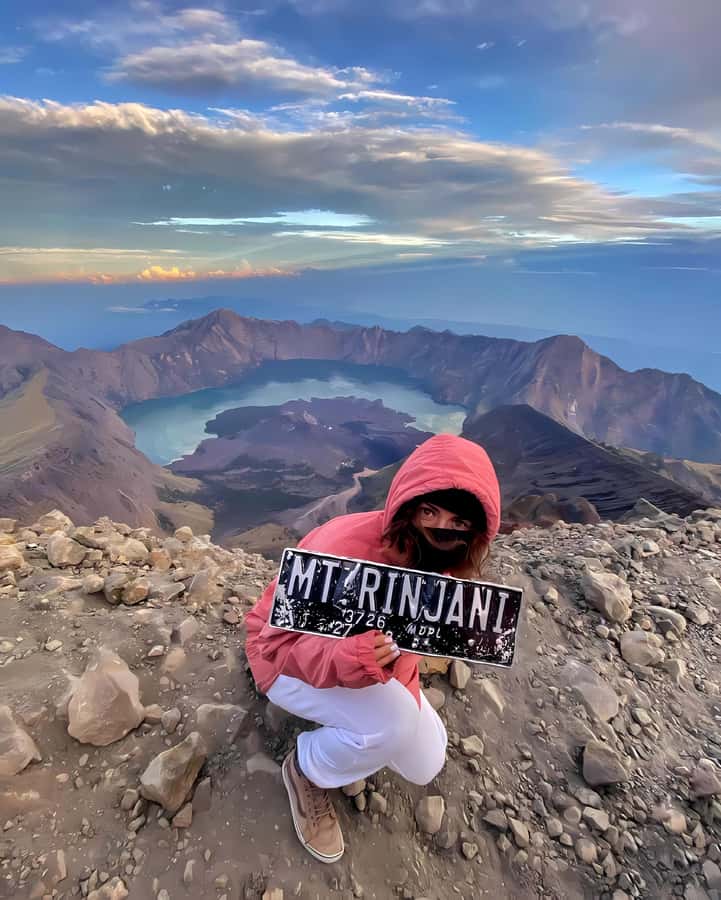
Then comes the long push: about 3 hours up to the Sembalun Crater Rim (2,639 m). The payoff is big. This is where the trek turns into a “wow” day. From the rim you get panoramic views across North Lombok Island, and you’re positioned for a spectacular sunset looking out over the crater area and Segara Anak.
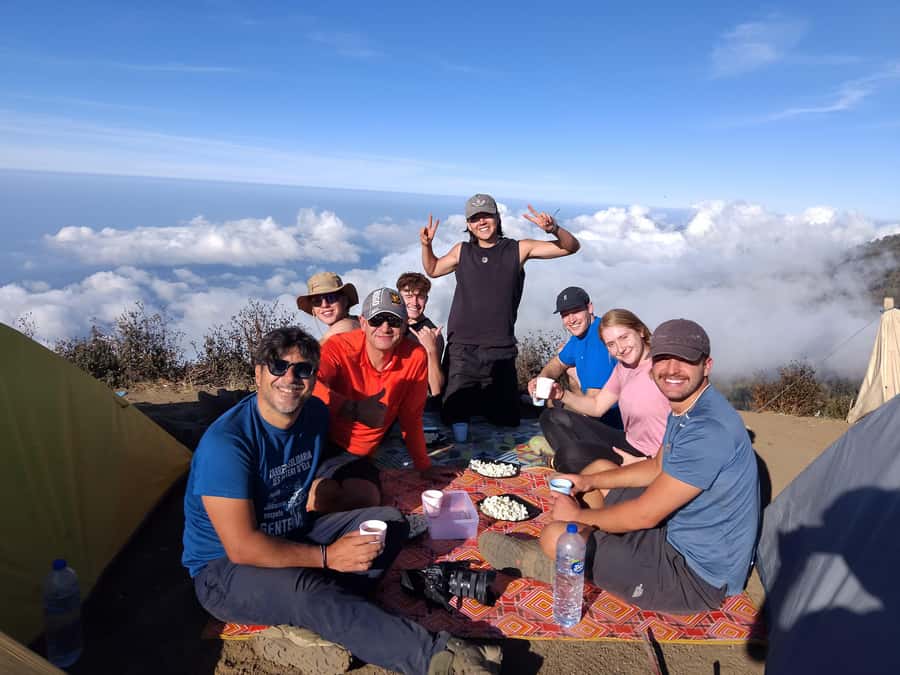
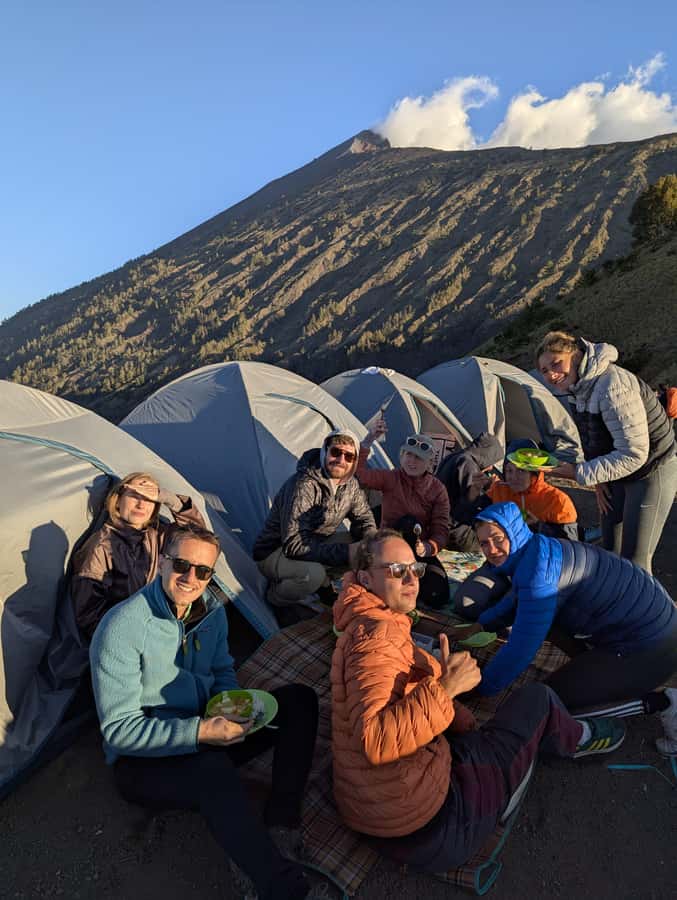
Sleeping on the crater rim changes the mood of the hike. You’re not just passing through altitude. You’re camping at it. The package includes a tent, sleeping bag, and mattress, plus a toilet tent and toilet paper. It’s still camping, but it’s camping that’s set up for comfort enough that you can actually sleep instead of just lying there thinking about the next climb.
A note on pace and weather
This is the kind of trek where weather plays a role in what you see. Cloud cover can soften views. Clear skies make everything sharper. The upside is that the route still has great moments even if you can’t see every distant island perfectly.
Day 1 sunset over Segara Anak and a campsite with big skies
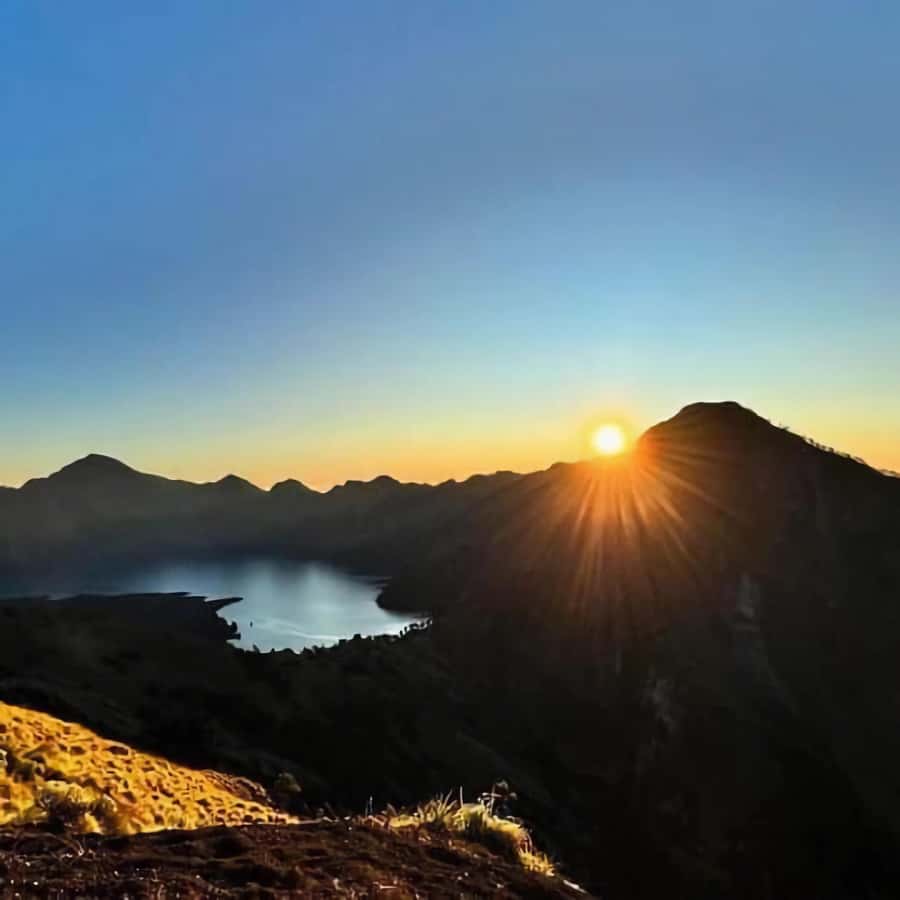
After you’ve checked in and settled at the crater rim campsite, the trek’s main emotional reward arrives: sunset. The crater rim gives you a dramatic vantage point over the volcano’s basin and the lake area (Segara Anak). It’s one of those situations where you’ll want a camera ready, but you’ll also want to pause your finger from constantly pressing the shutter.
Once the sun drops, the sky can turn into star time. Even when people don’t reach the summit on Day 2 for whatever reason (fitness or conditions), the crater rim night can still be a highlight. You’re already high enough to feel the scale of the island and the power of being in the volcanic zone.
If you’re the type who plans outfits around photos, think practicality first. It can get cold at altitude, and the wind can make it feel colder. Bring layers and keep a jacket handy for night hours.
Day 2: 1:30 a.m. wake-up and the summit push to 3,726 m
Day 2 starts early. You’ll wake at 1:30 a.m. for coffee or tea and a light breakfast, then begin the summit trek for sunrise. The summit portion takes around 3 hours, depending on pace.
Here’s the practical reality: you’ll be trekking in the dark. That means you need your light to move safely. A headlamp/flashlight isn’t included, so bring it, and if you use a head torch, pack spare batteries. The ground can be sand and gravel in places, which makes each step feel heavier than it looks on the map.
Your guides are with you the whole way, which matters on a route like this. The climb has sections that can test your legs and your patience. Having support helps you keep moving at a steady pace instead of stopping constantly to check your bearings.
When you reach the summit at 3,726 meters, the view is the whole reason you did it. You get panoramic sightlines toward Bali, Sumbawa, Lombok, and the Gilis. You’ll have time for a short break and photos, then you head back down toward the crater rim campsite.
Coming back down to breakfast
After the sunrise summit moment, you still have work to do. Once you return to the crater rim campsite, porters have breakfast prepared and waiting. That’s a small detail that can feel huge after a night climb. Then you start the journey back down to Sembalun Village.
The Day 2 descent can be tough on your knees even when you’re mentally energized. If you can, take quick, controlled steps and don’t let your stride get too long when your legs are tired.
Porters, tents, and meals: this trek runs on teamwork
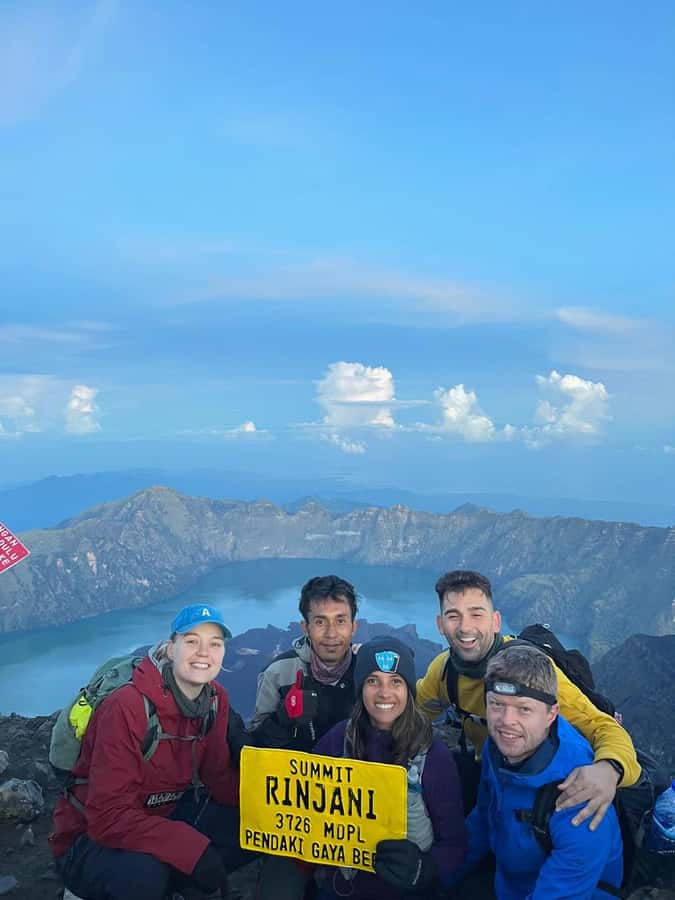
A lot of people focus on the summit. I think the real “quality signal” here is the support system. This tour includes porters who carry cooking gear and camping equipment. That’s why you get hot meals on a multi-day climb instead of simple snacks.
Based on the trek experience stories tied to this route, guides like Cakra, Anji, Reno, and Djordan are used on different departures, and the trekking tone often feels friendly and well-paced. Porters also get real credit for cooking meals that are more than just edible. People note big portions and surprisingly tasty food after long walking hours.
The other practical perk: you’re not lugging your own full camping setup. The package includes:
- tents
- a toilet tent
- toilet paper
- sleeping bags
- mattresses
Not included are backpacks, trekking shoes, and basic rain protection items. So you still need to bring your personal comfort gear, but your heavy camp load is handled.
One more small win: drinking water is included, listed as 3 liters of mineral water per person per day. In a hike like this, hydration is not optional, and having it built into the plan makes it easier to pace yourself.
What you pay for (and what will cost extra)
The headline price is $141 per person for the 2-day trekking tour, with pickup and drop-off from Senaru and Sembalun plus a guide and porter support.
That price covers a lot of the “invisible work”:
- trekking guide
- porters for cooking and camping equipment
- food and drinking water during the trek
- tent, sleeping bag, and mattress setup
- basic toilet setup
But there are two common add-ons you should plan for.
The national park fee
The tour does not include the entrance fee to the national park: IDR 200,000 per day per person. Because this is a multi-day trek, it’s one of the things that can change your total budget. Ask your operator how it’s handled for your exact dates so you don’t get surprised on arrival.
Your own hiking and safety gear
Also not included:
- head lamp/flashlight
- backpacks
- trekking shoes
- rain jacket
- long pants and gloves
- extra porter for your personal luggage
I strongly suggest treating this as a checklist, not a suggestion. People who came prepared with gloves and long trousers tend to feel better in dusty or gritty sections. In one set of experience notes tied to this trek, bringing a mask to protect from dust was called out as a smart move, and good shoes were described as a big difference-maker.
Gear checklist you’ll be glad you packed
If you want fewer “why didn’t I bring that” moments, pack for cold, dust, and early hours. Here’s what’s explicitly recommended in the tour info, plus what the hiking stories emphasize.
Bring:
- passport
- hat
- camera
- hiking shoes
- jacket and rain gear
- gloves
- long pants
- flashlight (or headlamp)
- power bank
- personal medication
And if you can add one “quality of life” item based on what people found useful on this route:
- a dust mask
- spare batteries for your head torch
Gloves and long pants don’t just keep you warm. They also protect you when you’re moving through dusty, abrasive ground and when you need grip.
Weather, altitude sickness, and fitness: the real decision point
This trek is not for everyone. The tour is marked as not suitable for:
- pregnant women
- people with altitude sickness
- people over 70 years
Even if you’re not in those categories, it’s smart to assume altitude will be part of the challenge. You’ll sleep at 2,639 m, then push to 3,726 m early the next morning. If you’ve ever had issues at altitude (headaches, nausea, breathing that feels out of proportion), take that seriously.
Fitness-wise, this is a two-day climb with sand/gravel on the summit section and a long walking day on Day 1. The trek does include rests and a hot lunch stop at POS-3, but the overall effort is still substantial.
One useful reality check: not everyone reaches the summit. Even when people didn’t make it to the top, the crater rim view and the morning panorama from the campsite were still described as spectacular. That doesn’t mean you should assume a summit is optional. It means you should go in knowing that the experience can still be meaningful even if your body calls the shots.
Who should book this Mt. Rinjani summit trek
You’ll likely love this tour if:
- you want sunrise views and understand that it means an early start
- you’re comfortable hiking for hours on rough ground
- you want a team-supported trek where porters handle camping gear
- you care about Segara Anak crater views and crater rim camping, not just the summit photo
You should probably look for another option if:
- you’re dealing with medical limits related to altitude
- you don’t have the ability to hike at night and handle sandy footing
- you’re missing key safety gear like a flashlight/headlamp (since it’s not provided)
Also, this is offered as private or small groups, which can be a good fit if you prefer less crowd energy on a very physical trek.
Should you book the Sembalun/Senaru 2-day Mt. Rinjani summit tour?
Book it if you want a structured, team-supported route to the summit with a crater rim night that’s built for sunset and stars. The value is strong because you’re paying for more than walking: you’re paying for guides, porters, food, water, and the full camping setup.
Think twice if you’re sensitive to cold, don’t have proper hiking gear, or you can’t handle a very early, dark summit push. And make sure your budget includes the national park entrance fee and your missing personal gear.
If you’re ready for a real climb and you want those wide-open views across Lombok and beyond, this is one of the classic ways to do it on a tight two-day schedule.
FAQ
Do I need to buy the national park entrance fee separately?
Yes. The tour does not include the national park entrance fee, listed as IDR 200,000 per day per person.
What’s included in the trekking camp setup?
The package includes a tent, toilet tent, toilet paper, sleeping bags, and mattresses.
Is a flashlight/headlamp provided for the summit hike?
No. Head lamp and flashlight are listed as not included, and the summit trek is done in the dark.
How much walking is involved on the summit day?
The trek to the summit typically takes about 3 hours, depending on your pace, and then you descend back to the crater rim campsite after the sunrise/summit break.
Where do pickups and drop-offs happen?
You can be picked up from and dropped off in either Senaru or Sembalun.
Is this tour suitable for people with altitude sickness or pregnancy?
No. It is listed as not suitable for pregnant women, people with altitude sickness, and people over 70 years.